Just got my emblem today, so thought it may be time to start a build thread. My take on modifying my vehicles is to make as few modifications as possible, but as many modifications as I think are necessary. This in turn helps me keep things reliable, save weight and - best of all - keep costs under control.
Previous Long-Bed Build - 2010 Tacoma SR5, OME/Dakar lift, 255/85/16 KM2's, Avid Offroad Sliders and Front Bumper Bars, Rigid Dually D2 Drivers Lights, Softopper.
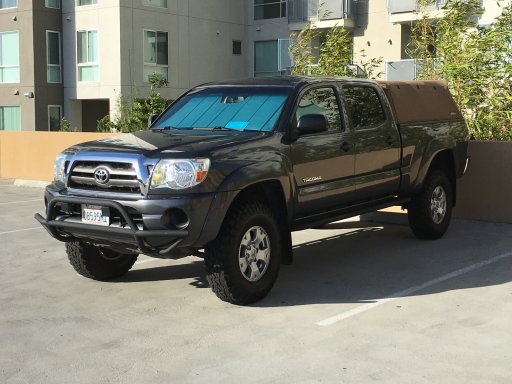
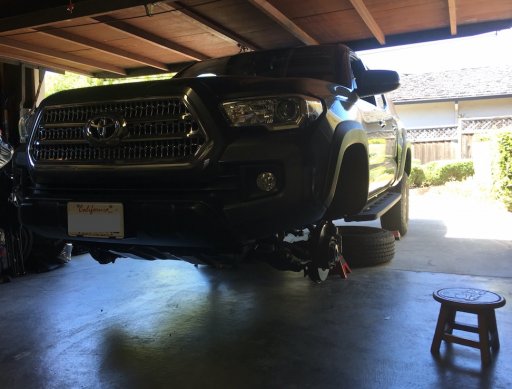
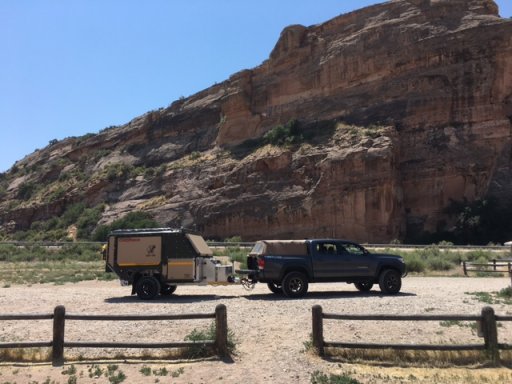
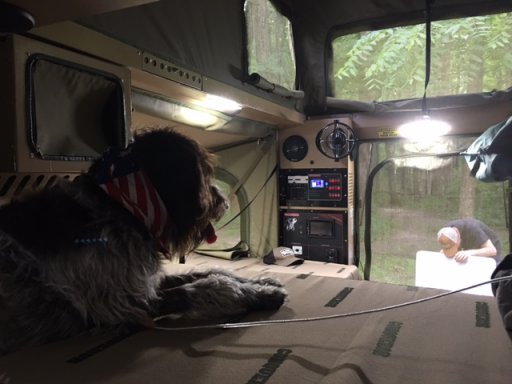
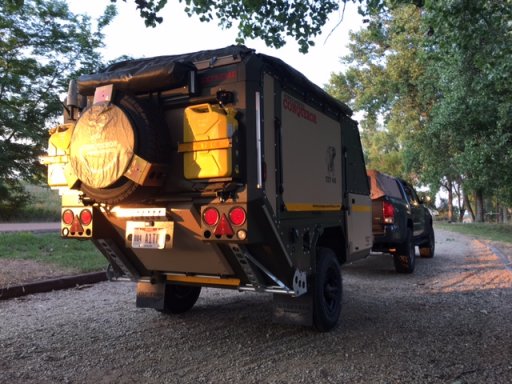
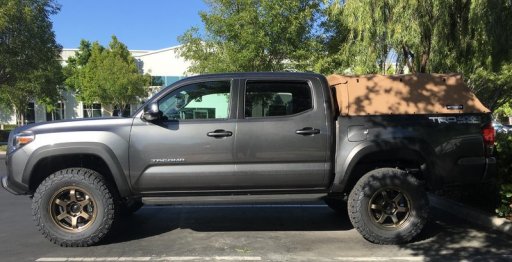
My current overland build is a 2016 Tacoma TRD Offroad and is a work-in-process. This vehicle has a tall order for a mid-sized truck: charge and tow a ~3500 lb trailer, carry a family of four (two small kids) plus two 55lb dogs and their gear for trips up to 3-weeks in duration. Thought about moving into a full-sized truck, but in the spirit of experimentation and pure stubbornness, I'm determined to see if this can work. This is how she sits today:
Modifications so far:
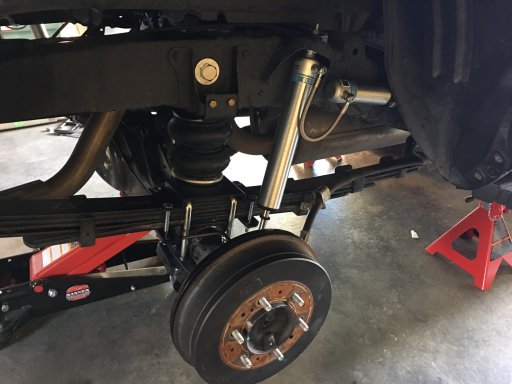
- Bilstein 6112/5160 coilovers and rear shocks.
- Wheeler's 1.5" add-a-leaf.
- Firestone Ride-Rite Airbags.
- 17" Konig six-shooter wheels.
- BFG K02 275/70/17's
- Pelfreybilt under-hood mount for trailer charge cable and breaker.
- Tekonsha P3 brake controller for trailer.
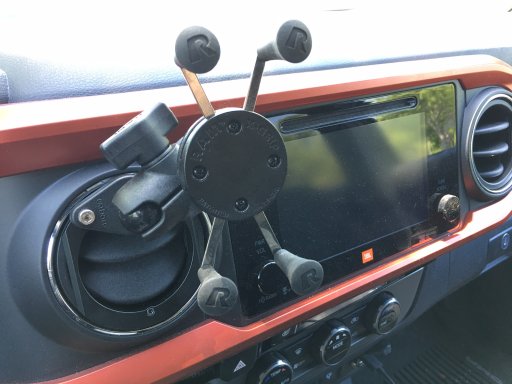
- Hondo Garage/RAM mount device holder.
- Softopper
- Bed Rug bed mat.
- Hi-Lift rail mounts.
Planned/Future:
- Full set of aluminum skid plates.
- Bolt-on sliders.
- Aluminum front bumper & winch.
- Aluminum rear bumper with dual swing outs for spare and extra fuel.
- Supercharger!
I'll try to update this thread with more details on each of the mods as well as future plans. Thanks for reading!
-Dan.
Previous Long-Bed Build - 2010 Tacoma SR5, OME/Dakar lift, 255/85/16 KM2's, Avid Offroad Sliders and Front Bumper Bars, Rigid Dually D2 Drivers Lights, Softopper.
My current overland build is a 2016 Tacoma TRD Offroad and is a work-in-process. This vehicle has a tall order for a mid-sized truck: charge and tow a ~3500 lb trailer, carry a family of four (two small kids) plus two 55lb dogs and their gear for trips up to 3-weeks in duration. Thought about moving into a full-sized truck, but in the spirit of experimentation and pure stubbornness, I'm determined to see if this can work.
This is how she sits today:Modifications so far:
- Bilstein 6112/5160 coilovers and rear shocks.
- Wheeler's 1.5" add-a-leaf.
- Firestone Ride-Rite Airbags.
- 17" Konig six-shooter wheels.
- BFG K02 275/70/17's
- Pelfreybilt under-hood mount for trailer charge cable and breaker.
- Tekonsha P3 brake controller for trailer.
- Hondo Garage/RAM mount device holder.
- Softopper
- Bed Rug bed mat.
- Hi-Lift rail mounts.
Planned/Future:
- Full set of aluminum skid plates.
- Bolt-on sliders.
- Aluminum front bumper & winch.
- Aluminum rear bumper with dual swing outs for spare and extra fuel.
- Supercharger!
I'll try to update this thread with more details on each of the mods as well as future plans. Thanks for reading!
-Dan.
Last edited: