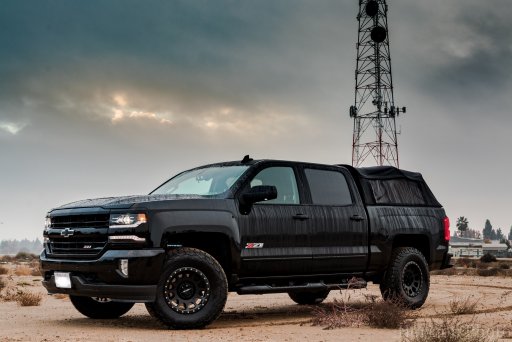
It all started last summer camping when I realized I didn’t have the light I needed. I knew what I had to do... project overkill!!!

First the lights. I got 2 rigid midnight pods on amazon. Customized the harness, and got some bar mounts for my soft top. the nice thing is you cant see them from the outside unless they are one. B.O.B. for the WINNNNNN!!!!!

Slack removed from rigid harness. decided to solder and heat shrink any non pinned connections, being older now I feel compelled to do things the right way vs. 16 yr old me that wanted to get it in and show it off as quick as possible lol.

I also used water proof connections wherever I needed to easliy bypass or disconnect. I used these on everything so technically I could just bring a pigtail and power anything. I decided that I didn't want issues (or at lest be able to better trouble shoot) so I made my own without crimp connectors or solder joints in between, I may have set myself up for more issues that way lol! Time will tell.


Next up!!! Relays!!! And here is where the over kill set in... so I knew I wanted multiple lights for the future. And figured if I’m in here now, might as well go for it. I started with 2 sheets of abs. The first was used to come up with a relay panel.

Roughed in wiring and bent the ABS with a heat gun, vice, and some 2X4’s. I call it a “red neck heated break”.

Final setup. Held it in with zip ties so it’s all removable. Also, the way this is setup I will still be able to put in a second battery. A yellow top once my Bday rolls around

. Also note the 200amp breaker. I have a 100amp one I may swap it out for and put this in another project.

I knew I wanted easy access to the switches so I decided I’d go with the flow and make them easy to see and reach. I made a template (sorry no pics) for the pocket area, 2nd sheet of ABS went in the red neck jig and got me here. I used a center line for the first switch, a 3 switch spacing template to get the 5 holes how i wanted them. Off set them to the righ because my phone mount blocks the blank area:

Used a Dremmel and a file to get these just right

Final placement, just needed to wire it in.

2... hours... later.... and yes, all even length and heat shrinked. I considered soldering these joints (everywhere) but think it would be too hard to service in the field so just stayed with a crimp.

I made a signal and power plug. power was the same as earlier and tucked under the dash. The signal is pinned left to right for the switches and match the #'s on the posts at the relay. also not pictured is the piggy back fuse I used on accy for the switches. I may change that in the future but i have a habit of leaving things on and getting dead batteries so that was more protection from myself.

Last but not least this is how I chose to run the wire. Being that its a newer truck I couldn't bring myself to drill the console so this is some of the only exposed wire loom, makes it a little more removable as well.

Tada!!!
Thanks for checking it out!!!