Inventor I
- 13,232
- First Name
- Bjoern
- Last Name
- Eldracher
- Member #
-
20111
- Ham/GMRS Callsign
- DO3BE
Compressed air is always a topic and interesting for many. Therefore, I would like to show my setup and how I extended and customized it.
Since some years, I am using a permanent installed ARB compressor and am very satisfied with it. It feeds the front and rear lockers and two compressed air quick couplers for to fill tires, etc.
But such an onboard compressed air system is somehow never finished. So, I extended it with an air tank and a pressure gauge. For this I got the following items. Everything in good quality, because I want to rely on it and after all about 7 bar pressure on the system are, it would be too dangerous for me to install cheap components.
1x pressure tank approx. 7.5 liters/ 2 gallons
1x overpressure valve NPT 1/4"
1x drain plug NPT 1/4"
2x blind plug NPT 1/4" (to close the remaining connections)
1x plug connection non-return valve 1/4"-8mm
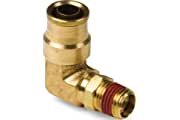
2x stainless steel angle plug-in connection, adjustable NPT 1/4"-8mm
1x stainless steel angle plug-in connection, rotatable and adjustable, NPT 1/4"-6mm
1x mechanical pressure gauge with connection fitting for the pressure gauge on polyamide hose 6x4mm
A few meters polyamide pneumatic hose black 8x6mm and 6x4mm

Let's go!
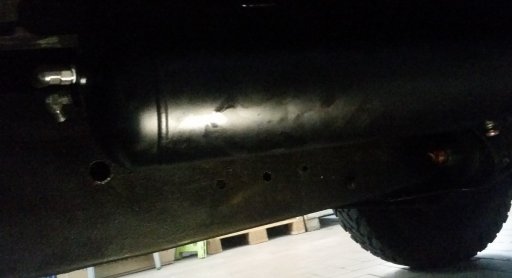
First of all, I mounted the core piece of this little project: the air tank. For this I decided to use a relatively well protected place on the underbody, where the tank does not affect the ground clearance too much. On the passenger side directly next to the frame and somewhat protected behind the front frame outrigger. This way it was also possible to get to existing hose ways without making them much longer.
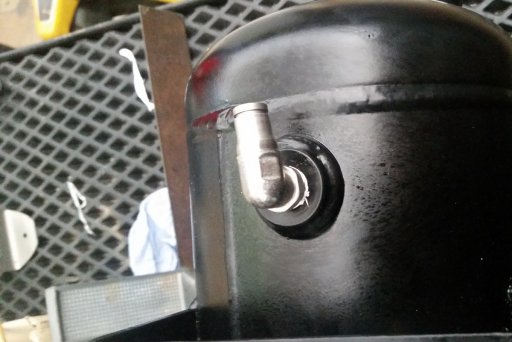
The fittings were quickly mounted and I continued with installation of the hoses and connections of these.
Then I installed a non-return valve in the supply line of the compressor, so that the compressor does not always have to pump against the pressure.
After that I installed the pressure gauge. Is that really necessary? No, but it is cool.
So, I looked for a suitable place in the already quite fully equipped cockpit which not much space left. Aha, there it fits wonderfully and I can read it well. Besides, it is placed "close to the subject" at the on/off switch for the compressor.
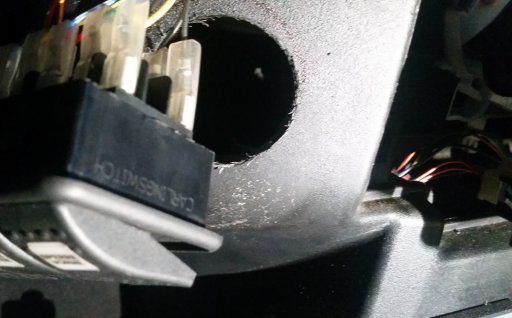
So once again I had to drill a big hole in the Landy:
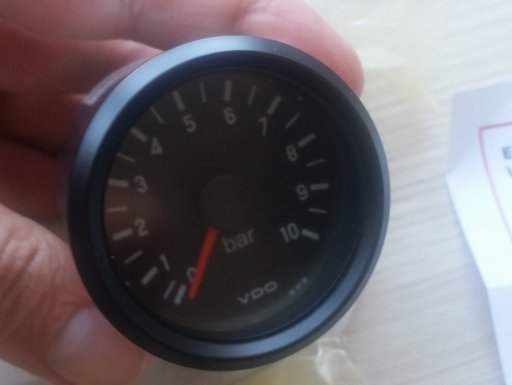
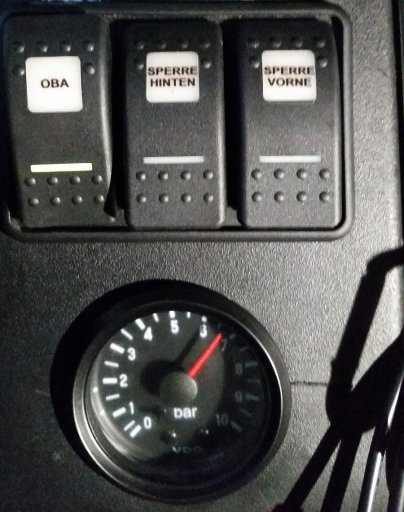
Then I connected the pressure gauge. By the way, it is a purely mechanical pressure gauge!
And TEST RUN:
I am very satisfied with the result! Maybe this little description will help some of you to build your on-board air system. If you have any questions, please contact me.
Bjoern
Since some years, I am using a permanent installed ARB compressor and am very satisfied with it. It feeds the front and rear lockers and two compressed air quick couplers for to fill tires, etc.
But such an onboard compressed air system is somehow never finished. So, I extended it with an air tank and a pressure gauge. For this I got the following items. Everything in good quality, because I want to rely on it and after all about 7 bar pressure on the system are, it would be too dangerous for me to install cheap components.
1x pressure tank approx. 7.5 liters/ 2 gallons
1x overpressure valve NPT 1/4"
1x drain plug NPT 1/4"
2x blind plug NPT 1/4" (to close the remaining connections)
1x plug connection non-return valve 1/4"-8mm
2x stainless steel angle plug-in connection, adjustable NPT 1/4"-8mm
1x stainless steel angle plug-in connection, rotatable and adjustable, NPT 1/4"-6mm
1x mechanical pressure gauge with connection fitting for the pressure gauge on polyamide hose 6x4mm
A few meters polyamide pneumatic hose black 8x6mm and 6x4mm
Let's go!
First of all, I mounted the core piece of this little project: the air tank. For this I decided to use a relatively well protected place on the underbody, where the tank does not affect the ground clearance too much. On the passenger side directly next to the frame and somewhat protected behind the front frame outrigger. This way it was also possible to get to existing hose ways without making them much longer.
The fittings were quickly mounted and I continued with installation of the hoses and connections of these.
Then I installed a non-return valve in the supply line of the compressor, so that the compressor does not always have to pump against the pressure.
After that I installed the pressure gauge. Is that really necessary? No, but it is cool.
So, I looked for a suitable place in the already quite fully equipped cockpit which not much space left. Aha, there it fits wonderfully and I can read it well. Besides, it is placed "close to the subject" at the on/off switch for the compressor.
So once again I had to drill a big hole in the Landy:
Then I connected the pressure gauge. By the way, it is a purely mechanical pressure gauge!
And TEST RUN:
I am very satisfied with the result! Maybe this little description will help some of you to build your on-board air system. If you have any questions, please contact me.
Bjoern