Double trouble

  • HTML tutorial

Grantnr

Rank III
Launch Member

Enthusiast III

859
San Leon, TX, USA
First Name
Nick
Last Name
Grant
Member #

11391

Well normally a build thread shows the progression of a rig as it goes through its transformations. Well I don't get this luxury. See, I messed up and got the old lady hooked on off road adventures as well. Therefore you get to see both rigs grow up.20180424_132413.jpg
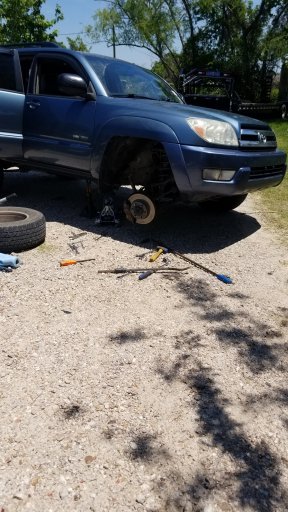
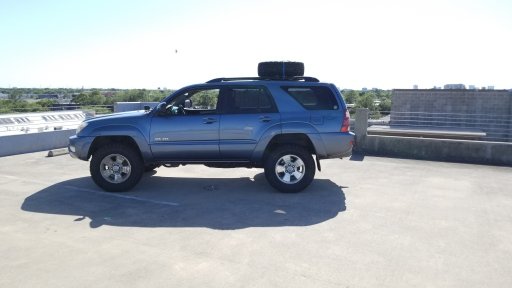
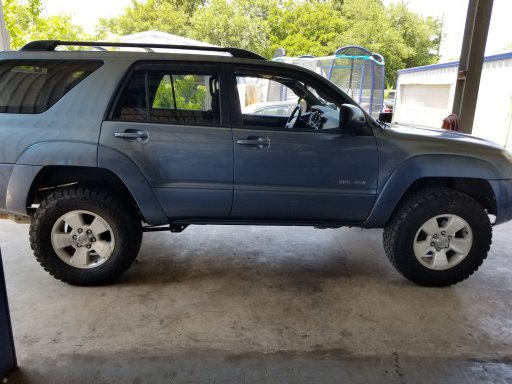
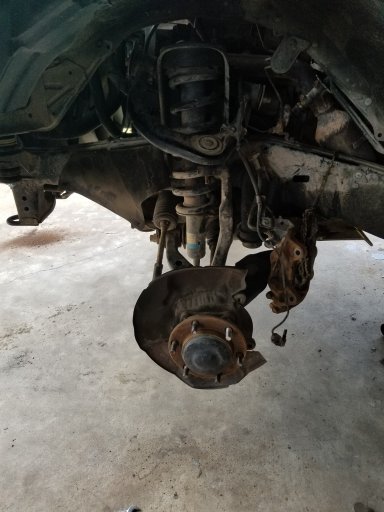
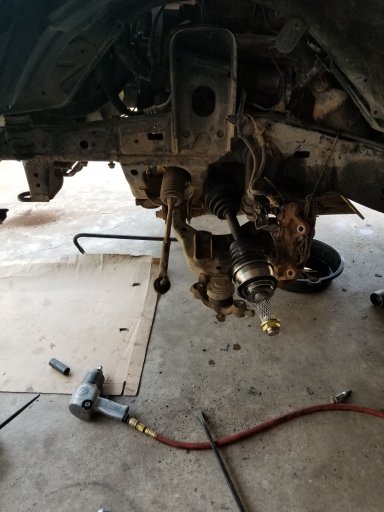
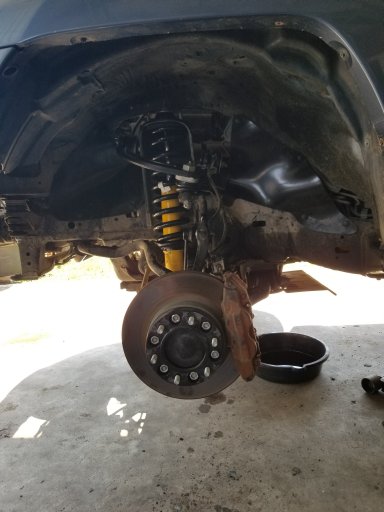
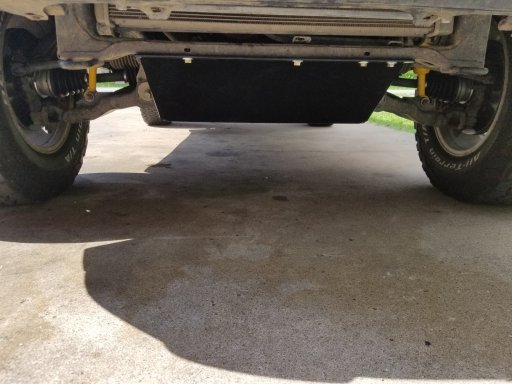
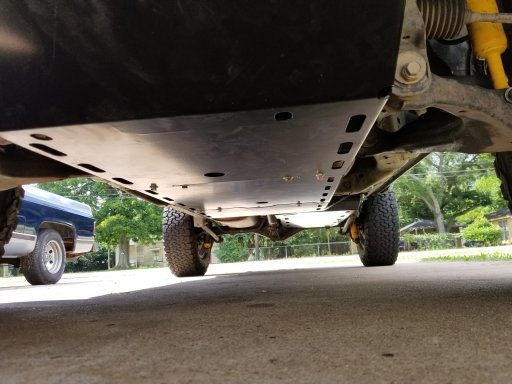
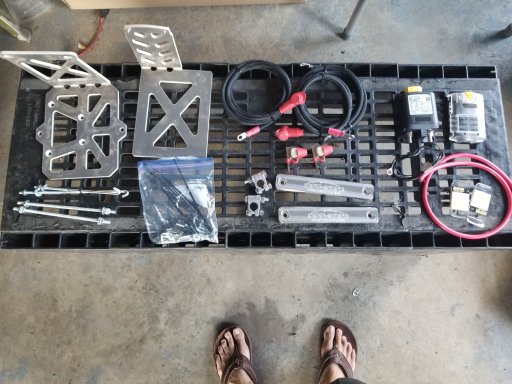
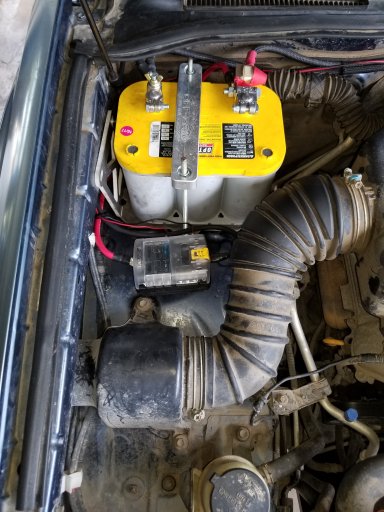
Outside of fixing stock system (2 front seized calipers, no fluid in rear calipers, blower motor, busted the A.C. liquid lime and replaced full system, ripped out the alarm due to faulty wire job by whomever, and upgrade to a yellow top among other things I've forgotten in the 5 months I have owned her) this is the first time she went under the knife. Prior to my Colorado trip I pucked her for 2inches so I could run a slightly larger tire. While pucks work I have never used them in a permanent position. Therefore.....20180516_101458.jpg 
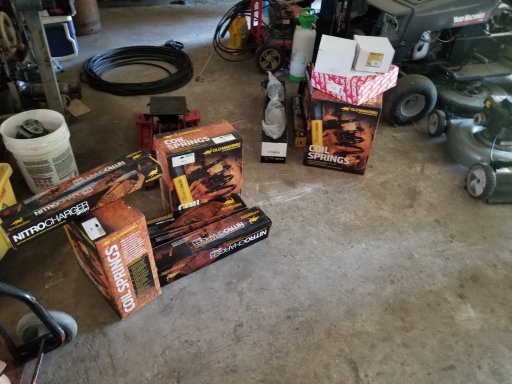
OME 2in for the missus and a 3in OME for myself
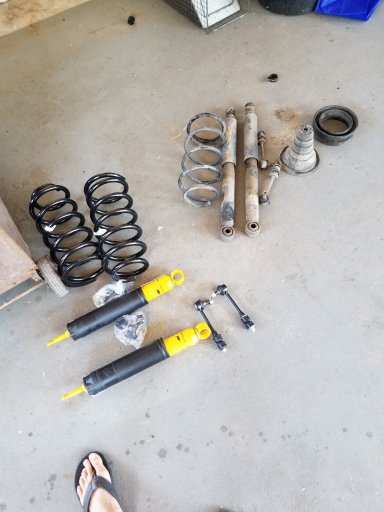
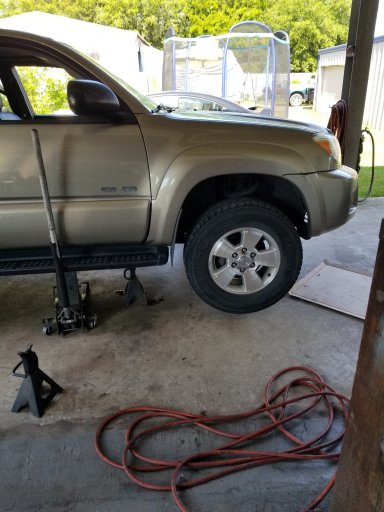
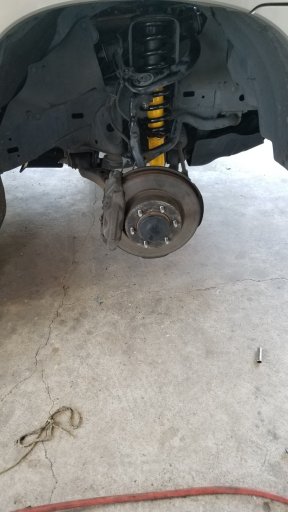
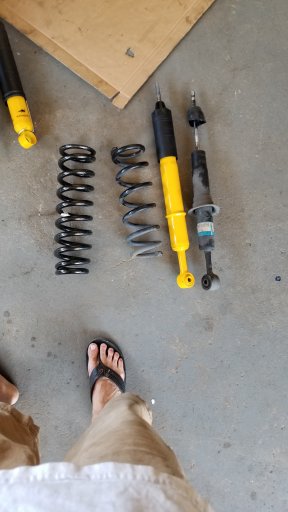
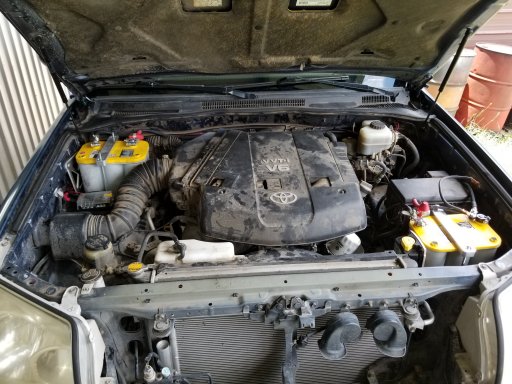
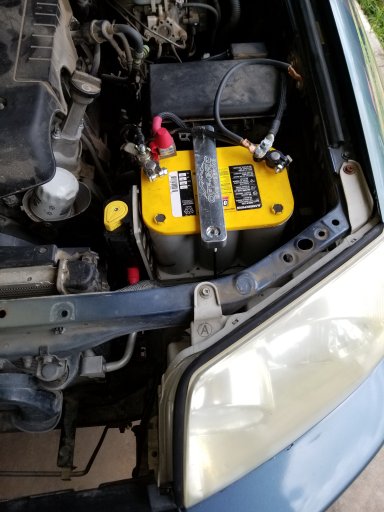
 
  • Like
Reactions: Graeman

totalnobody

Rank V
Launch Member

Enthusiast III

1,939
Columbus, Ohio
Member #

10820

looks like some serious pryage goin on for the calipers.

Hers and His rigs now that is awesome.
other than the double wammo on the wallet
still pretty cool
 
  • Like
Reactions: Grantnr

Grantnr

Rank III
Launch Member

Enthusiast III

859
San Leon, TX, USA
First Name
Nick
Last Name
Grant
Member #

11391

Actually the calipers don't come off. Just bust the spindle off the upper and swing it out of the way. And yes, my wallet cries and dies a little each time it realizes it has to buy everything in double.

Here's a little update on the missus rig.
Pre surgery:20180516_104330.jpg

A glimpse of sexiness:20180516_130656.jpg

A quick side by side:20180516_130828.jpg

Everything in and 5 o'clock somewhere20180516_172222.jpgI got front/rear suspension in and replaced the sway-links while I was playing around in there.
 
  • Like
Reactions: Graeman and Road
S

SubeeBen

Guest
A477BCDB-3DFF-44DB-9214-F2C0FDF85844.jpeg I feel your pain brother !!!! But since I make the payment on both rigs you can see what has not happened to mamas rig. good luck ✌
 
  • Like
Reactions: Graeman and Grantnr

Grantnr

Rank III
Launch Member

Enthusiast III

859
San Leon, TX, USA
First Name
Nick
Last Name
Grant
Member #

11391

Alright, little blue just got the scalpel again. Would like to say surgery was a success.

Before: just a 2in daystar leveling kit.
20180426_164137.jpg
Out with the old, in with the new 3in HD springs and sway links.
20180517_125613.jpg
Little blue wanted to be a Kardashian, little in front with an oversized rear20180517_125157.jpg
Yeah, that had to go20180518_130034.jpgwell it's gone but. . Now what. Oh and don't mind the new shaft, it's only to stop fluid from leaking.20180518_134037.jpg
And final product. New struts, sway links, sway bushings, upper control arm, hub units, short shafts, and RAD engine skirts20180518_154104.jpg
*not shown*
Installing the 1in body lift was the most miserable endeavor that I have done in a long time. Makes me miss my TJ.
 

Grantnr

Rank III
Launch Member

Enthusiast III

859
San Leon, TX, USA
First Name
Nick
Last Name
Grant
Member #

11391

Alrighty, a little update on lil blue. Big shout out to SHROCKWORKS here in Houston TX for a great product. If you guys haven't checked them out I would recommend it. Awesome guys. Anyways, down to the goodies... how about some rock sliders?20180529_145456.jpg

The old beat up sheet metal:20180530_154429.jpg

The pretty new powdercoated 3/16 sliders:20180530_154838.jpg

Hung and done:
20180531_104924.jpg 20180531_104932.jpg

Only complaint I can truly say I have is the lack of inset for the bolt heads or at least a shoulder shield for them. I can see a rock wiping some of these out. Other that that, install is a breeze even in 100 degree heat on concrete.
 

Grantnr

Rank III
Launch Member

Enthusiast III

859
San Leon, TX, USA
First Name
Nick
Last Name
Grant
Member #

11391

20180612_153024.jpg Late update but bit and pieced the work. Been feeling a little lazy I guess. Shout out to Off Grid Engineering for the kit. Dual battery set up complete with trays, wiring, and controller. I added the fuse block and extra wiring for that but overall this is a very complete kit.20180626_130634.jpg 20180626_130640.jpg
20180626_130646.jpg
 

Attachments

Last edited: