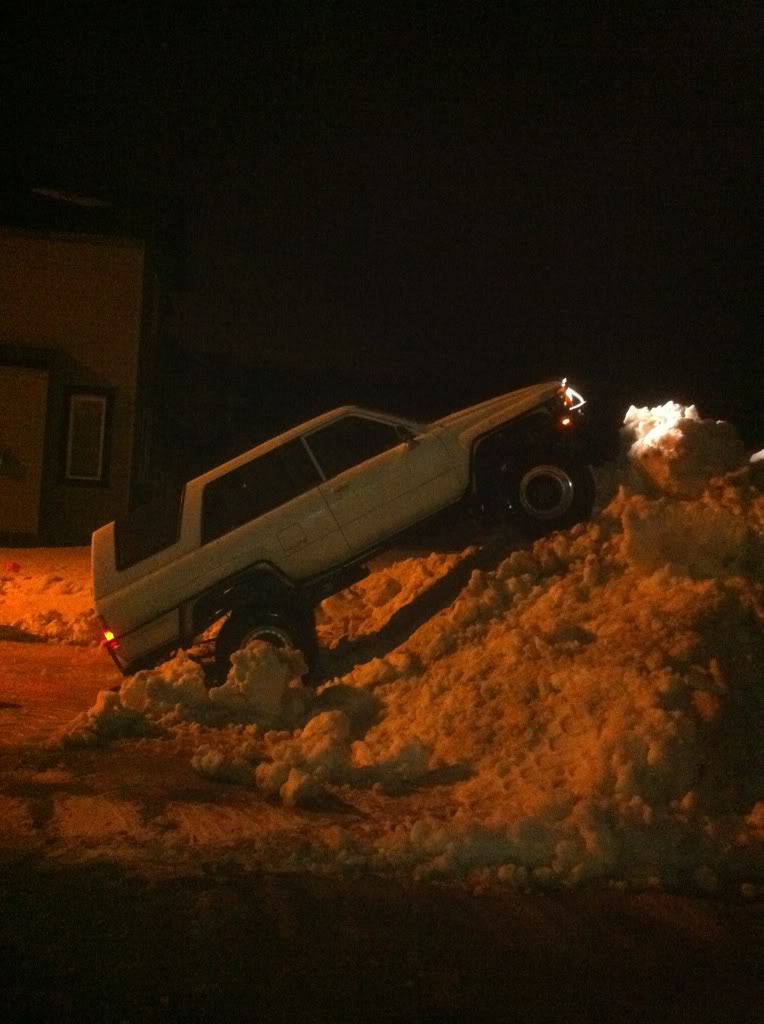
I know this isn't so much an overland build but more of a hardcore offroad build
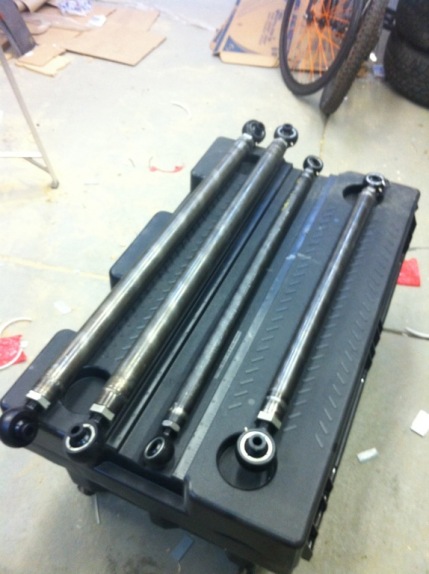
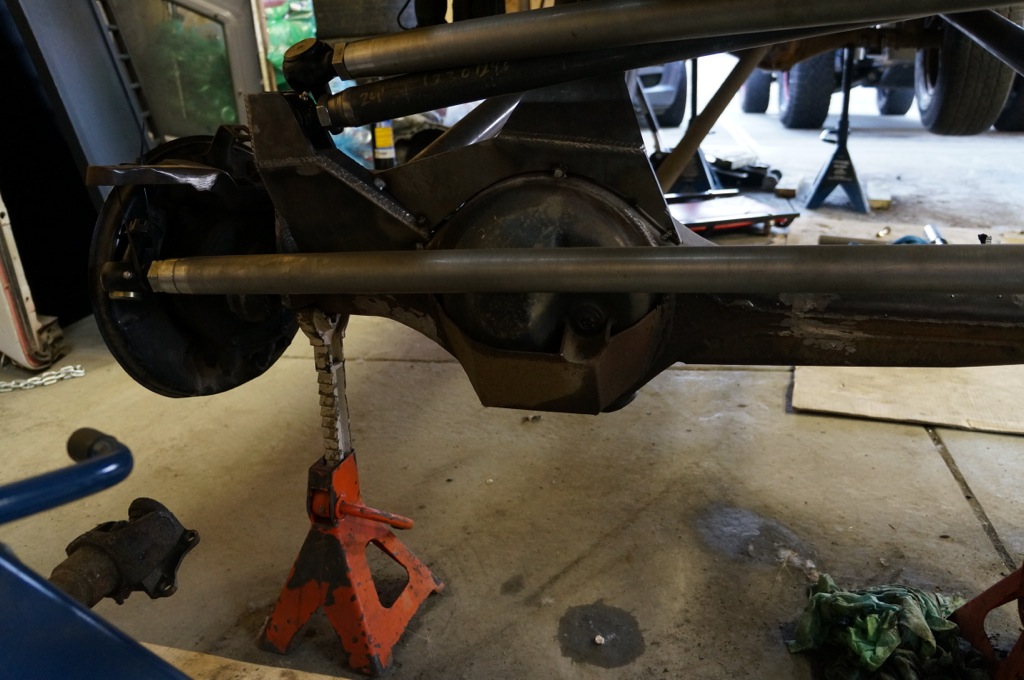
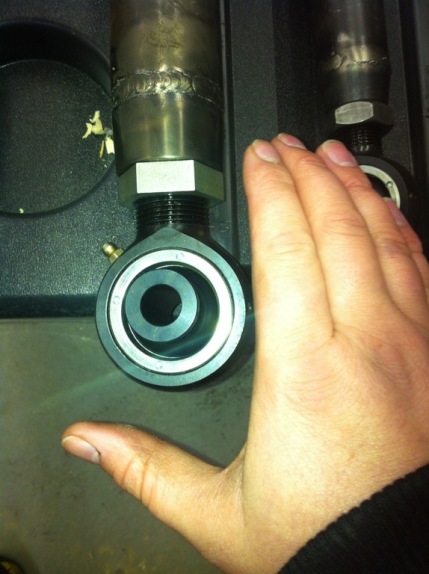
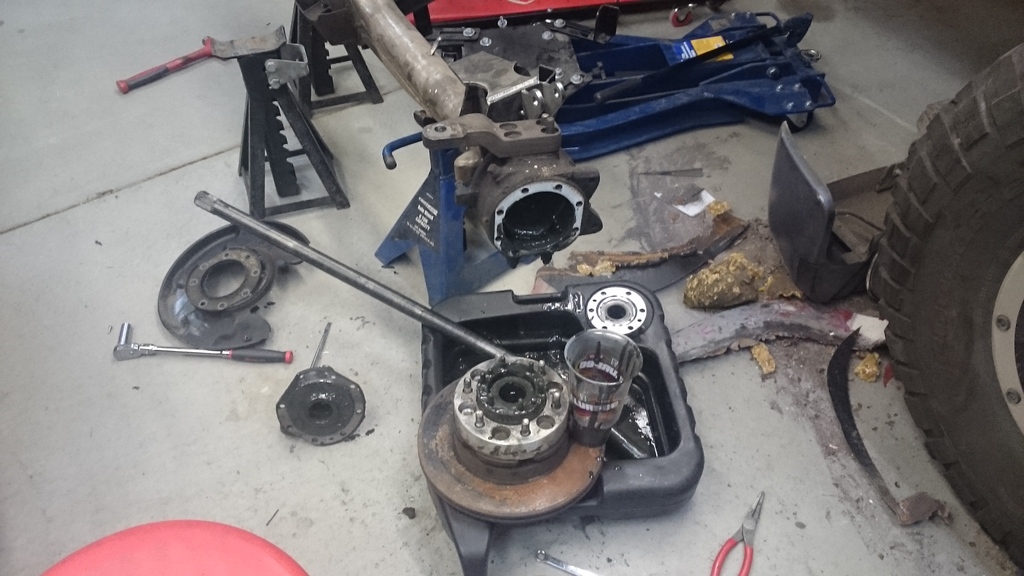
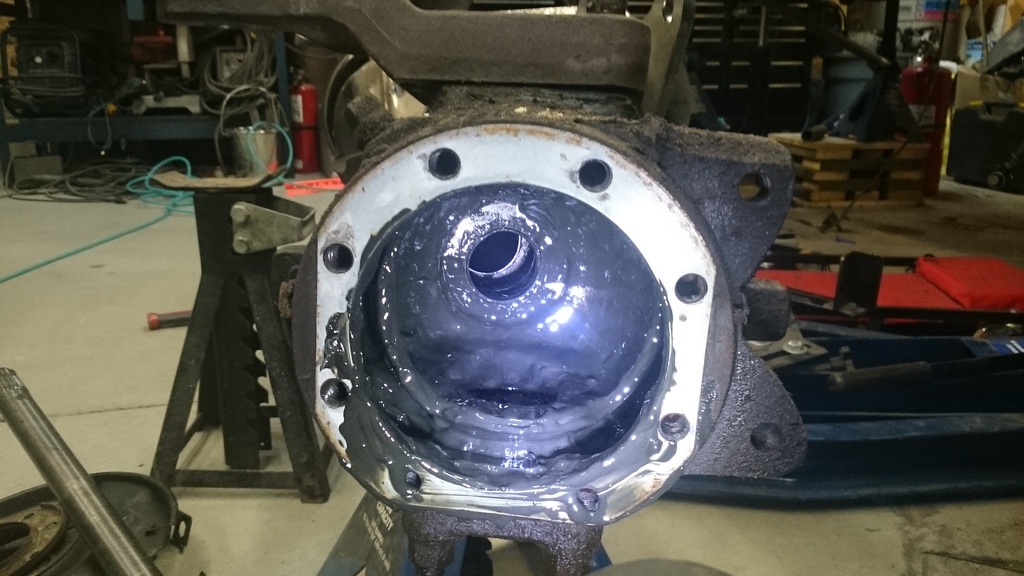
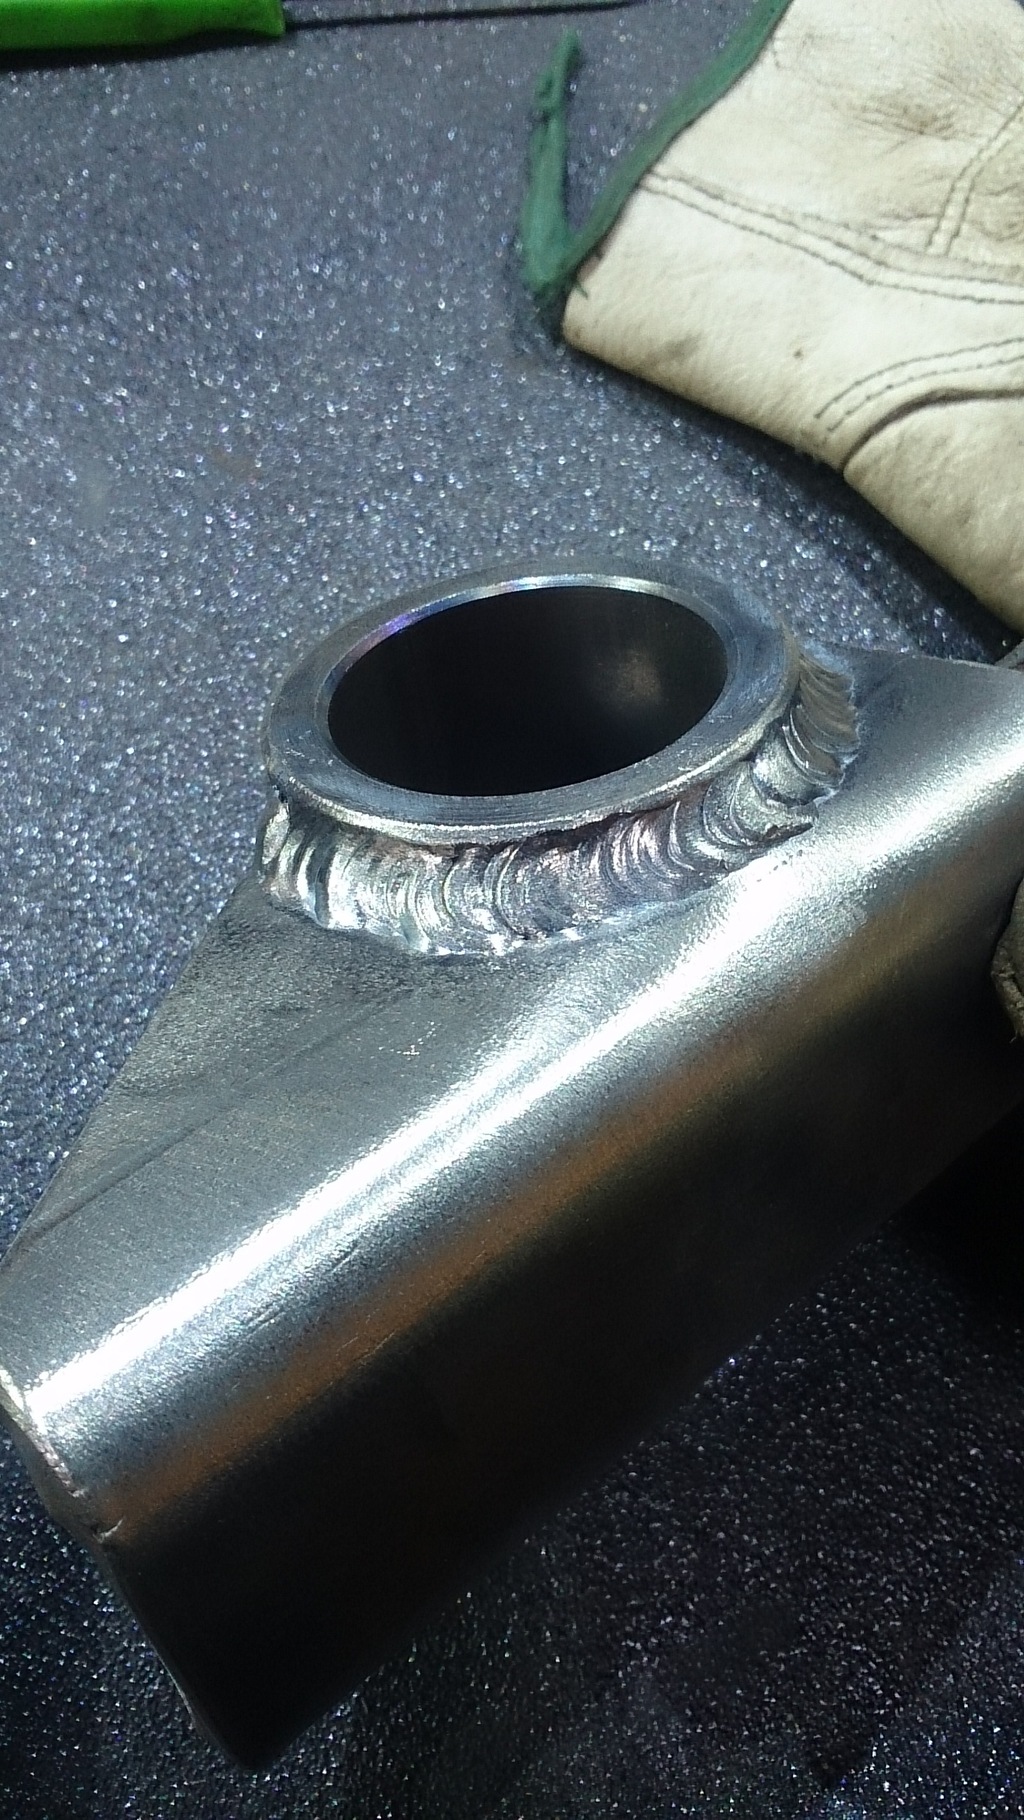
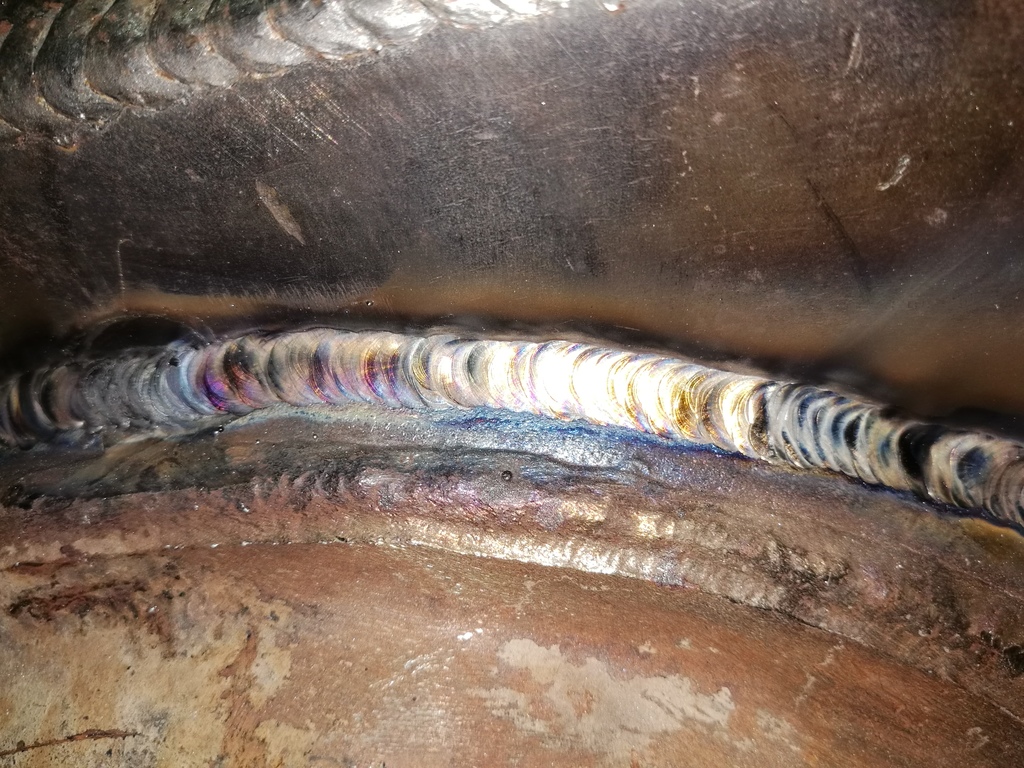
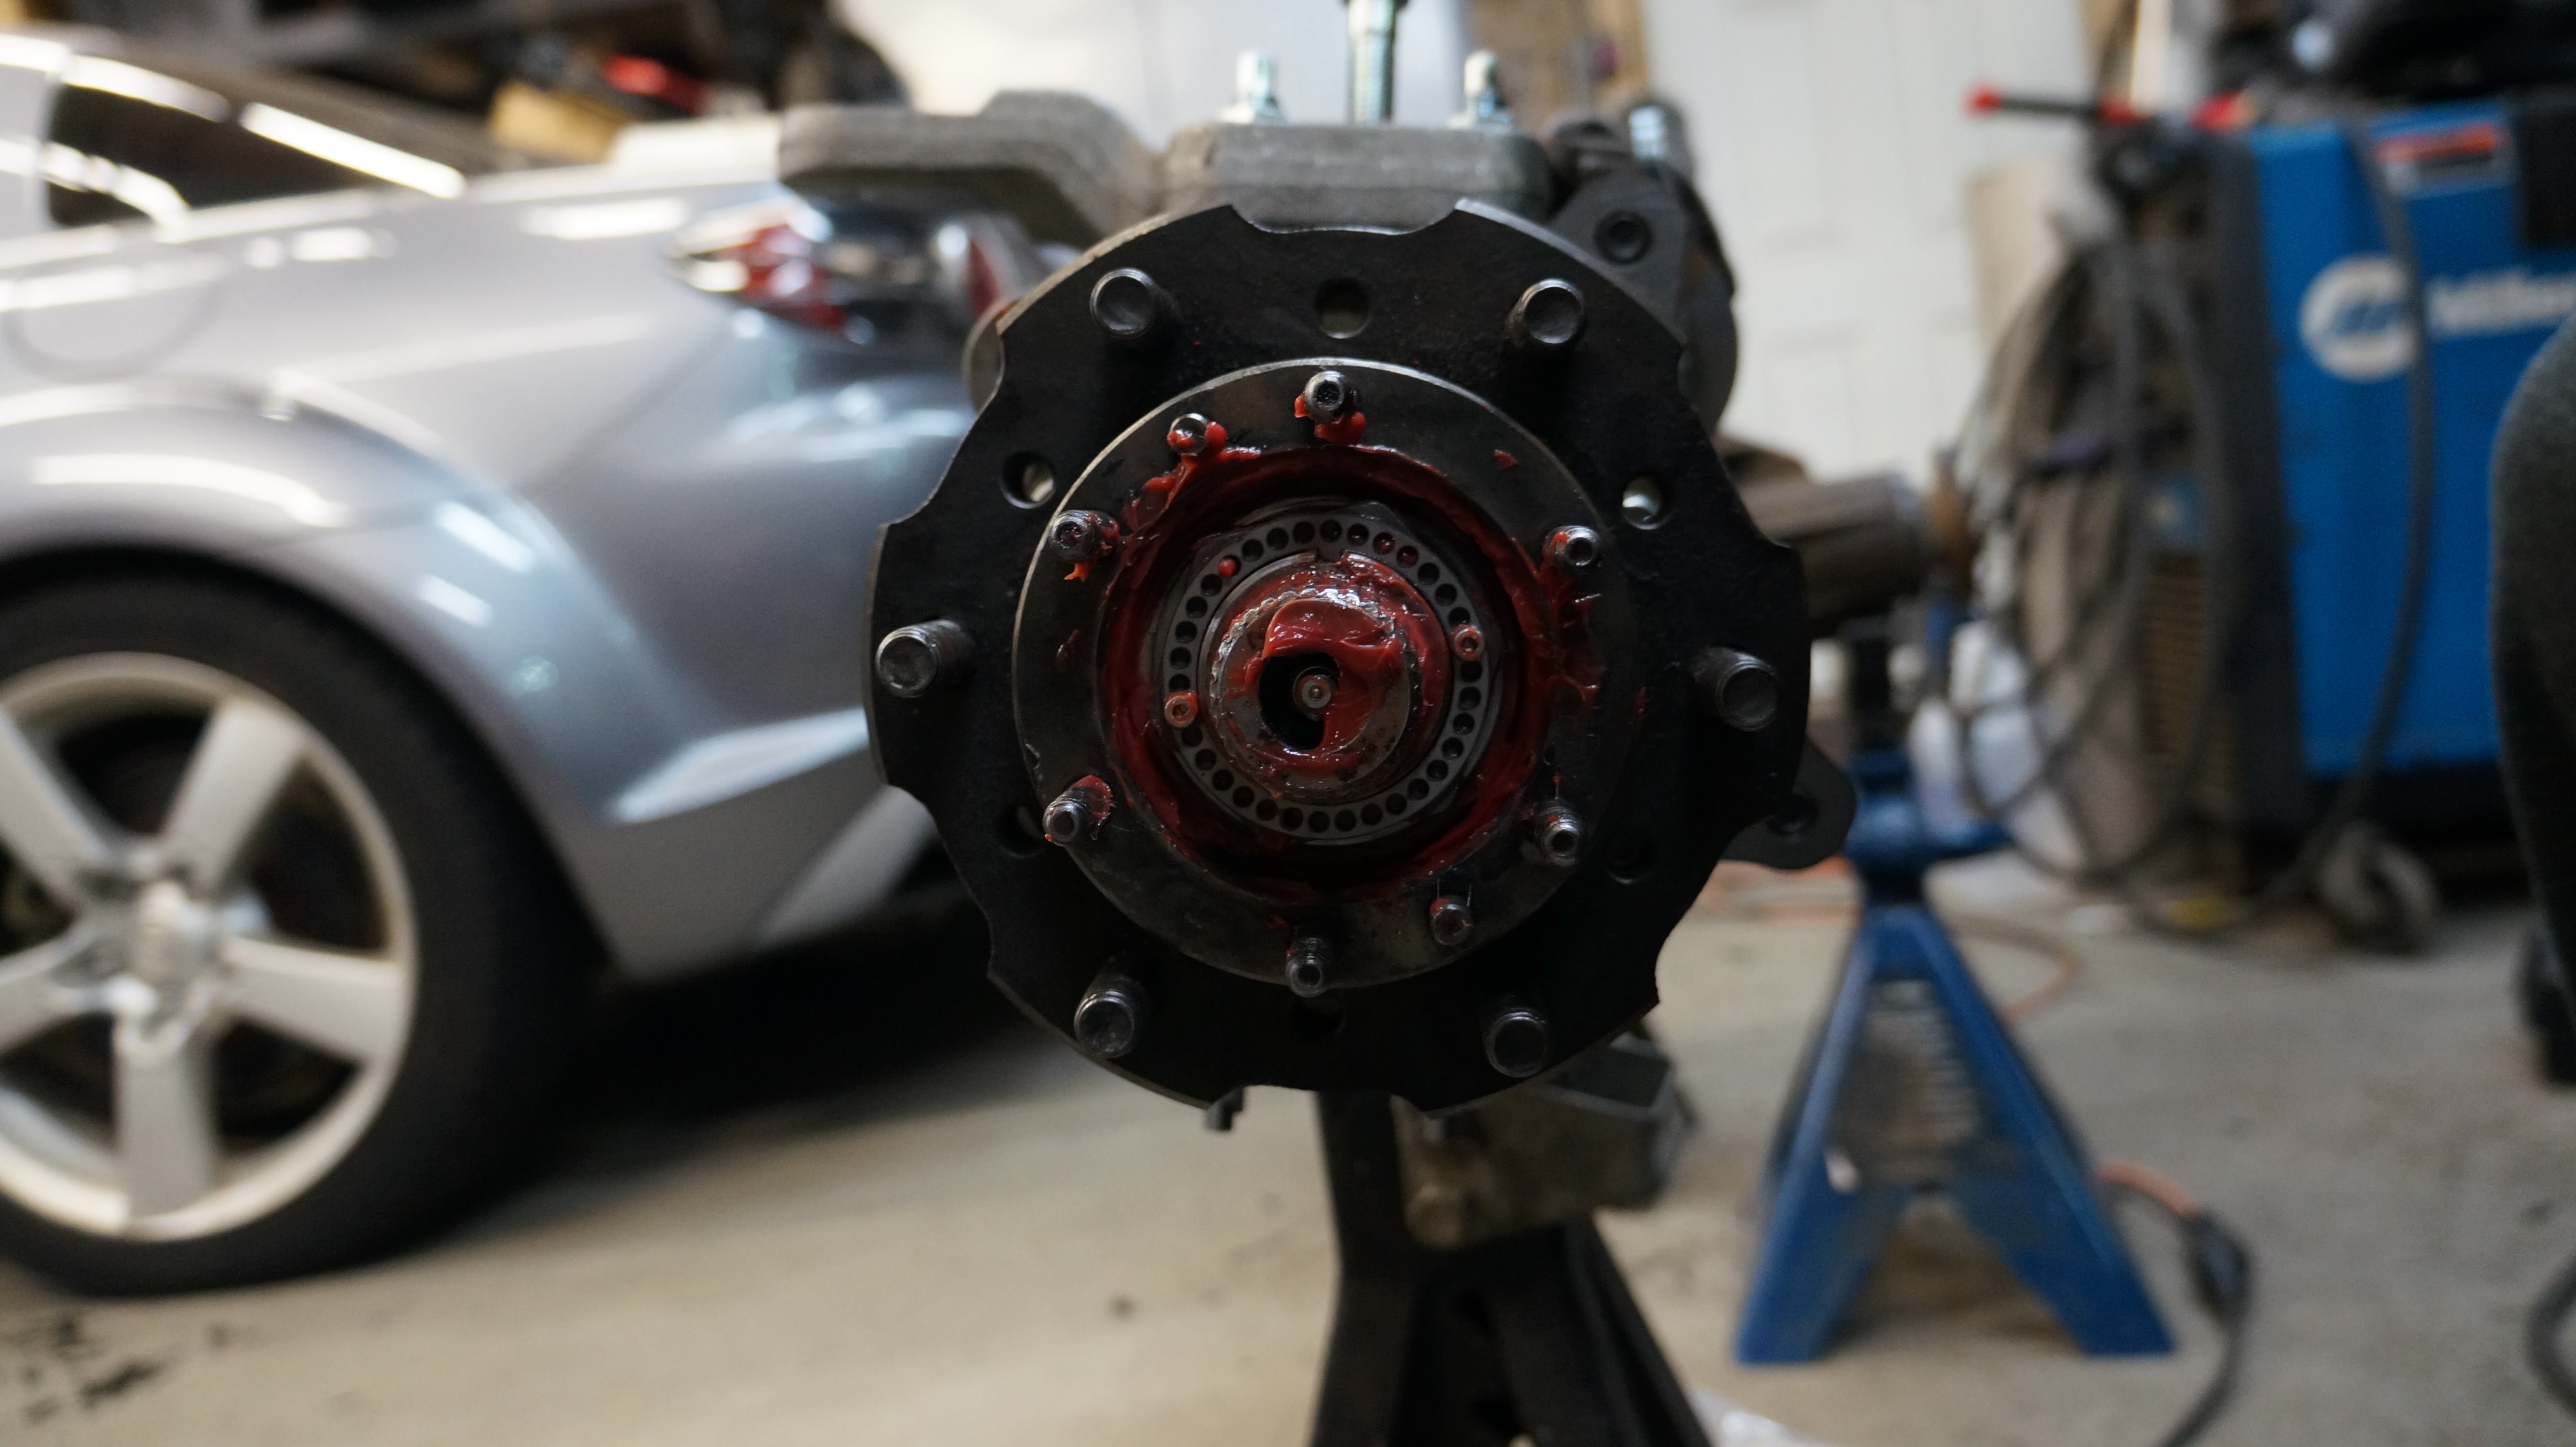
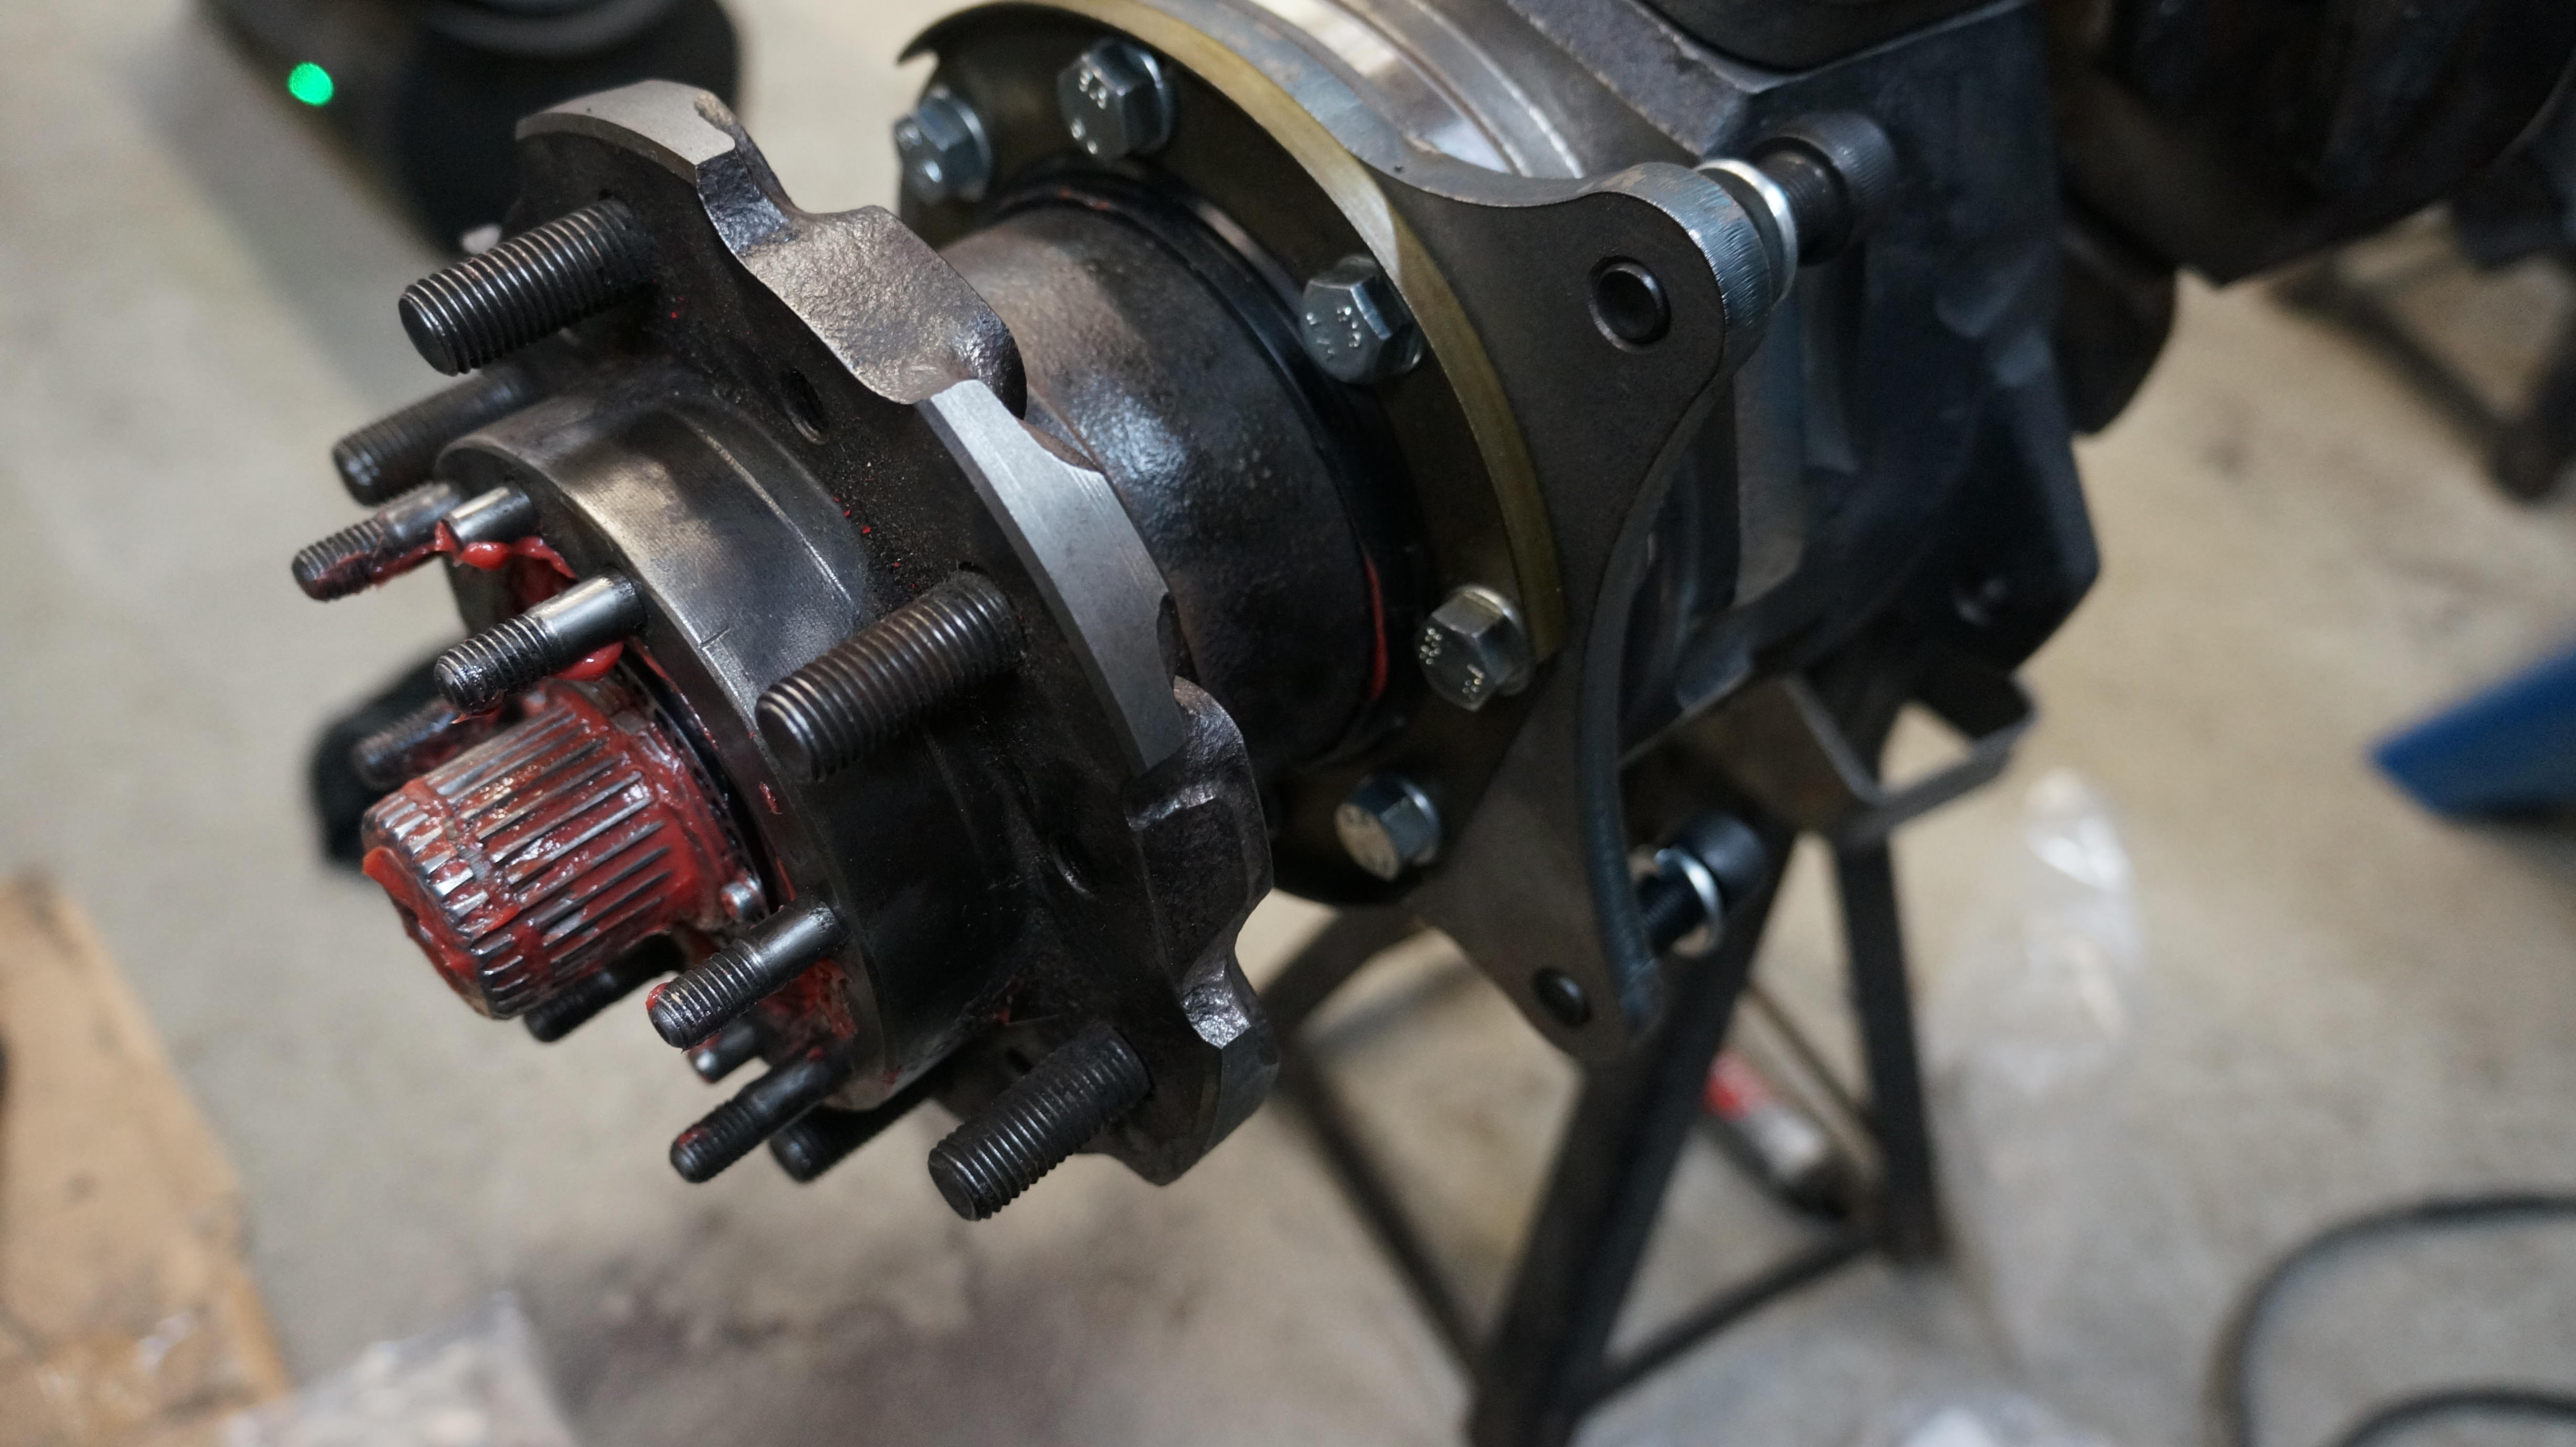
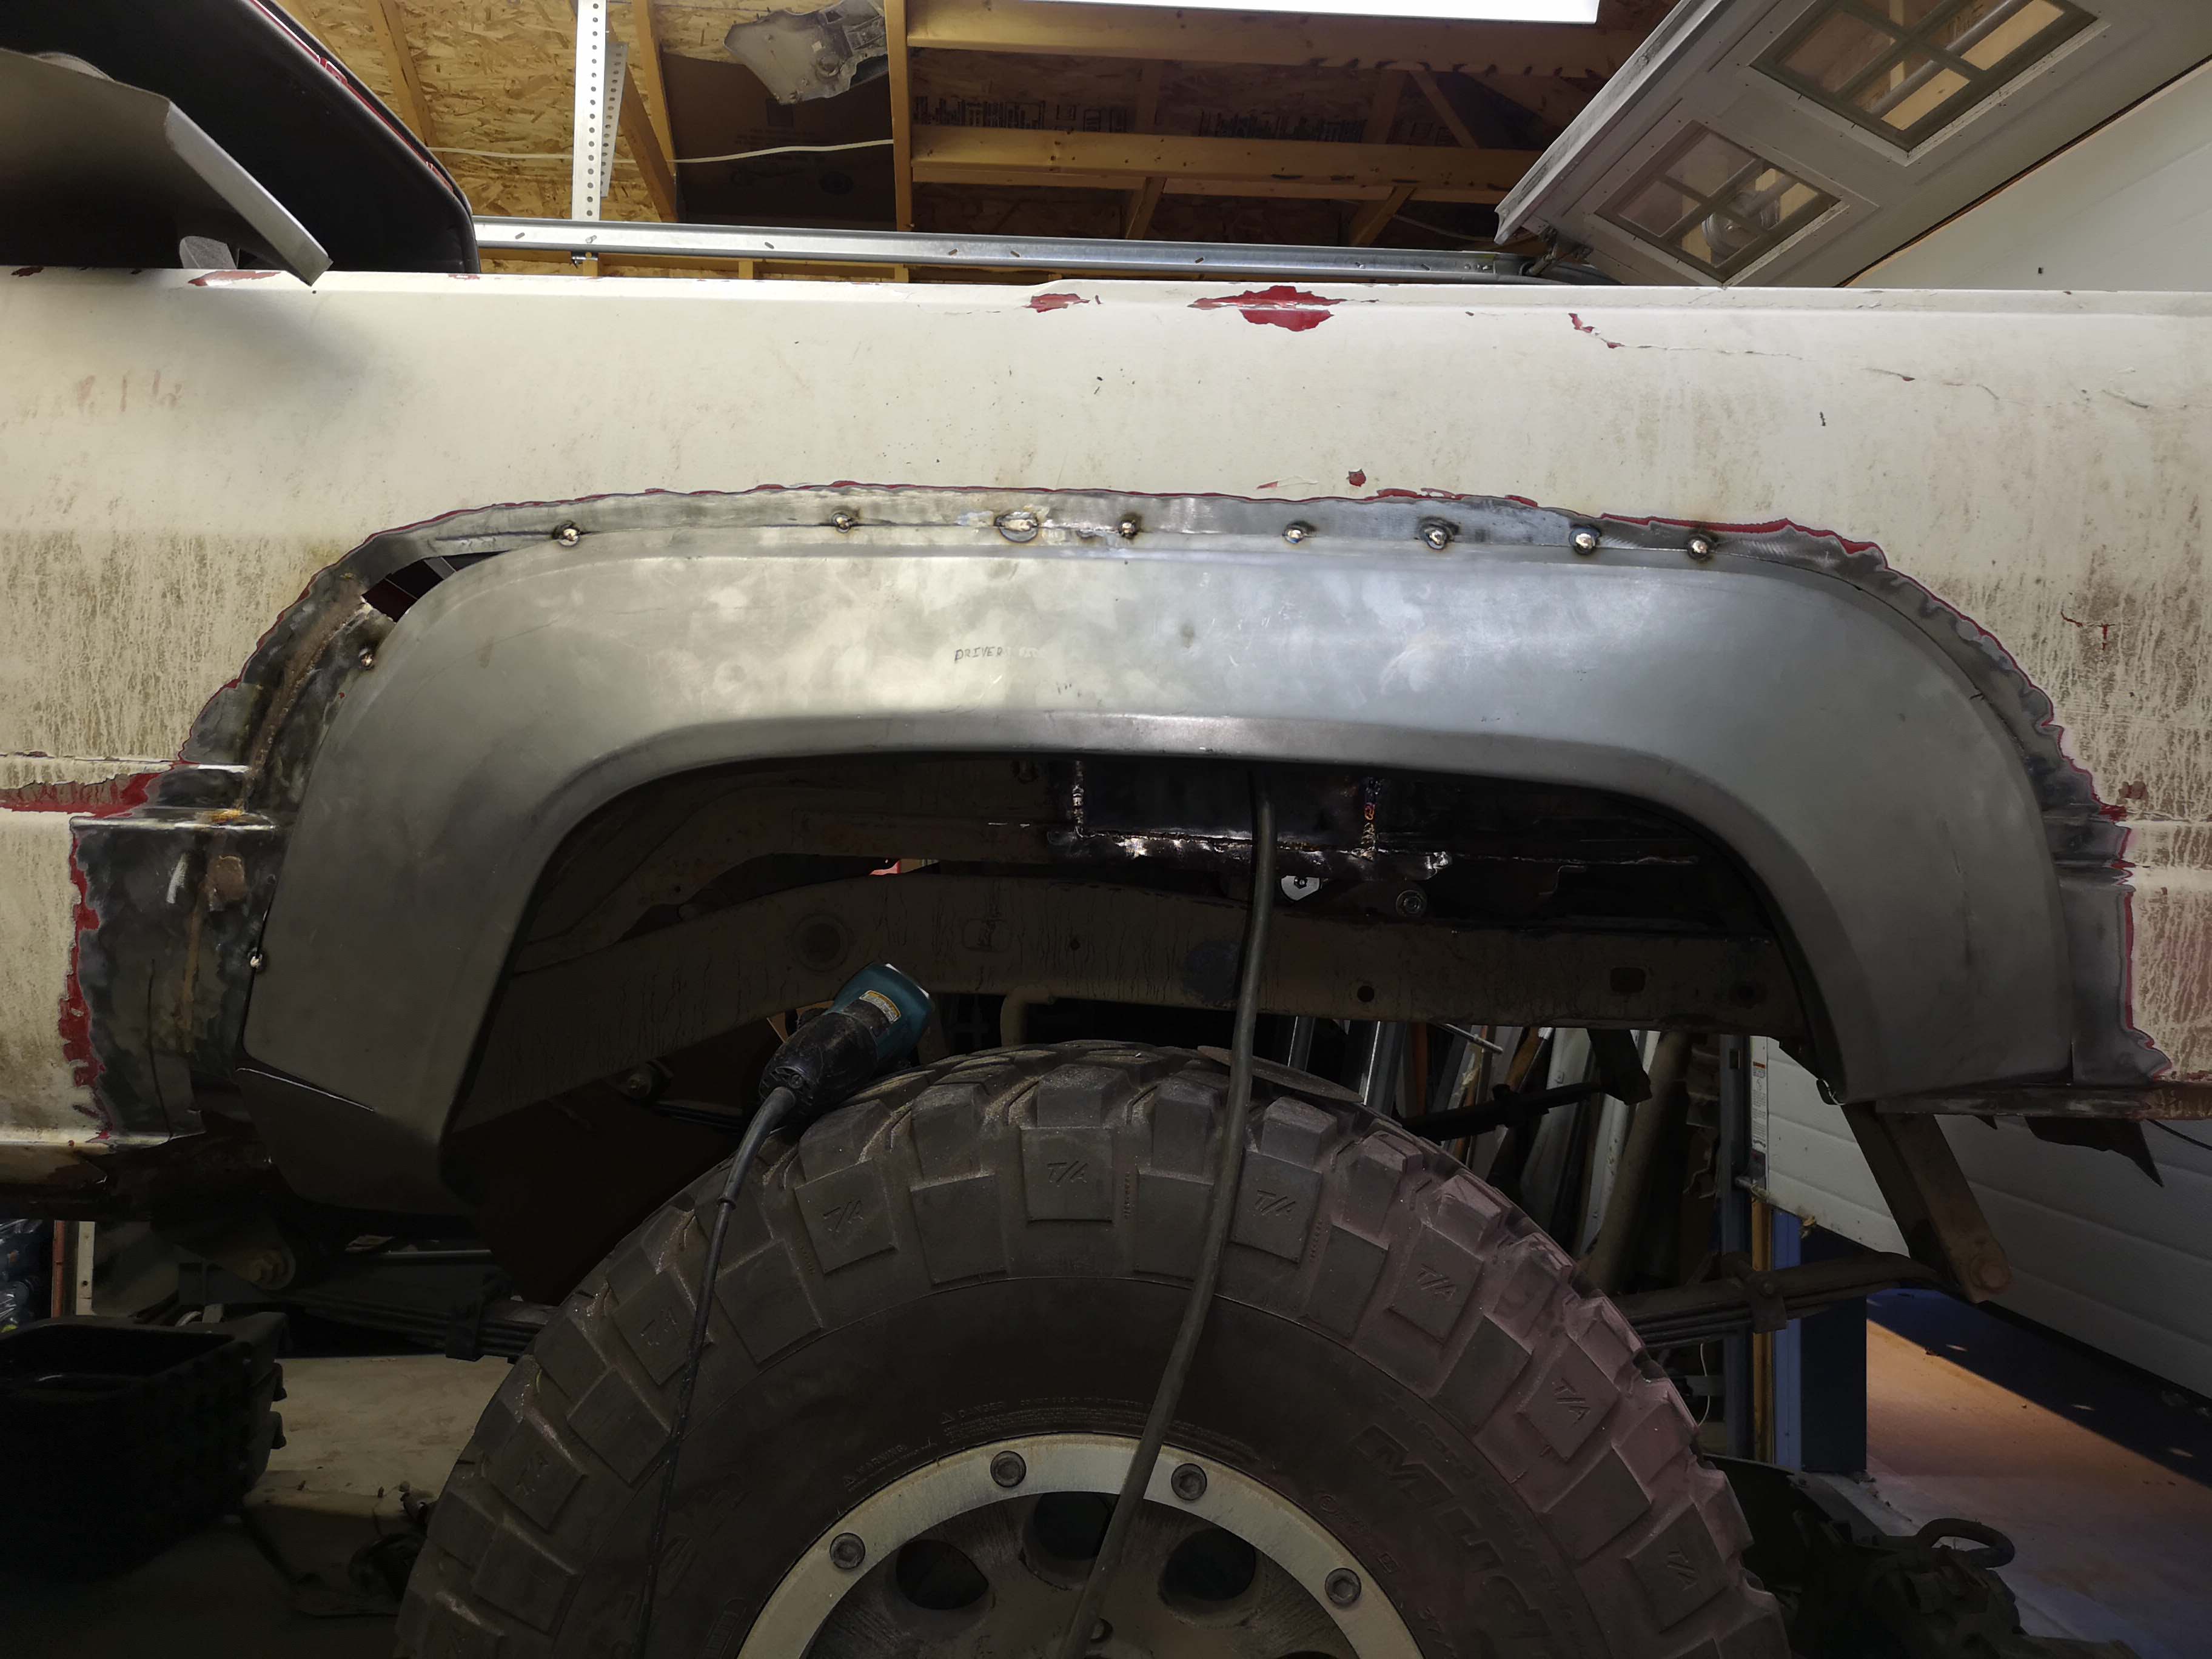
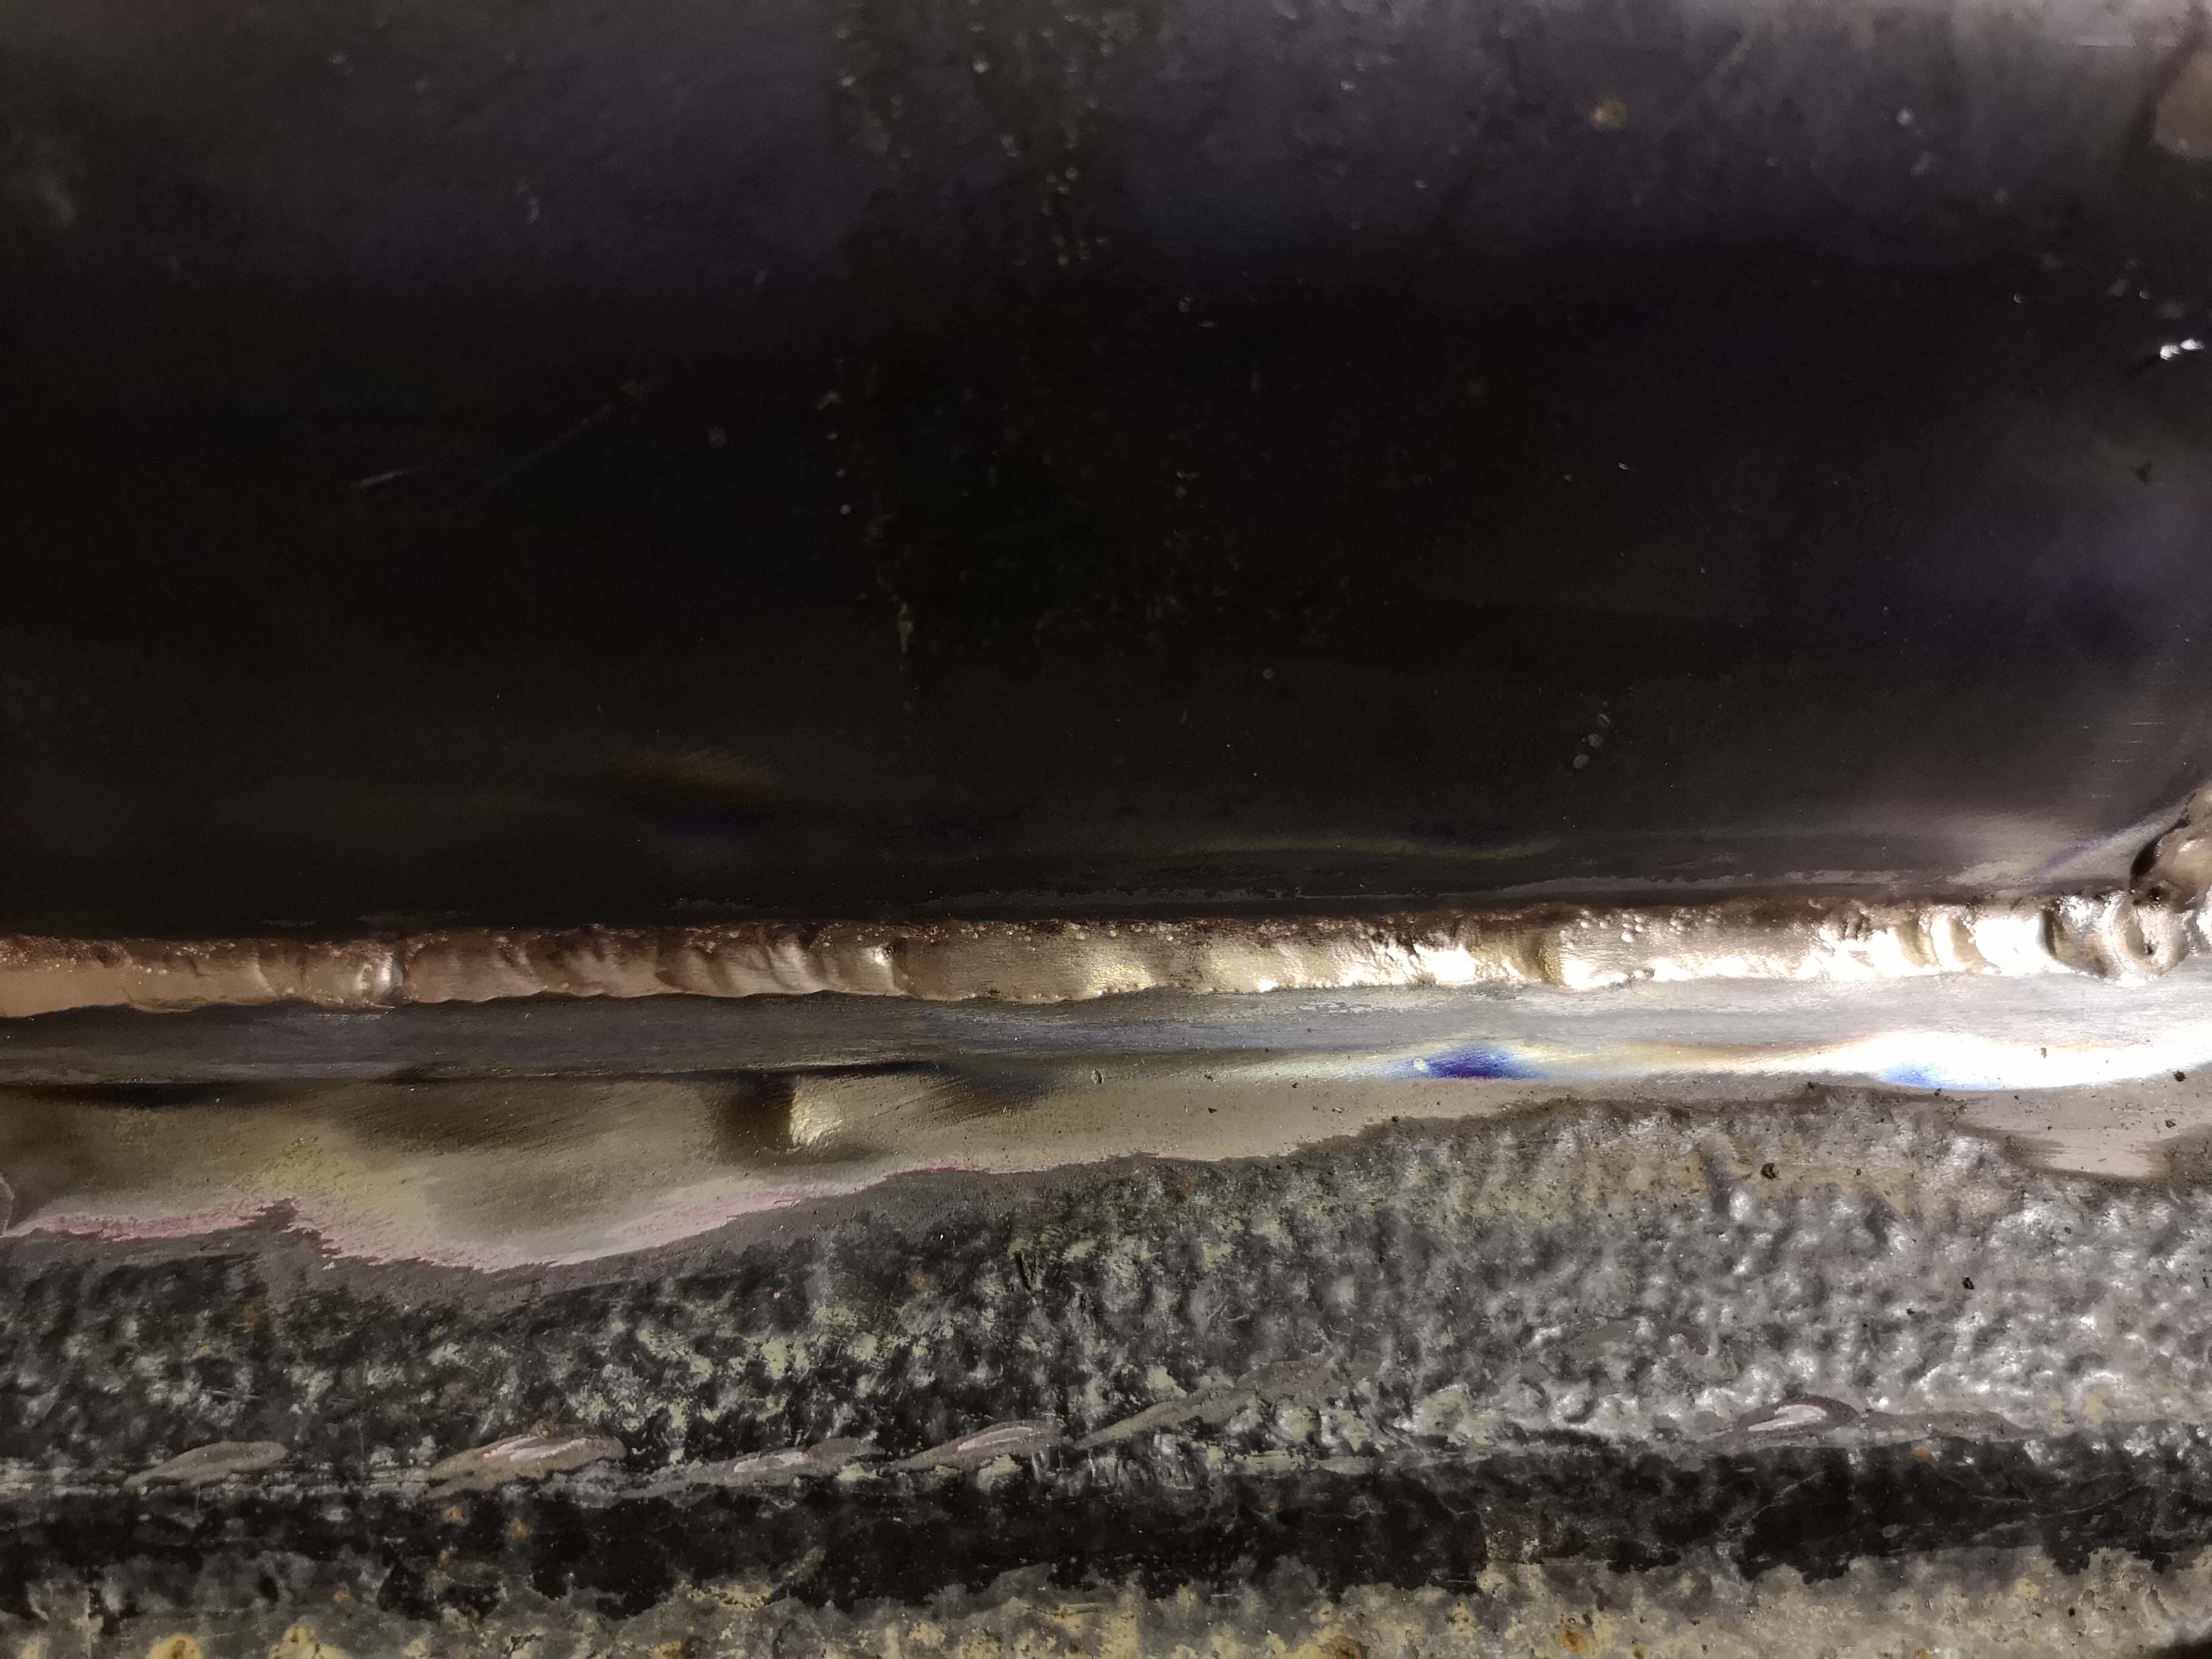
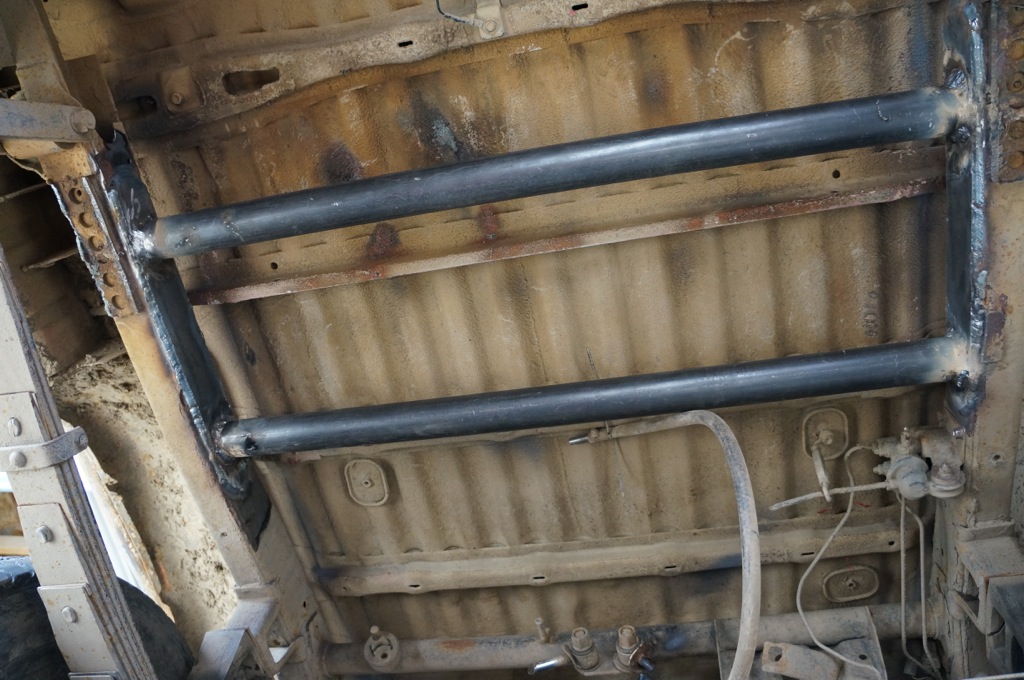
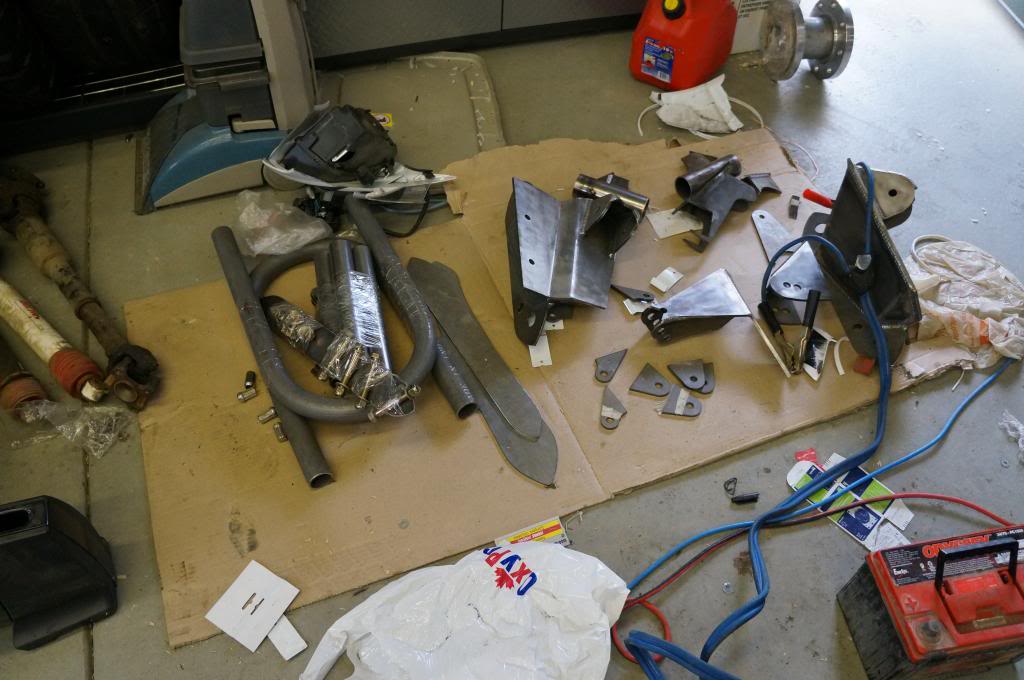
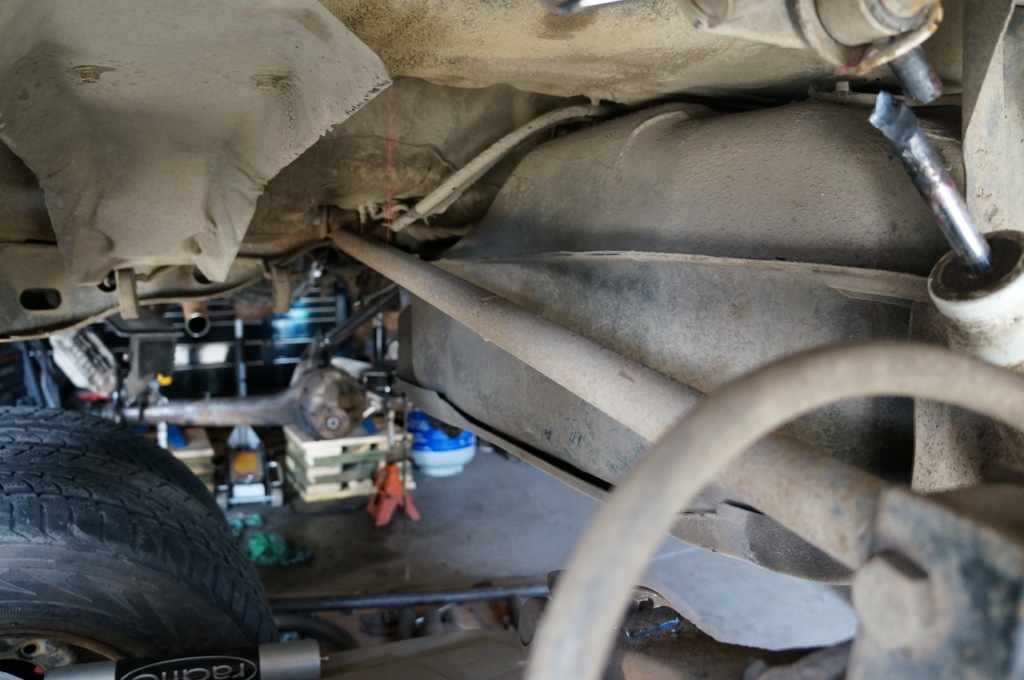
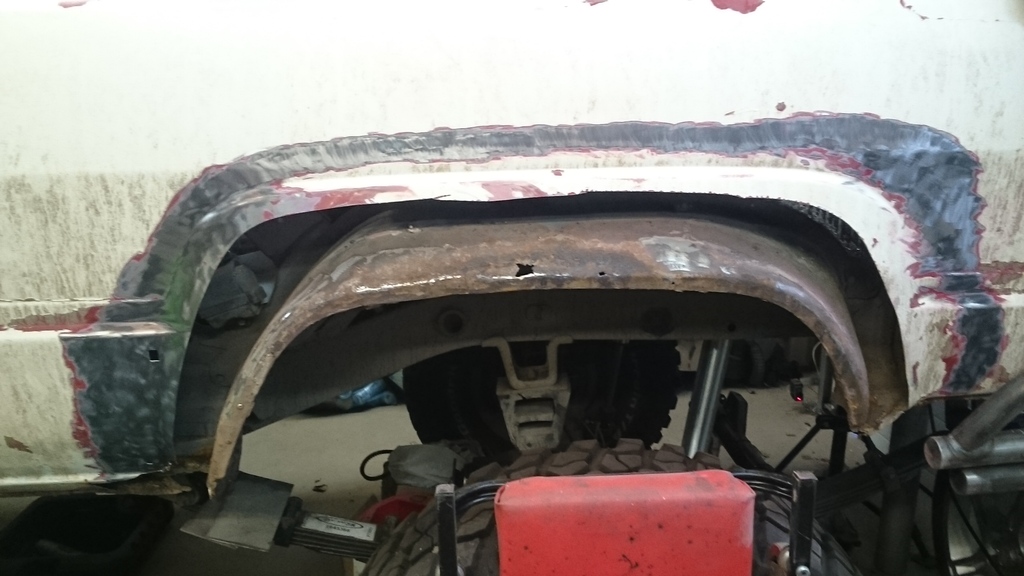
ok so, i bought my runner already sas'd it was locked in the rear with a lock right locker and had metric 33x11.5 equivalent tires on it. i drove it like that for about a year and then i threw some 37x12.5x17 bfg km2's on it. drove it like that for a few month till the lock right grenaded. so i threw a grizzly locker in it drove it some more till i found some issues with the front end and decided screw it im going to 3 link it and fix any other issues i found. this was in june and the truck has been sitting in the garage since then. there was some delays getting my kit from brian between the cc company not letting the charges go through initially to filler metal issues to pieces just going missing non of them brians fault. so by the time i finally get all the parts of my kit sorted and ready to tear into in its september. the week after i got it torn apart i crashed my bike and broke my left wrist and my right shoulder blade meaning i couldnt do anything for 8 weeks, which then put me in my final session of school to get my journeymen welding ticket which ment no cash flow as i still had/have a few things to get so i can finish the build. by the time school finished it was christmas so nothing got done so jump forward to last weekend and i was finally able get some work done on it. so heres some pics in no particular order, i apologize ahead of time if there are any duplicates

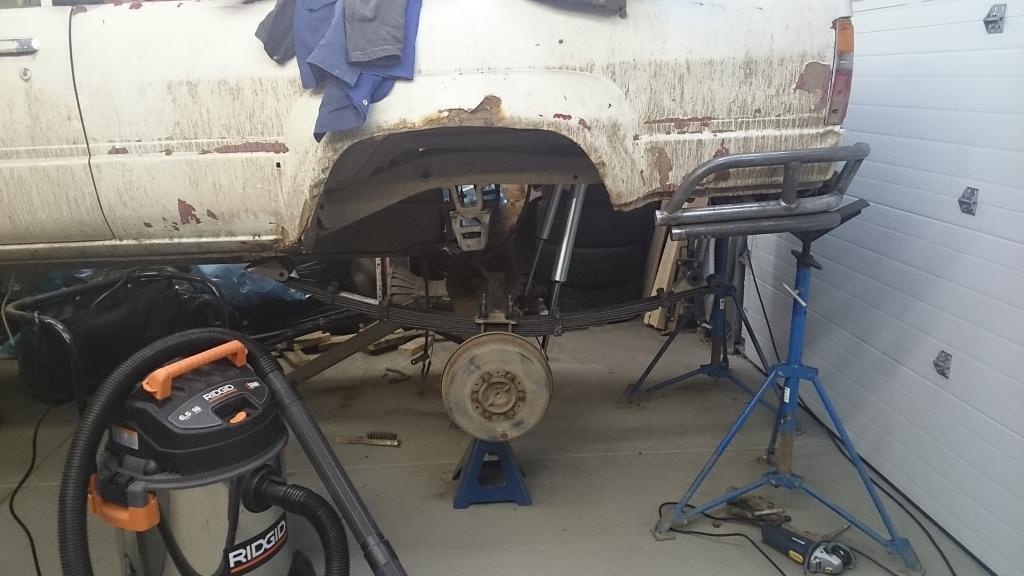
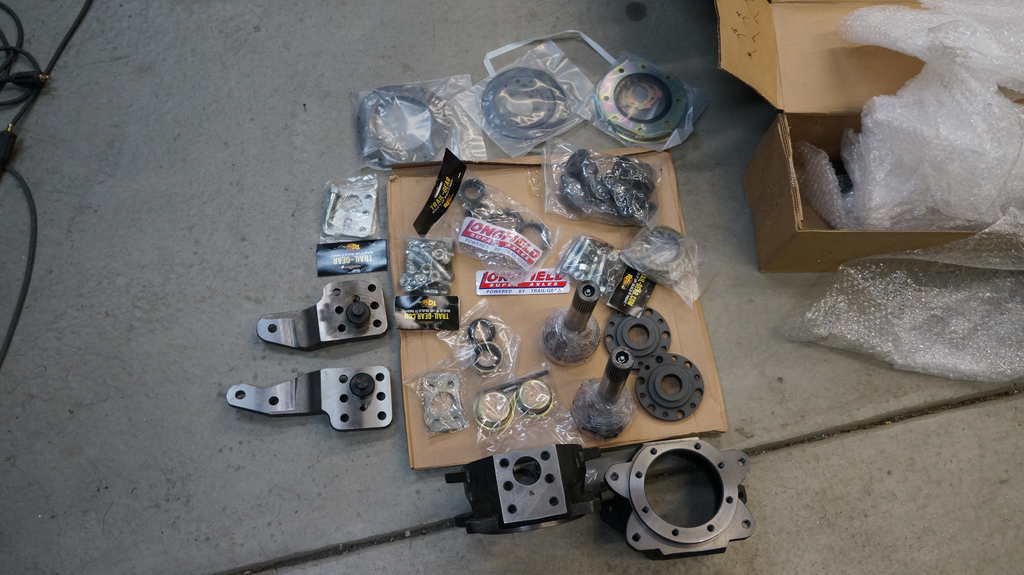

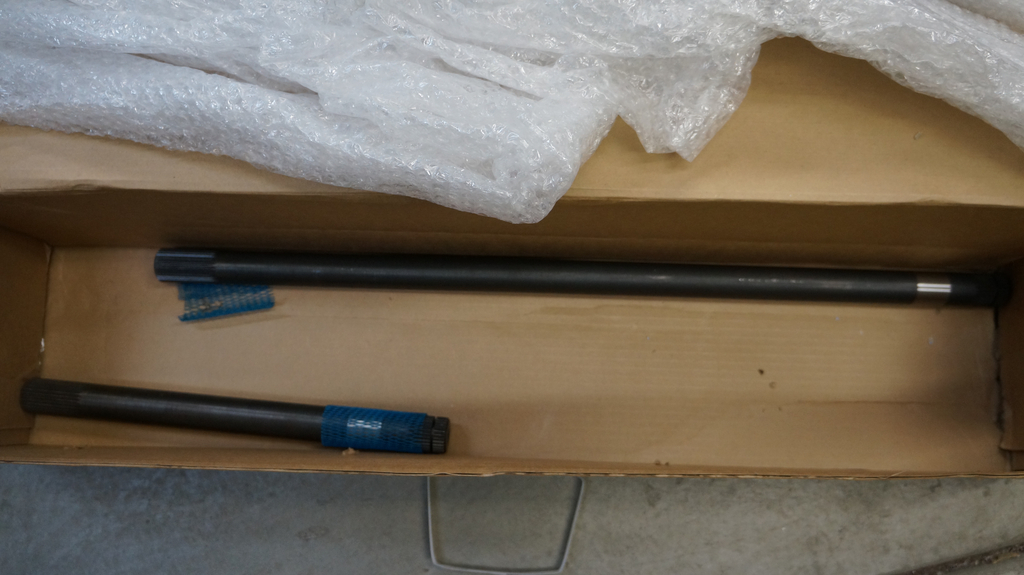
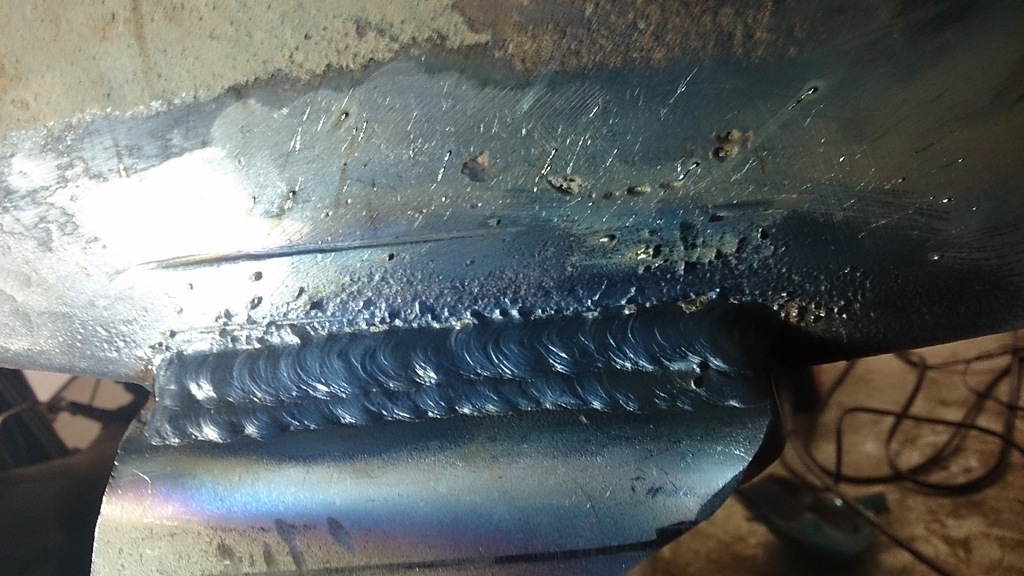


ok so, i bought my runner already sas'd it was locked in the rear with a lock right locker and had metric 33x11.5 equivalent tires on it. i drove it like that for about a year and then i threw some 37x12.5x17 bfg km2's on it. drove it like that for a few month till the lock right grenaded. so i threw a grizzly locker in it drove it some more till i found some issues with the front end and decided screw it im going to 3 link it and fix any other issues i found. this was in june and the truck has been sitting in the garage since then. there was some delays getting my kit from brian between the cc company not letting the charges go through initially to filler metal issues to pieces just going missing non of them brians fault. so by the time i finally get all the parts of my kit sorted and ready to tear into in its september. the week after i got it torn apart i crashed my bike and broke my left wrist and my right shoulder blade meaning i couldnt do anything for 8 weeks, which then put me in my final session of school to get my journeymen welding ticket which ment no cash flow as i still had/have a few things to get so i can finish the build. by the time school finished it was christmas so nothing got done so jump forward to last weekend and i was finally able get some work done on it. so heres some pics in no particular order, i apologize ahead of time if there are any duplicates
Last edited: