Before we start I am not a professional mechanic, or a welder.
The base truck for this build is a 1996 Daihatsu Fourtrak 2.8 turbo diesel. Its coil sprung on the rear and Torsion bar independent up front. The DL-52 engine is tough as old boots and the axles etc are also very well built, a lot of similarity to Toyota quality as both companies were intermingled. The main issue I've had running them is that they literally end up rusting to bits (seems to be most Jap 4x4s are the same here). It is a light truck at around 1700kgs standard so is plenty powerful with a torquey 2.8 and will turn 33 inch tyres with ease. It is also plated to tow 3500kgs braked which is pretty mad for a truck of its size and will run heavily overladen with no issues.
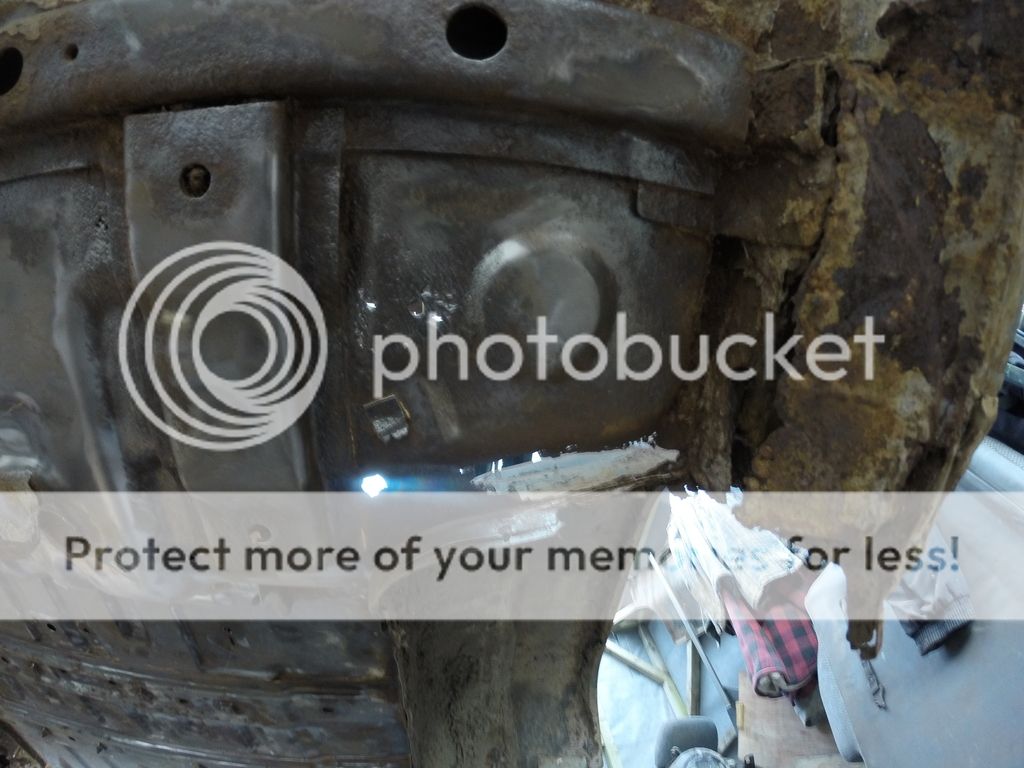
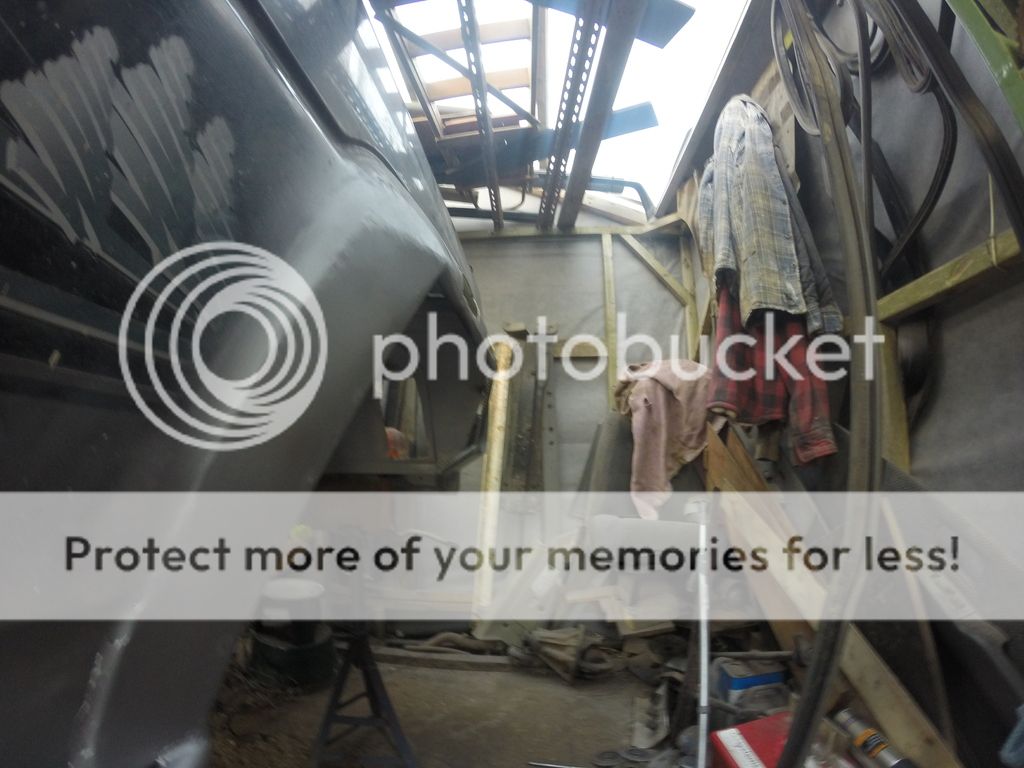
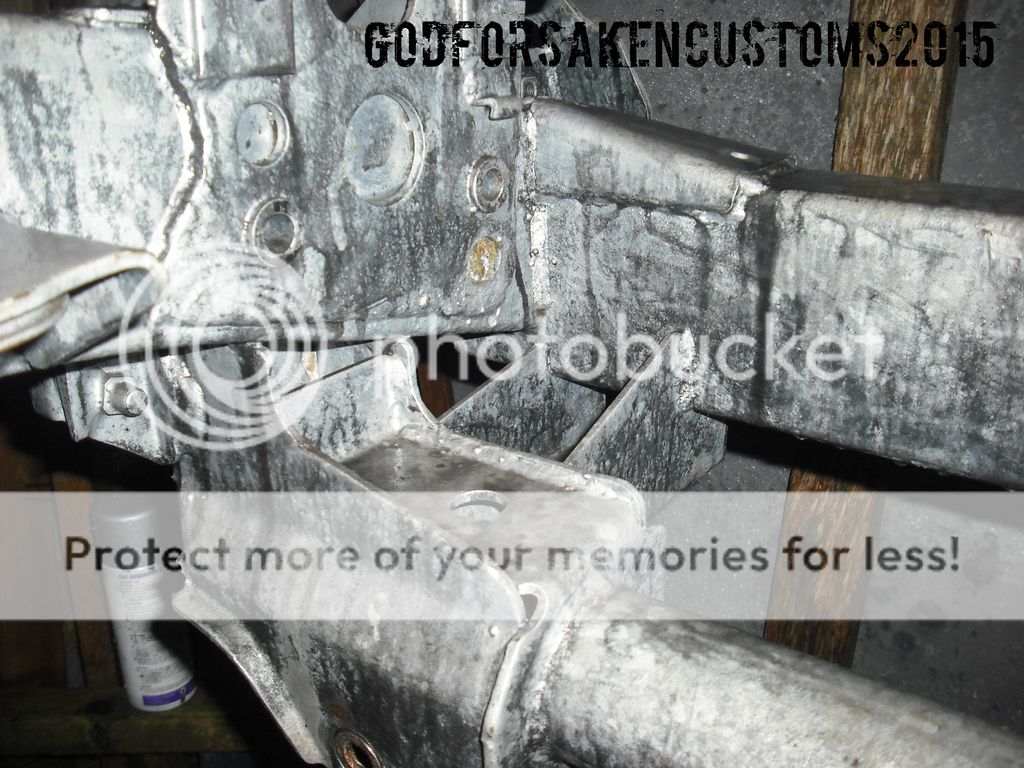
So with regards to the build, knowing the weak spots of these trucks (I've saved and buried a few now) I managed to source a galvanised chassis (hen's teeth), and was given the donor in return for doing some work on a friends farm. The donor had been damaged and left to rust being used as an agricultural vehicle but that didn't matter with what I had planned. Please excuse the shanty I am working in!
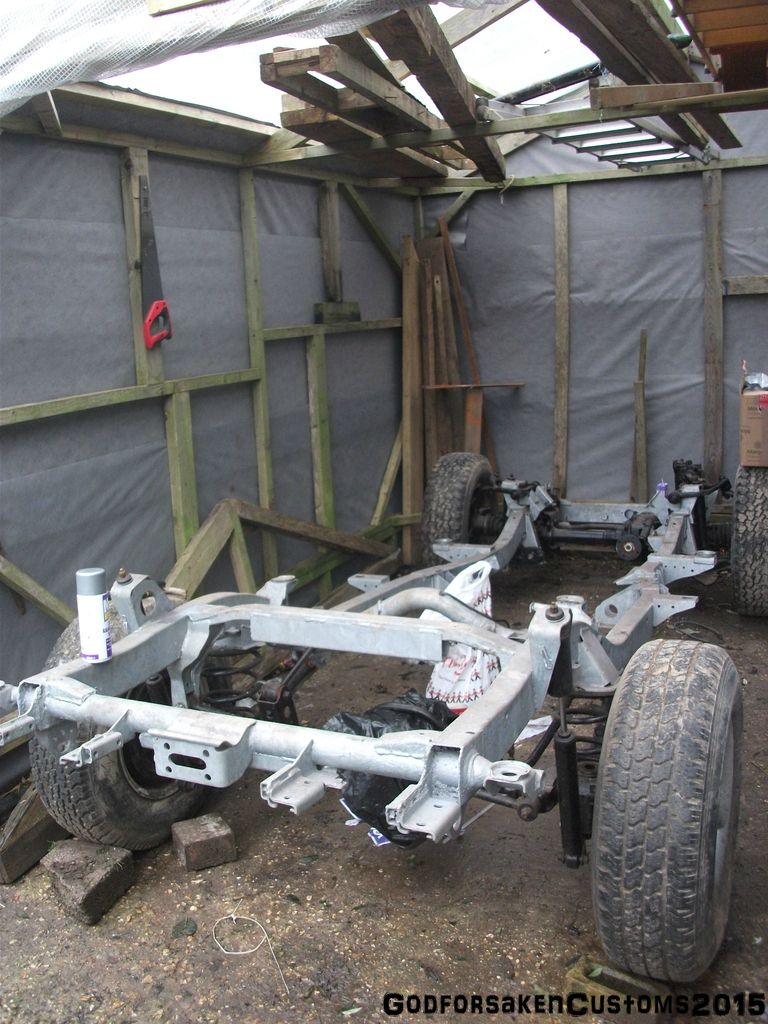
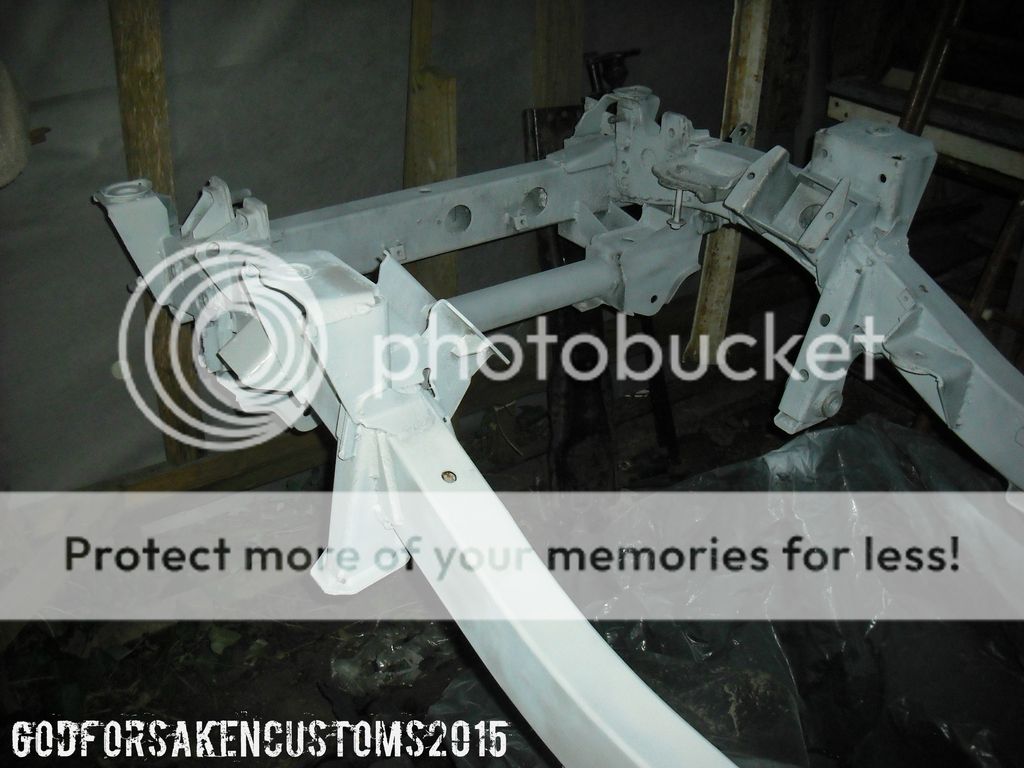
The chassis came with axles and steering gear, but this had to come out as I wanted to paint the chassis, just not a fan of the look. This process first meant reaming all the drain holes and re-tapping all the threaded holes to remove the zinc deposits. Then the chassis had to be degreased, washed, dried, then a Mordant solution applied (phosphoric acid) to etch the surface, washed, dried, acid etch primered, dried, and top coated black.
For now I've loosely put the axles in and wheeled it back into the garden. I'm documenting everything on Youtube if anyones interested, its a bit easier to detail certain things, the videos do get better as they go. I can post links as I go.
Channel https://www.youtube.com/channel/UCJpqu8-xdEyrWK9AT1JTRAQ
Chassis prep videos
Galvanised chassis
Mordant solution applied
Etch primer
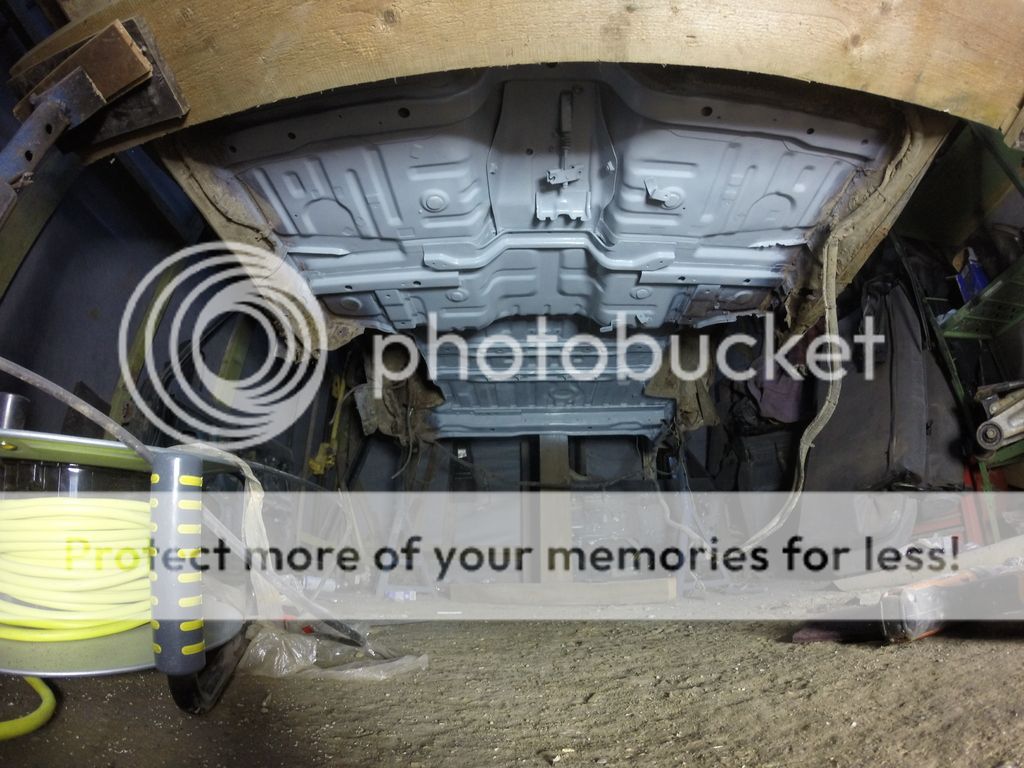
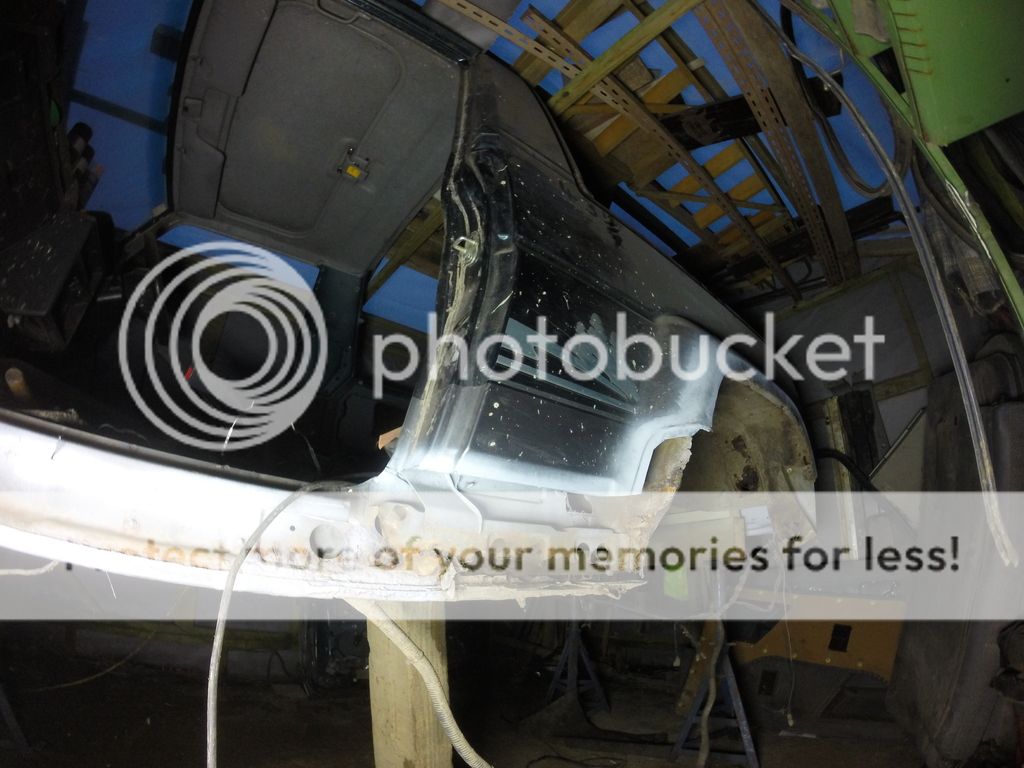
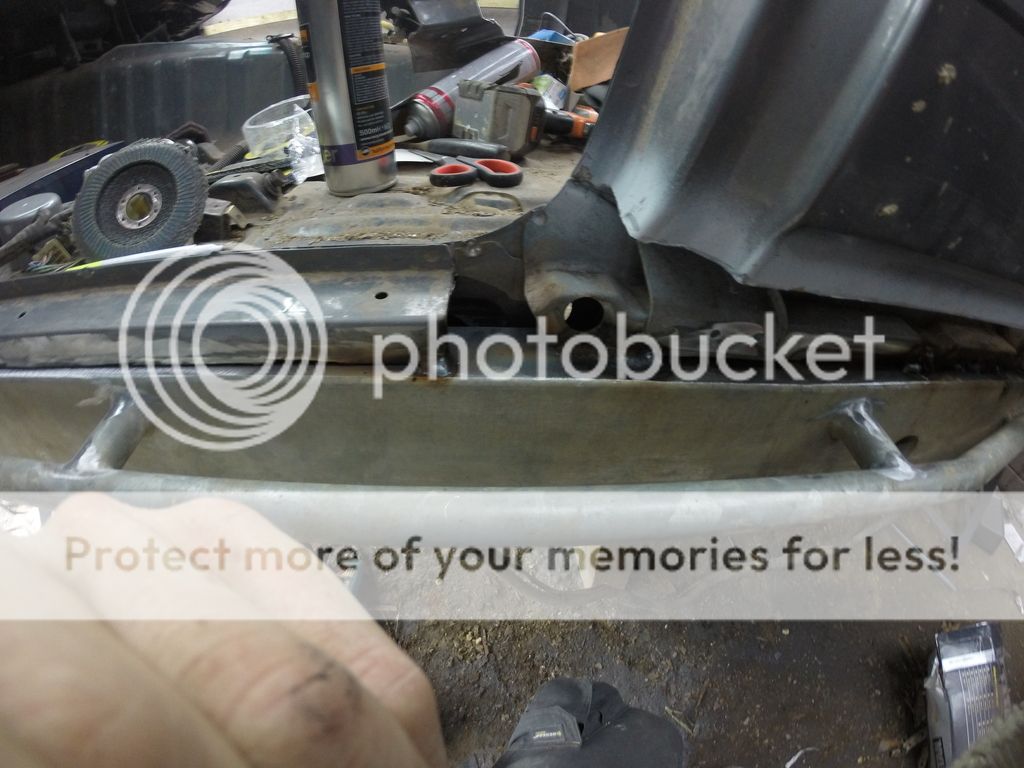
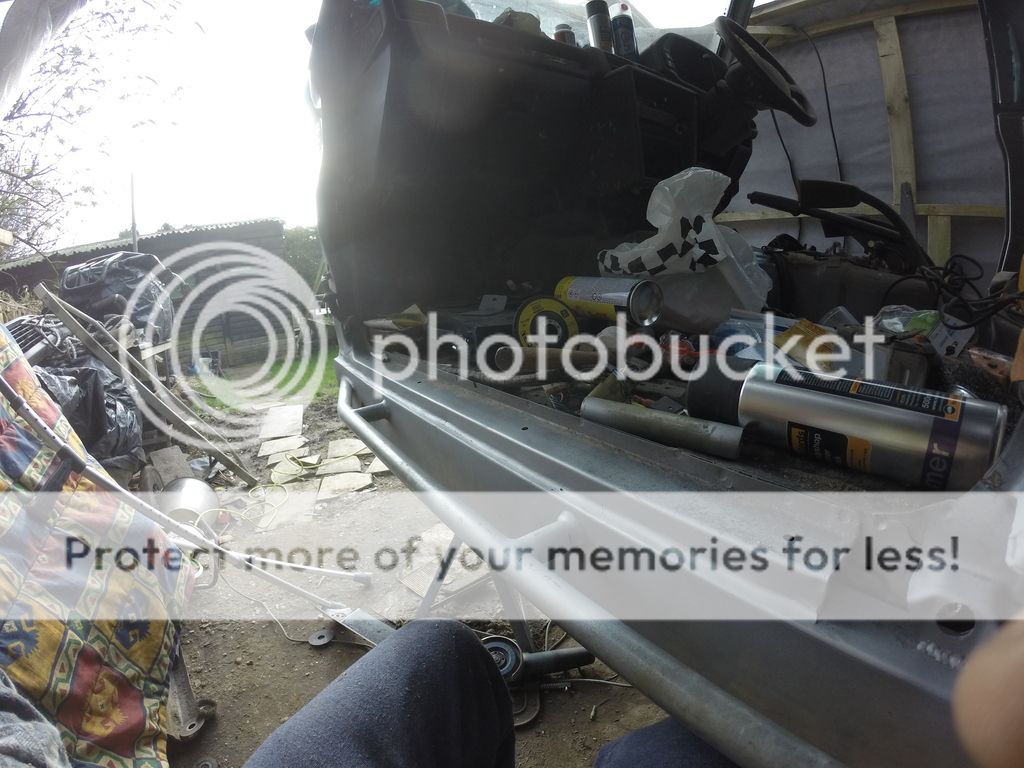
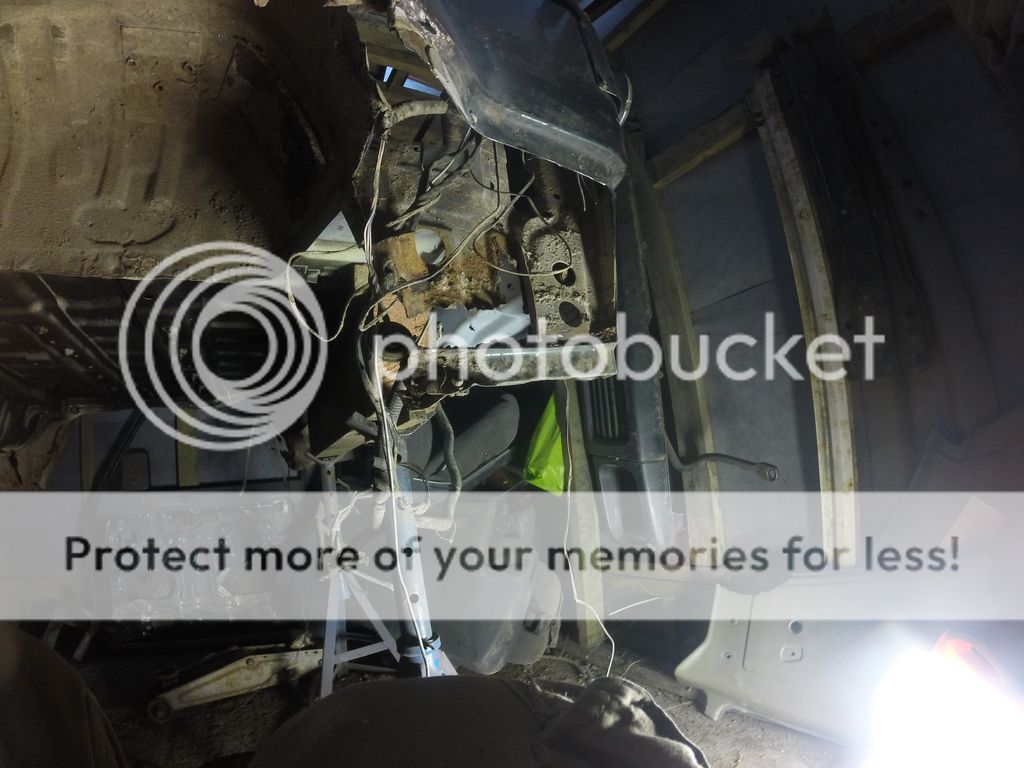
The next task was stripping the donor down and removing the body, not an easy task on your own with a jack and some stands.
Sorry if this is too in depth please let me know, got a bit more to bring you up to scratch yet!
The base truck for this build is a 1996 Daihatsu Fourtrak 2.8 turbo diesel. Its coil sprung on the rear and Torsion bar independent up front. The DL-52 engine is tough as old boots and the axles etc are also very well built, a lot of similarity to Toyota quality as both companies were intermingled. The main issue I've had running them is that they literally end up rusting to bits (seems to be most Jap 4x4s are the same here). It is a light truck at around 1700kgs standard so is plenty powerful with a torquey 2.8 and will turn 33 inch tyres with ease. It is also plated to tow 3500kgs braked which is pretty mad for a truck of its size and will run heavily overladen with no issues.
So with regards to the build, knowing the weak spots of these trucks (I've saved and buried a few now) I managed to source a galvanised chassis (hen's teeth), and was given the donor in return for doing some work on a friends farm. The donor had been damaged and left to rust being used as an agricultural vehicle but that didn't matter with what I had planned. Please excuse the shanty I am working in!
The chassis came with axles and steering gear, but this had to come out as I wanted to paint the chassis, just not a fan of the look. This process first meant reaming all the drain holes and re-tapping all the threaded holes to remove the zinc deposits. Then the chassis had to be degreased, washed, dried, then a Mordant solution applied (phosphoric acid) to etch the surface, washed, dried, acid etch primered, dried, and top coated black.
For now I've loosely put the axles in and wheeled it back into the garden. I'm documenting everything on Youtube if anyones interested, its a bit easier to detail certain things, the videos do get better as they go. I can post links as I go.
Channel https://www.youtube.com/channel/UCJpqu8-xdEyrWK9AT1JTRAQ
Chassis prep videos
Galvanised chassis
Mordant solution applied
Etch primer
The next task was stripping the donor down and removing the body, not an easy task on your own with a jack and some stands.
Sorry if this is too in depth please let me know, got a bit more to bring you up to scratch yet!