CopperStar 2005 Colorado

  • HTML tutorial

CopperStar

Rank III
Launch Member

Enthusiast II

509
1901 West Germann Road, Chandler, AZ, USA
First Name
Taylor
Last Name
Moore
Member #

3860

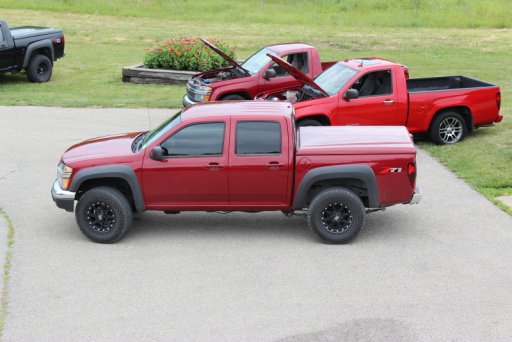
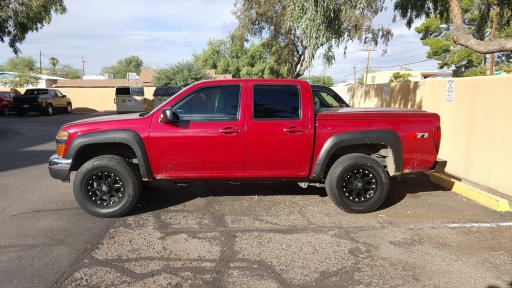
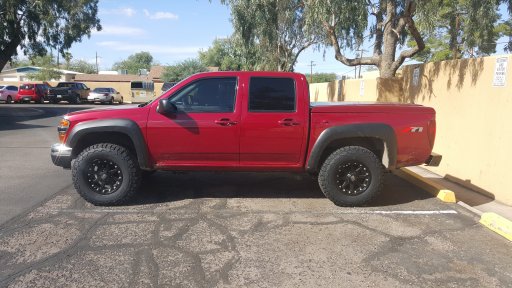
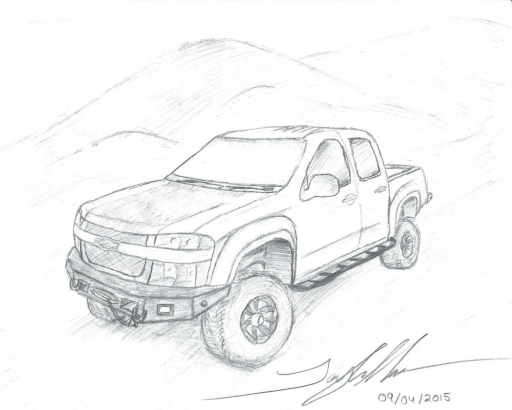
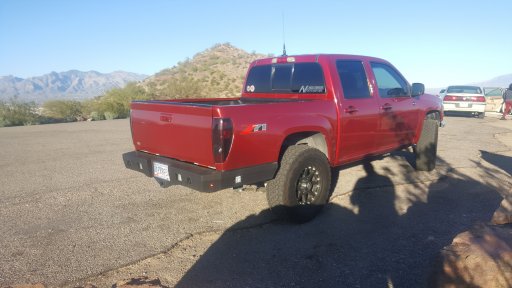
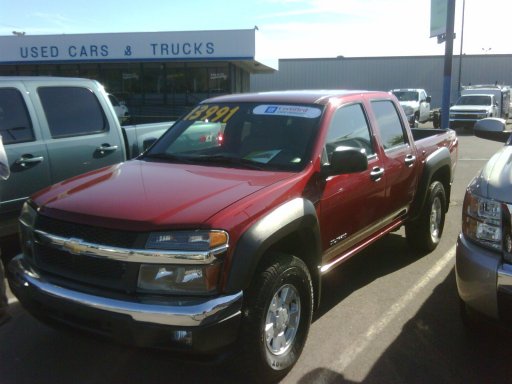
This was two days before I had bought the truck. I was driving down Main St. talking with my dad about what truck I would buy to replace the one I had, and I saw this sitting at Brown and Brown Chevrolet. The truck that I was currently driving was a Black 2001 Nissan Frontier with a 1.8L 4cyl. Engine in an extended cab and long bed set up. It apparently had "67000 miles" but I think the odometer rolled over a couple of times. So that’s why I was in the market for a “new” truck. I had always liked the Colorado but I went and test drove a few 2007 frontiers before I saw this beauty. Metallic red has always been my favorite color on a vehicle. I knew I wanted a crew or extended for when I began my family. Long story short I bought it (in 2009).
BTP1.jpg
BTP2.jpg

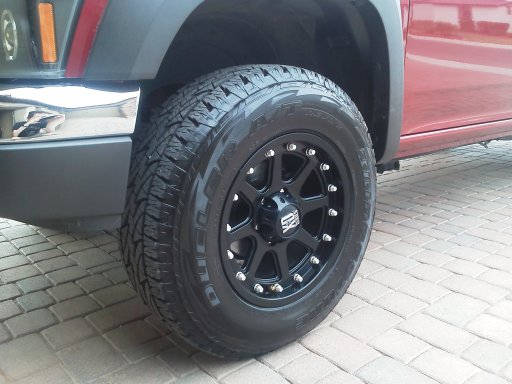
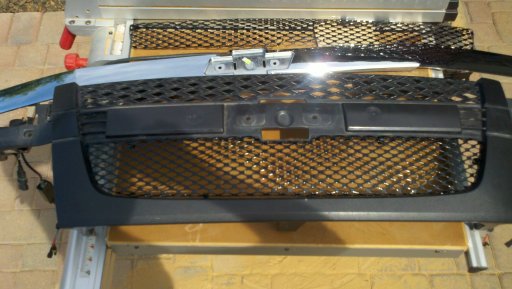
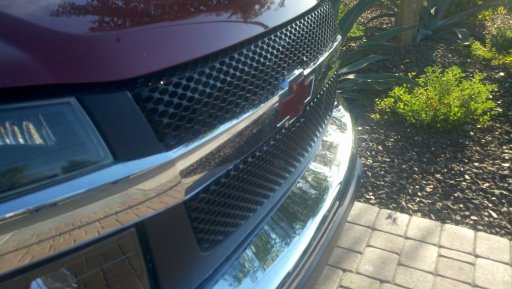
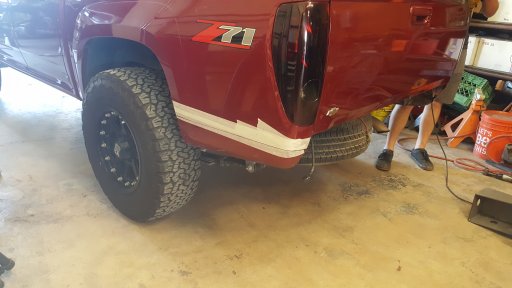
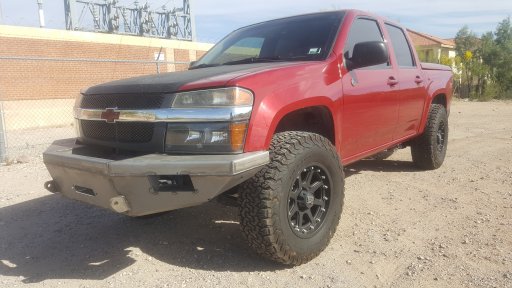
Next I painted the all of the handles and the bow tie, and added a simple 2" lift.
BTP10.jpg

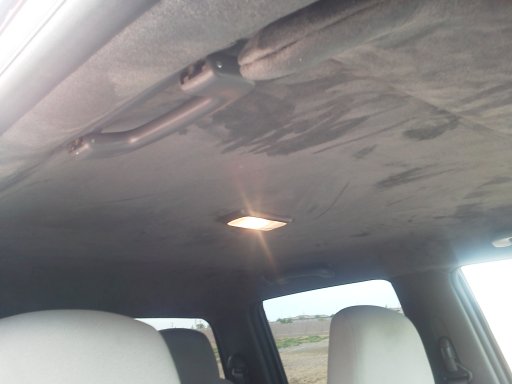
I attempted the headliner myself but failed and had it professionally done, but I did all of the removal and install myself. Then I painted the handles to match the headliner. The paint is bumper trim paint and it is the exact color I needed. Had the visors done as well but had to remove the passenger mirror because it was broke and didn’t feel like replacing it.
BTP21.jpg
 
Last edited:

CopperStar

Rank III
Launch Member

Enthusiast II

509
1901 West Germann Road, Chandler, AZ, USA
First Name
Taylor
Last Name
Moore
Member #

3860

Now the big goodies came to help make the lift stand out more. I purchased 17” KMC XD Addicts (Painted) and wrapped them with 265/70/R17 Bridgestone Dueler A/T Revo2’s. The wheels were ordered from tirerack.com and the tires were bought and installed at Costco.
BTP24.jpg
Went to the first annual 355 National meet (2012 USASM) in Paola Kansas.
BTP27.JPG

Then in 2013 I built my FIRST custom off road bumper from scratch. It is made of 3/16" plate that was CNC laser cut (not Plasma) and CNC press-break bent. All of the design and fab was done by myself. I used a CAD program called solidworks to design the bumper on the computer first before any metal was ever cut and welded. Then I made a full size mock up out of 3/16" foam core to mae sure everything would fit.
Rear Plate V3 6.JPG
IMG_20150308_124417_729.jpg

I then had all of the parts cut and bent then I welded everything together and sent it out for powder coat.
20150413_175007.jpg
Fabrication 21.jpg
Assembly 11.jpg
Assembly 18.jpg
 
Last edited:
  • Like
Reactions: Steve

CopperStar

Rank III
Launch Member

Enthusiast II

509
1901 West Germann Road, Chandler, AZ, USA
First Name
Taylor
Last Name
Moore
Member #

3860

Then I got around to putting in my SS grille and I think it looks great. Spent about three and a half hours out in the 110* heat of AZ to put it in but was definitely worth the sweat. I have no idea waited so long to put it on because it looks better on the truck rather than sitting in the garage for over a year.
2013-08-15_14-41-43_394.jpg
2013-08-15_17-34-20_653.jpg

After about a couple of years running like this I needed a new set of tires and I knew that I would be going off road much more since college was just about over. I choose to up the tire size to 285/70/R17 BFGoorich KO2's. While still on the small lift I had to do a little trimming to make the tires fit and not rub to bad at full lock.
Before:
20151029_085418.jpg

After:
20151029_103454.jpg

Well I can't leave anything alone. Since I built the bumper I have been wanting to do another one that is a little more extreme. So here are the renderings of the next rear bumper. I am also in the process of finishing the design for the front bumper. There will now be four Rigid Dually diffuse lights on the rear two facing back and one out each side. I used the same process as before for the first bumper.
Render 1.JPG
Render 2.JPG
20160607_185723.jpg
20160607_185801.jpg
 
Last edited:
  • Like
Reactions: Steve

CopperStar

Rank III
Launch Member

Enthusiast II

509
1901 West Germann Road, Chandler, AZ, USA
First Name
Taylor
Last Name
Moore
Member #

3860

So here is the tentative plan for the truck some things have changed since I made this But it is still pretty close to where I want it to go. The Idea is to beable to go to the arctic circle and back from Arizona through Alaska.
Truck 1.PNG
Truck 2.PNG

Okay now back to the rear bumper build... It is now time to cut major parts of the body work. This was the most nerve racking thing to do. Taking a 4 1/2" angle grinder to perfectly good paint is pretty cringe worthy, as those of you who have installed snorkels know.
20160613_192247.jpg
20160614_185045.jpg
20160614_203324.jpg
20160614_223432.jpg
20160614_223456_001.jpg
20160614_223521.jpg
 
Last edited:
  • Like
Reactions: timberwolf_120

CopperStar

Rank III
Launch Member

Enthusiast II

509
1901 West Germann Road, Chandler, AZ, USA
First Name
Taylor
Last Name
Moore
Member #

3860

Back from powder coat and ready to be bolted up. I intentionaly used all of the stock mounting locations for the stock bumper and stock hitch. I figured that this would already be the strongest point in the frame and less work to do on my part. Haha, just lazy like that! I don't have any good night shots of the lights at night, but I will get some soon.
20160804_153147.jpg
20160805_074833.jpg
20170223_171211.jpg

Now one of my good friends hooked me up with the GM CAD files of the frame of my truck. The reason for this was to make some armor for the underside, and front winch bumper. There is also an S.A.S. in the future....
Stock Armor 2.PNG
Stock Armor 1.PNG
Bumper and Frame 1.JPG
Bumper and Frame 2.JPG
Front Bumper Pic 1.JPG
 
Last edited: