Member III
The below build thread has been composed and posted on a Jeep site over the last several years. Some of the wording and timing might be a little off, but I wanted to share the build here as well since I'm now gravitating to the Overland style of things....
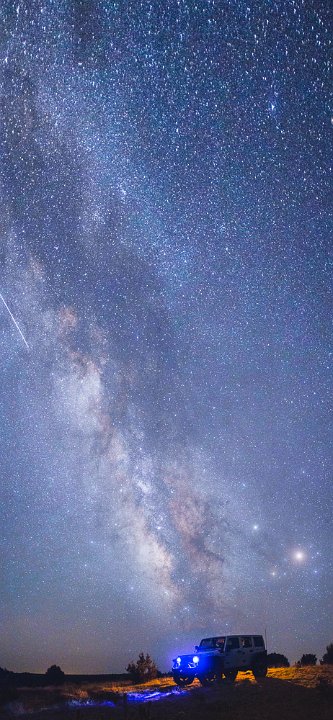
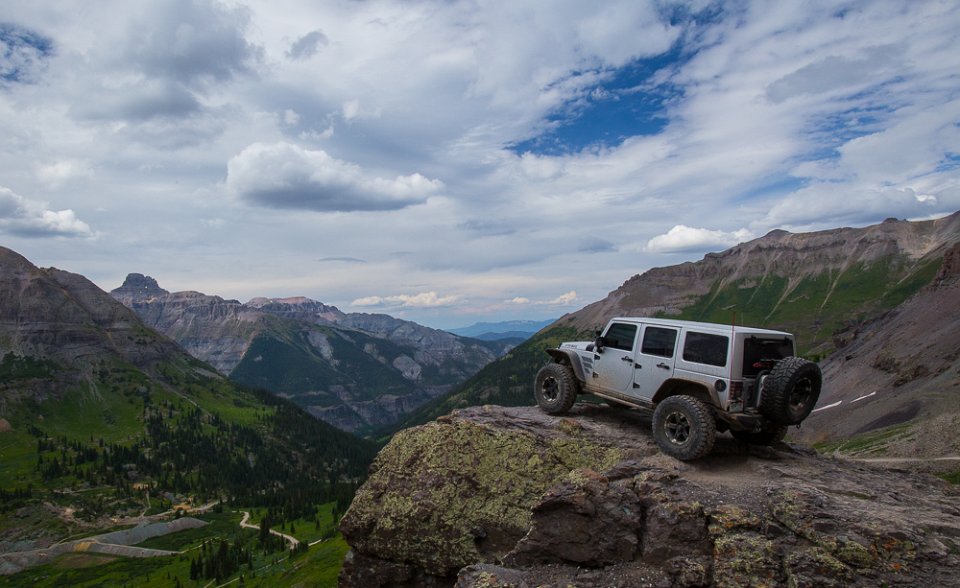
When you live at the foot of the Rocky Mountains, there is no excuse for not getting up into them as often as you can. Sadly, for our family, many years went by when we just looked at the pretty mountains as we went about our daily lives. I’d take my Yukon Denali on a few "trails" before, but those were years apart and never amounted to anything.
In 2013 the wife and I decided that we need to take better advantage of living in Colorado. We kicked around the idea of picking up hiking as a hobby, but with two younger girls and 2 year old Little Guy, hiking as a family would be… difficult. One day driving around town the wife mentioned that she liked the looks of the newer four door Jeeps. Even before we had a Jeep, only the Wranglers were "Jeeps" to us.
I had already been admiring some of the Unlimited Jeeps that I saw around town, so that was all I needed to start researching. Little did she know that within a week I knew what I wanted in a Jeep to replace her Nissan Armada daily driver… A silver JKUR with color matched hard top, lifted with black rims.
Fast forward a couple of months and we were returning from the aquarium up in Denver with the Little Guy. He almost never took naps and had fallen asleep on drive home… of course just before we got home. So instead of heading to the house and waking him up, I said we should drive down to motor city and just have a look around. The third dealership we came to had a 2012 silver JKUR with color matched hardtop, lifted and rolling on black rims wrapped in 35s and 14k miles on it.
Sorry son, nap time is over!!
Being that the Little Guy was a huge car nut, he did not mind too much when we woke him up to look at the Jeep. He was even more excited to take if for a test drive! We were very surprised at how smooth and quite the ride was in that "off road beast" and liked it right away. The sales lady of course offered to let us take the Jeep home for the rest of the weekend, but we had been driving my car that day and wanted to trade the Armada in if we decided get it. So we passed on the offer. About 2 miles from home, the wife asked what I thought about driving the Armada back down and barrowing the Jeep for the rest of the weekend. Right then I knew it was over… or rather, that it had just begun.
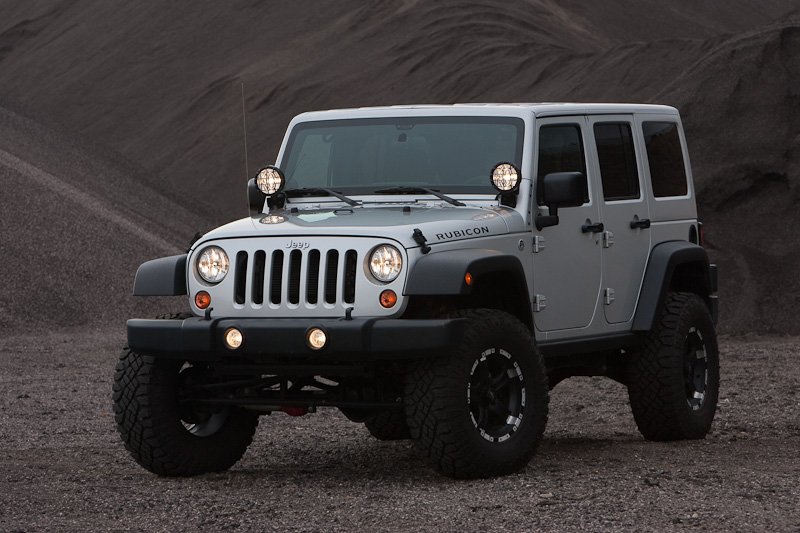
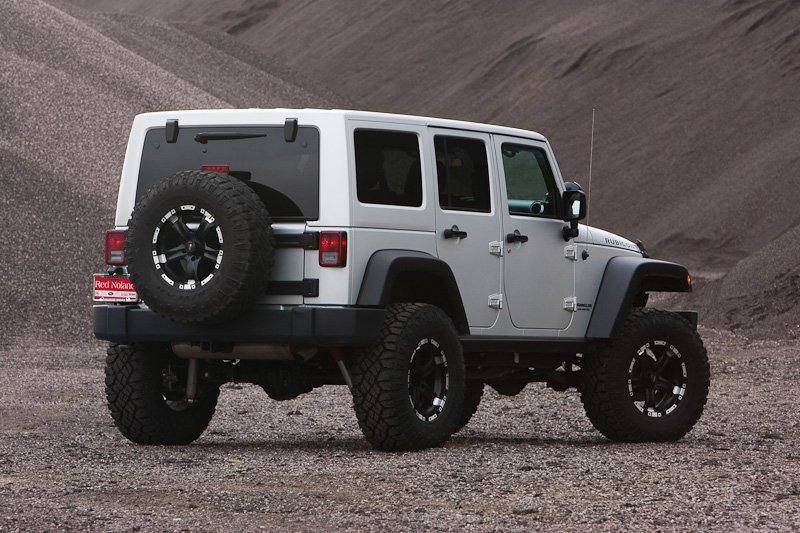
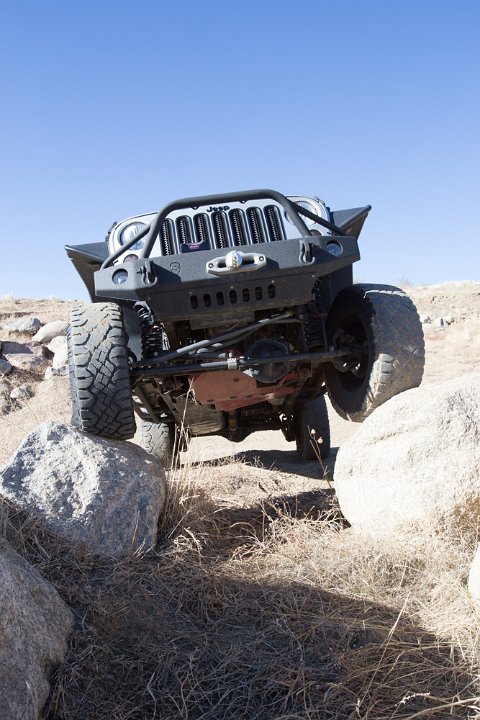
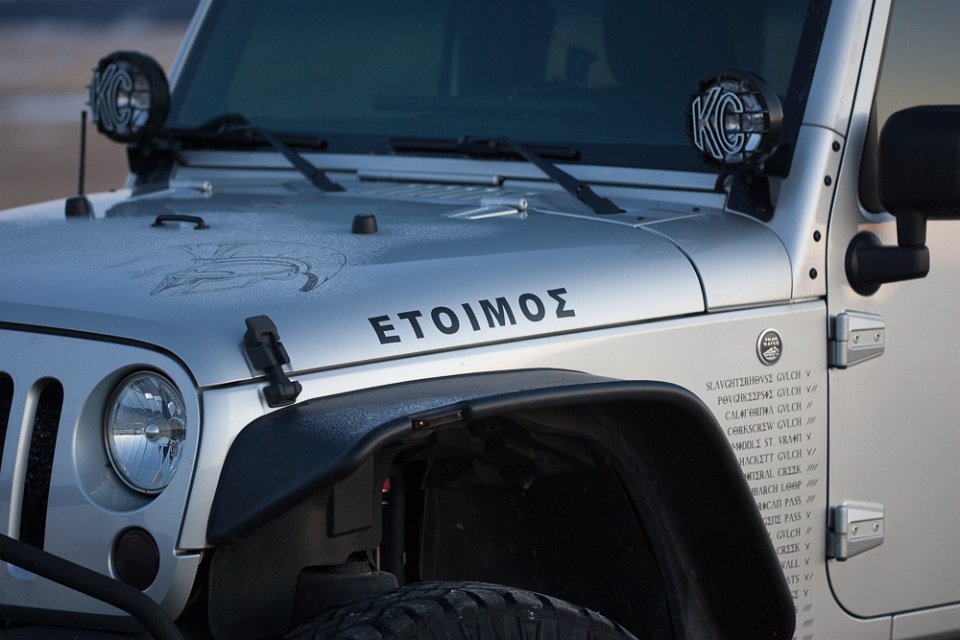
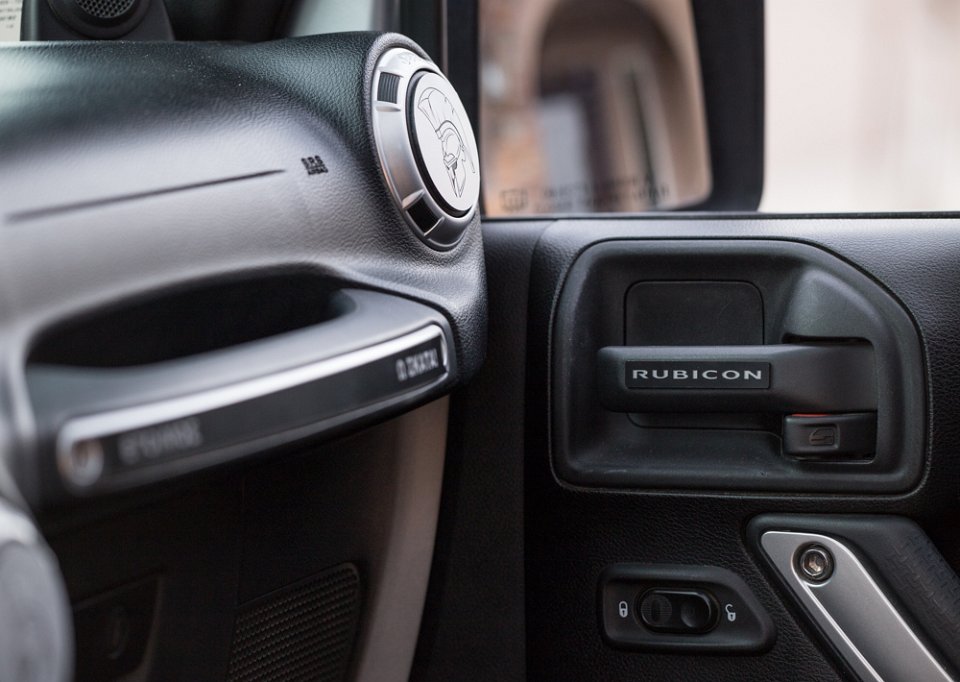
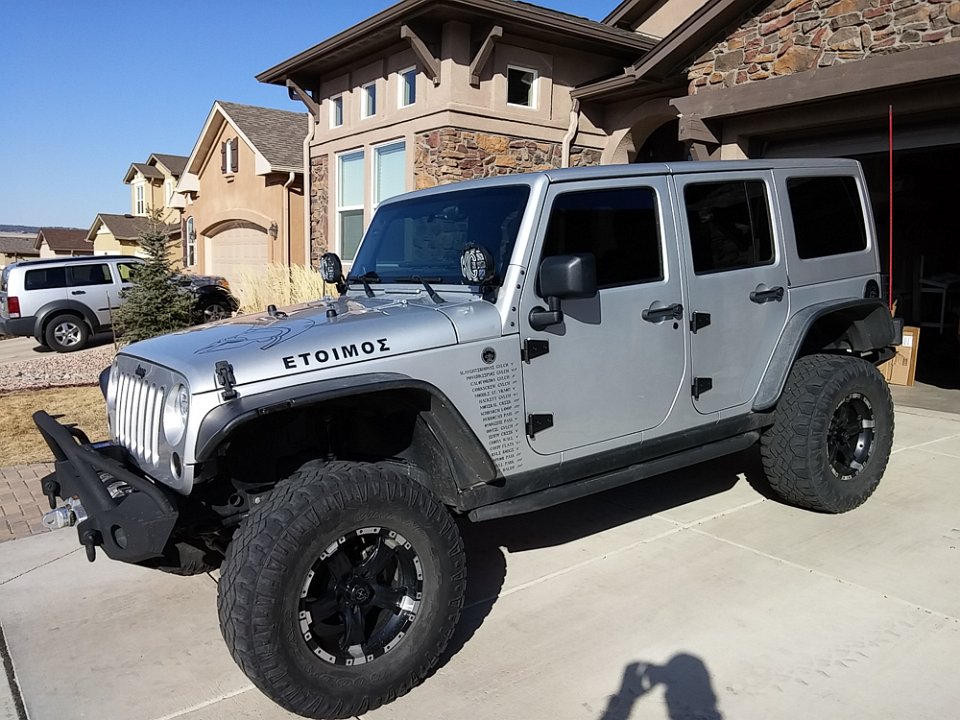
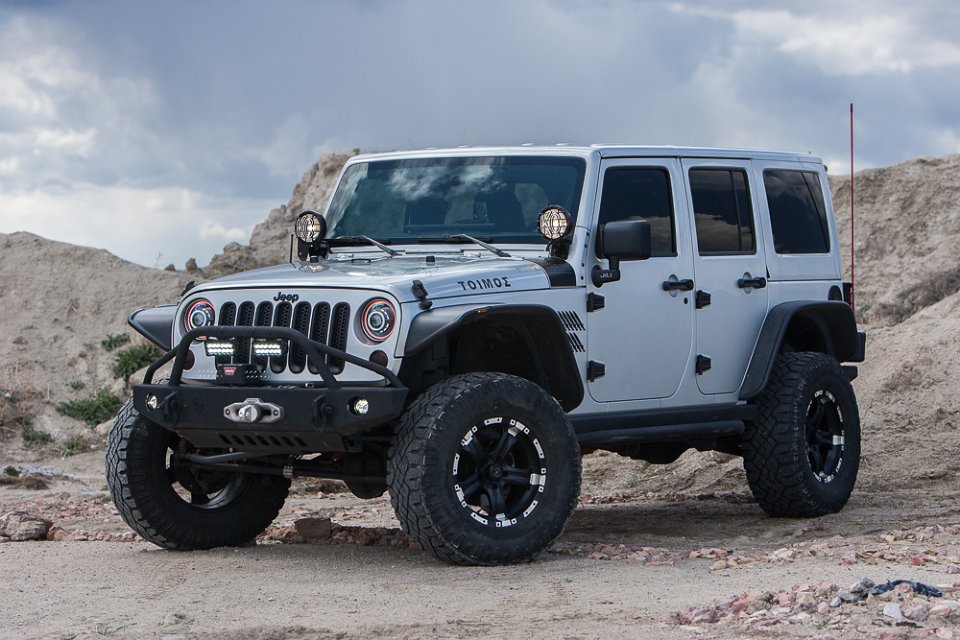
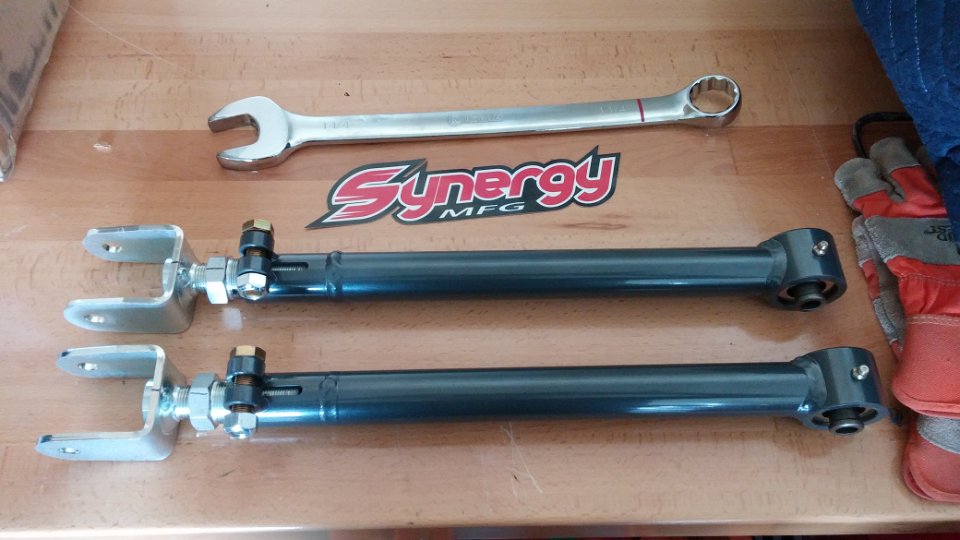
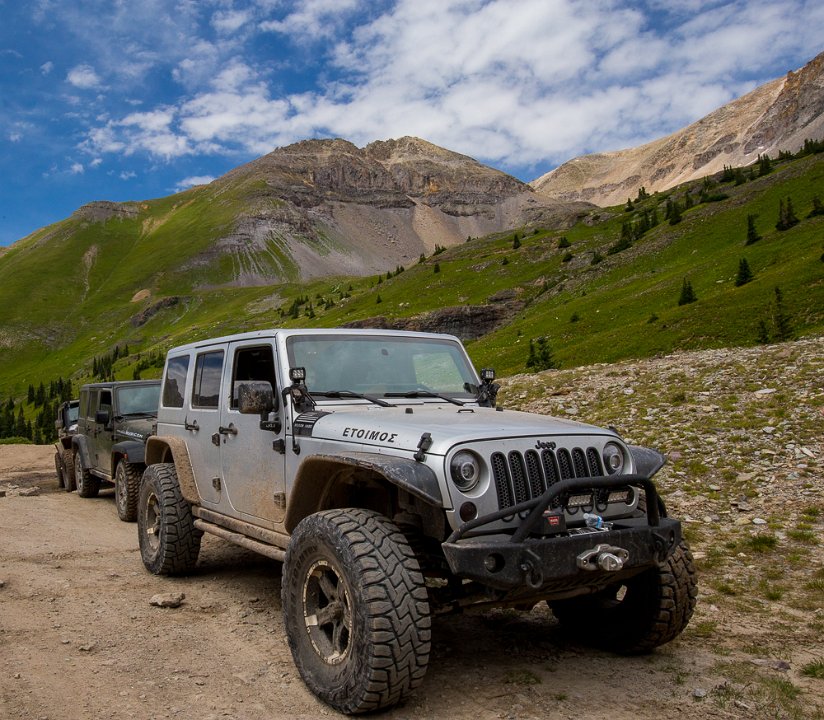
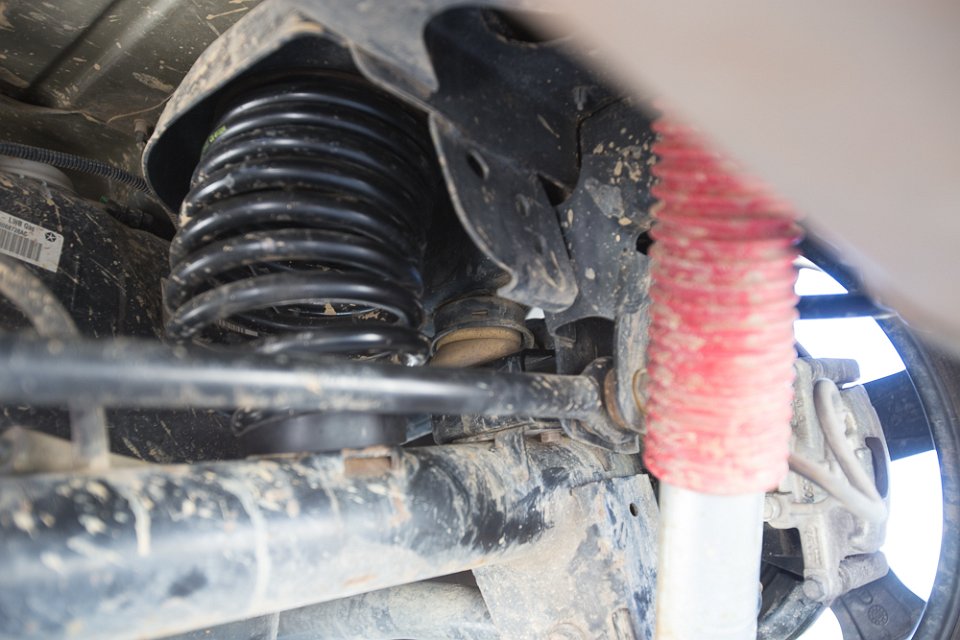
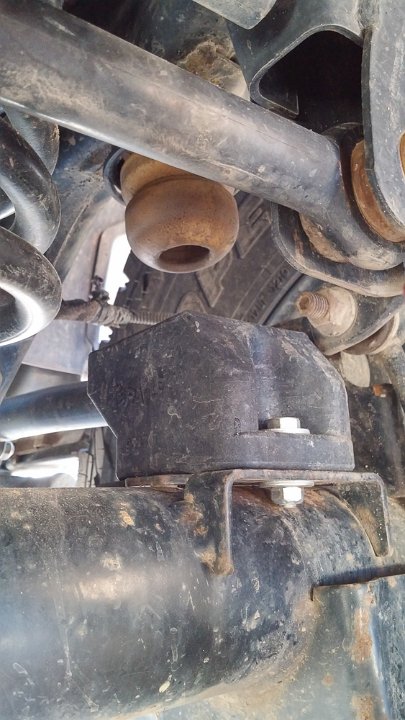
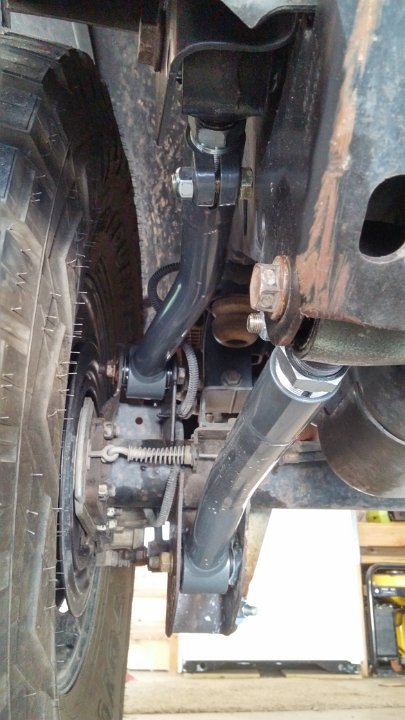
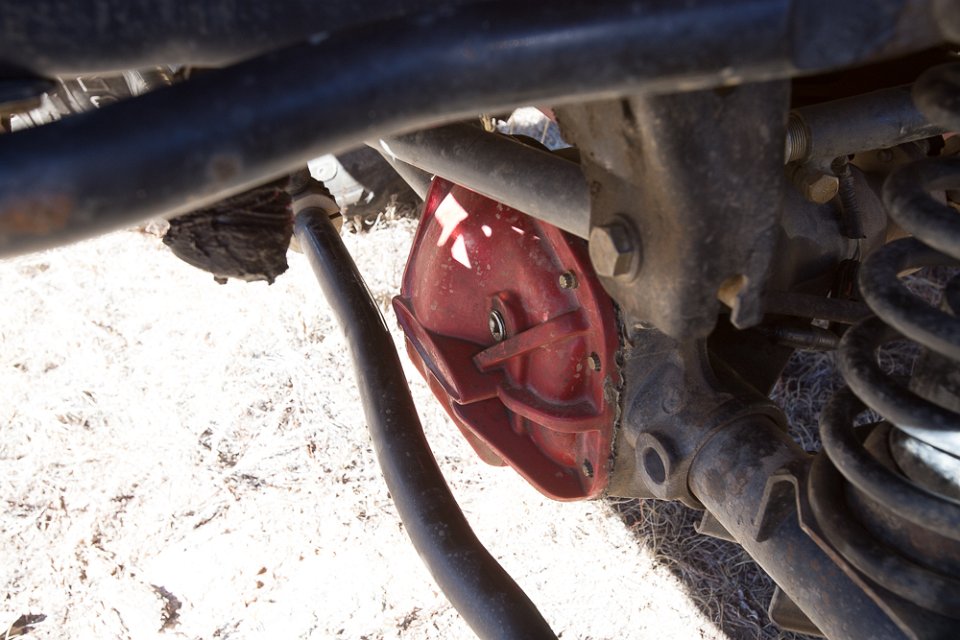
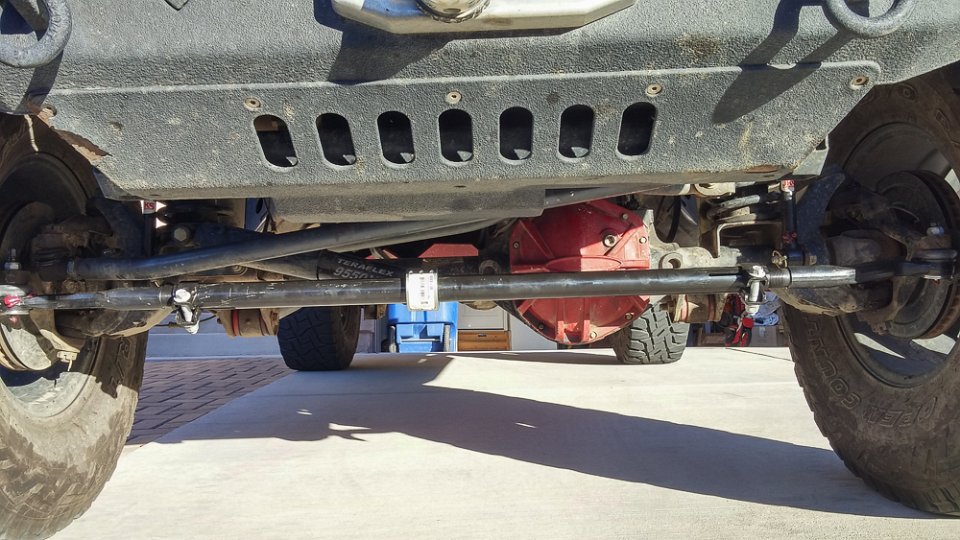
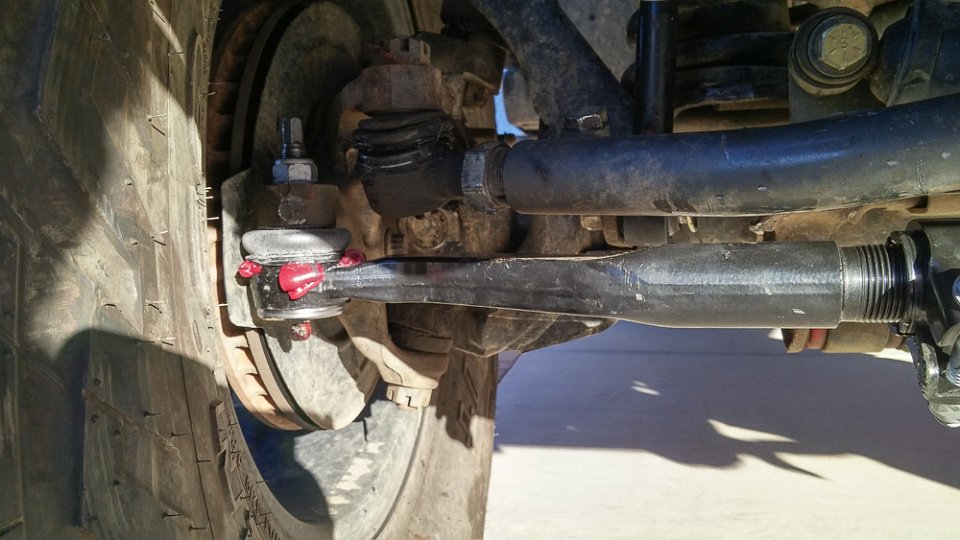
That is how it looked that first weekend. It had a Rancho 4" lift, 35" Duratrac tires, MB 17" wheels and the stock fenders and Rubi rails had been bed lined. It also had a Uniden CB inside a Tuffy Overhead console and the antenna was mounted on the center of the stock spare tire carrier. Over the course of the next three years as I learned more about Jeeps, we would learn that the previous owner had also installed aftermarket fixed lower control arms and 4.56 gears.
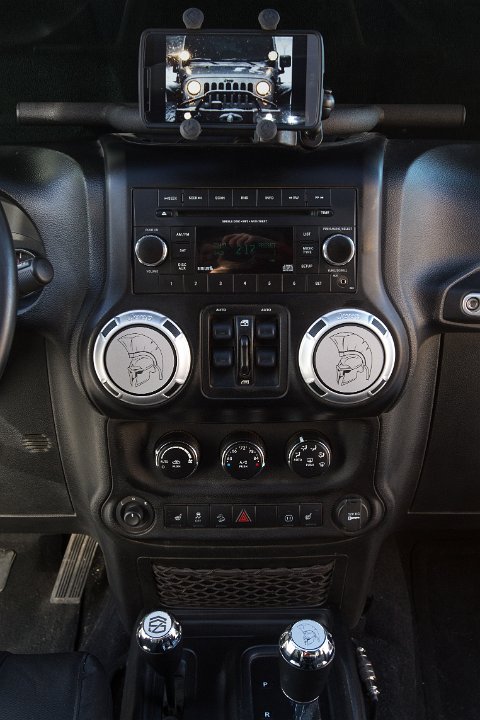
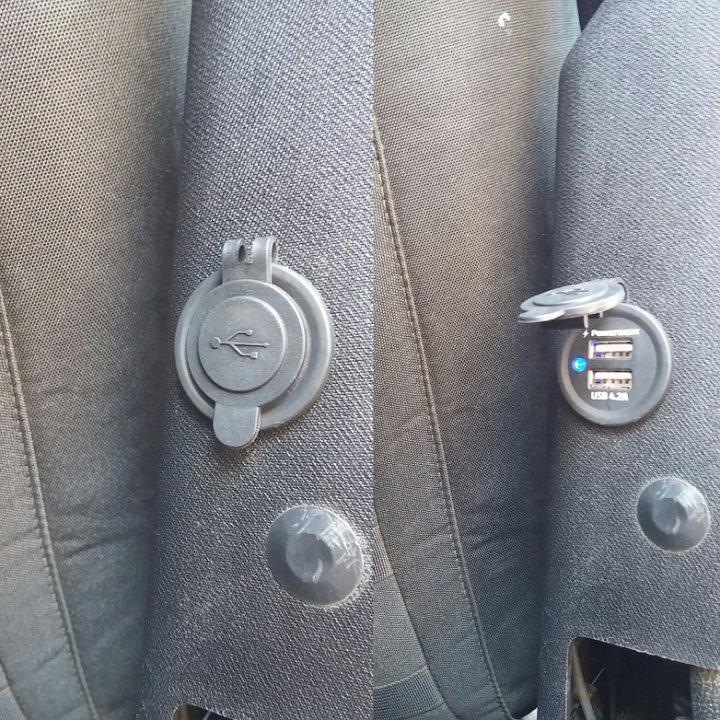
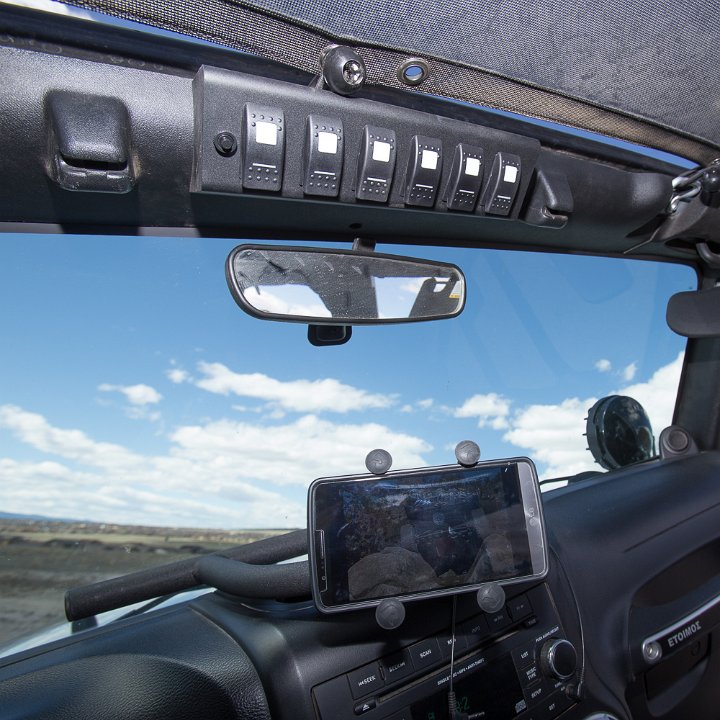
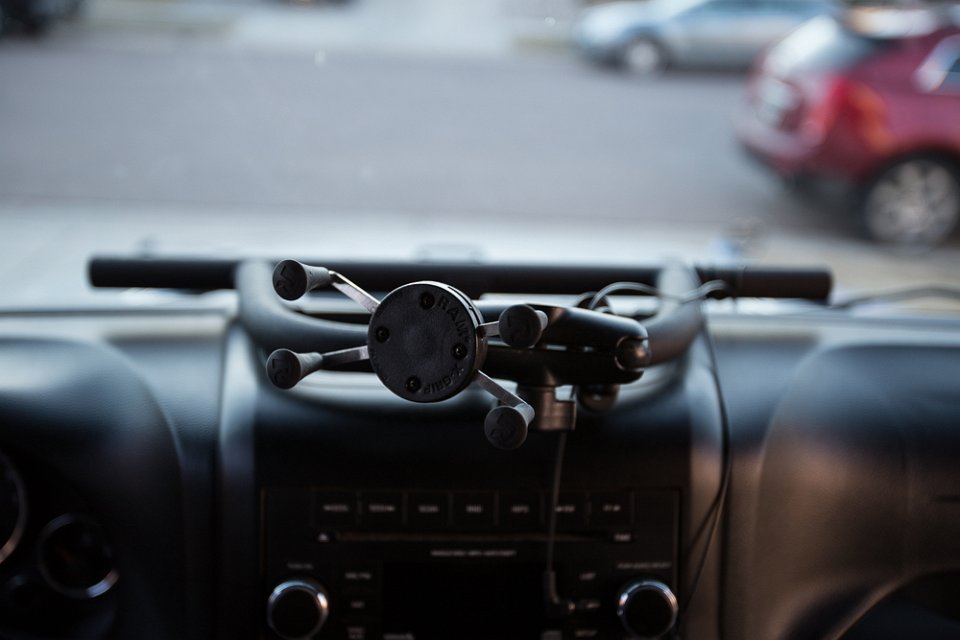
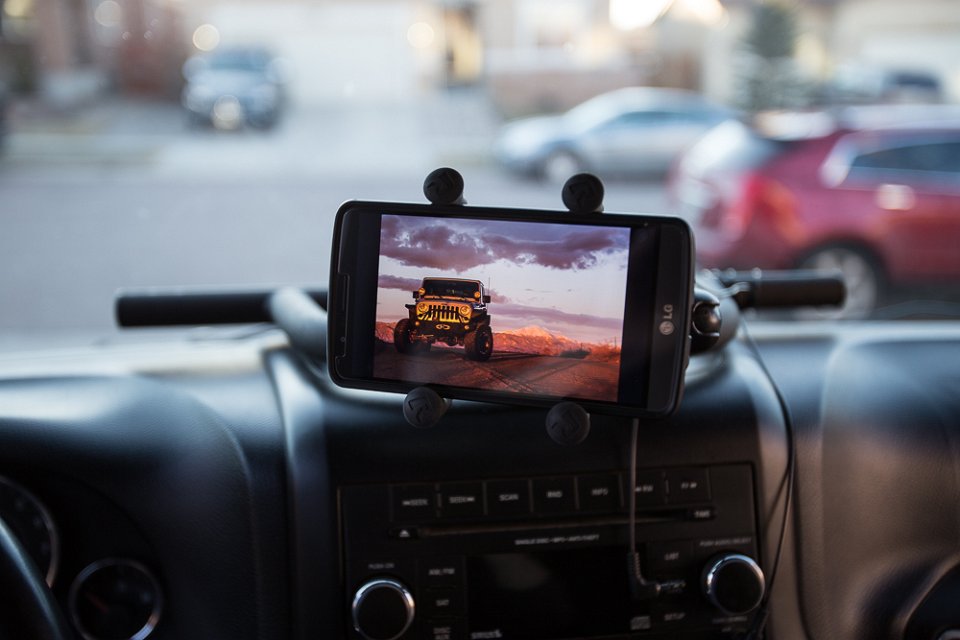
One of the first things the wife wanted in her new Jeep was some place to hold her phone. She loved the Jeep but was not crazy about it not having hands free calling like her Armada. Since this was not going to just be your average family Jeep (at least in my mind), a regular old cell phone holder would not do. Searching around I found the X Grip by Ram Mounts and the Vector Off Road Dock.
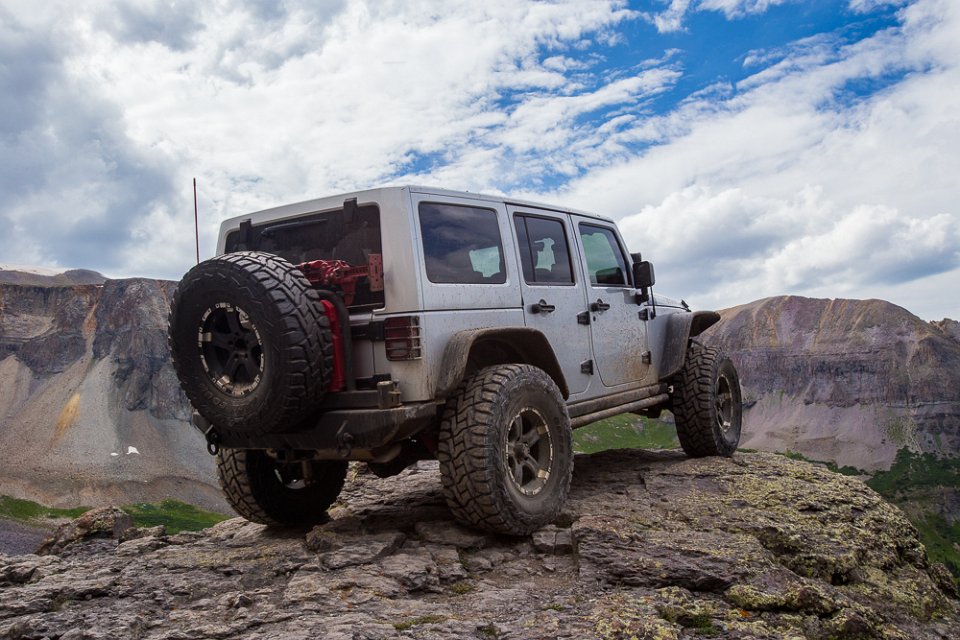
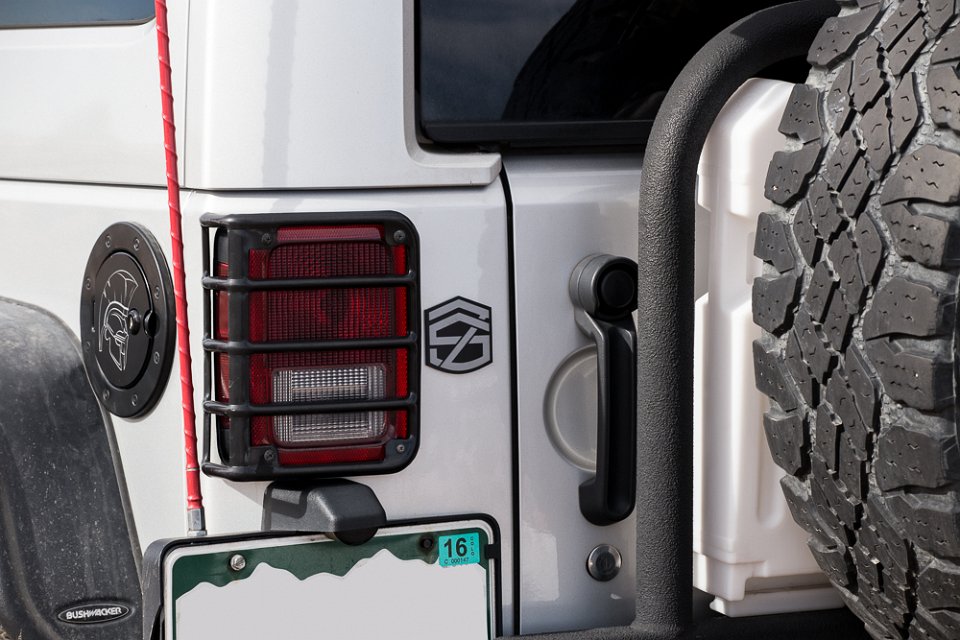
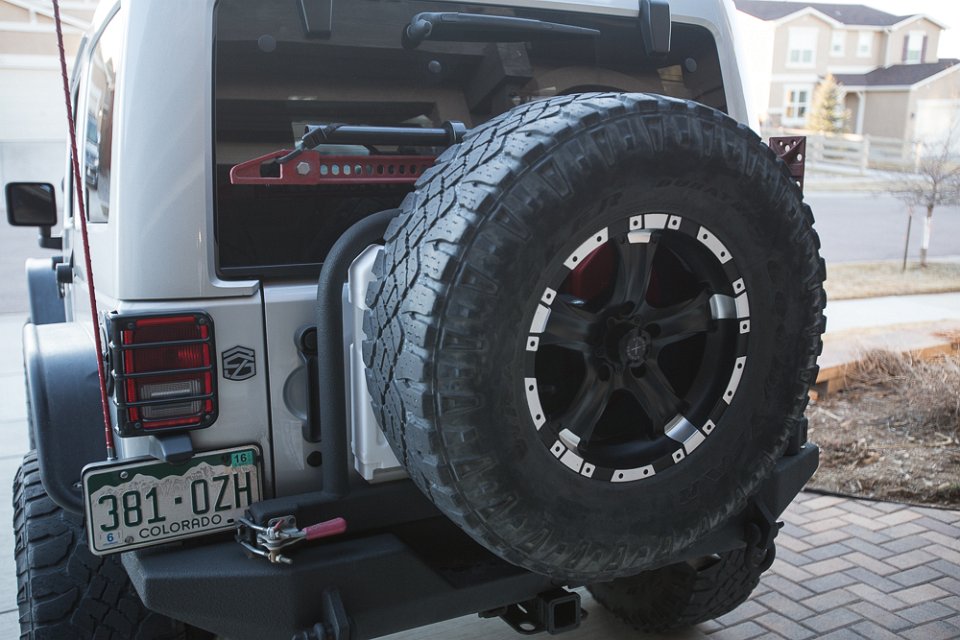
She also did not like the Overhead Console "crowding" her, so I had to pull that out and the CB along with it. Since the antenna was mounted up so high, it was always slapping into our garage door. So that had to be removed as well. Knowing we would want the CB for out on the trails, I picked up a Cobra 75WXST, a new red antenna and mounted it to the license plate housing via an UltraMount setup.
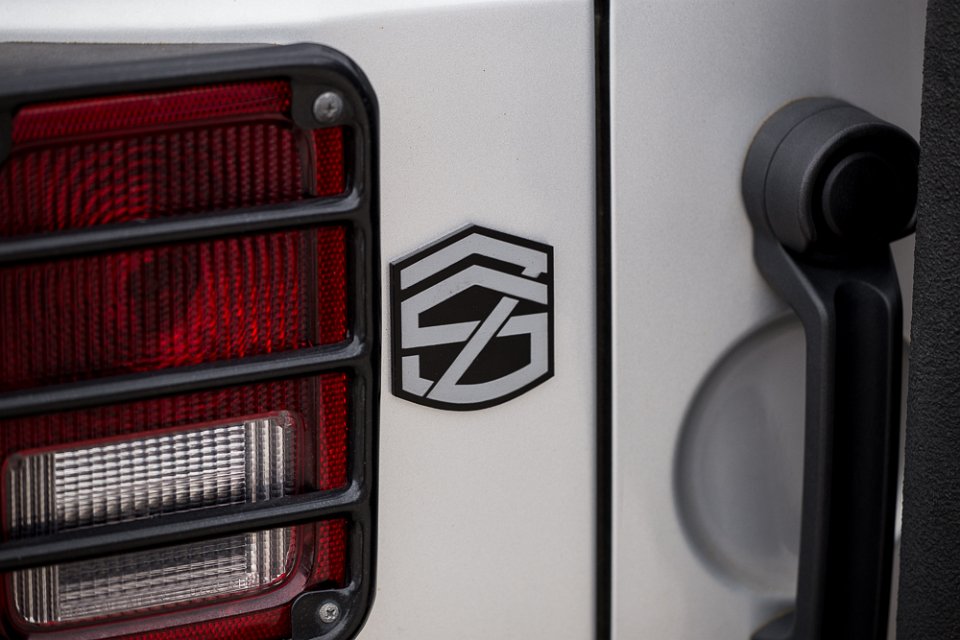
Around this same time I was able to find a good deal on some Rugged Ridge tail light guards.
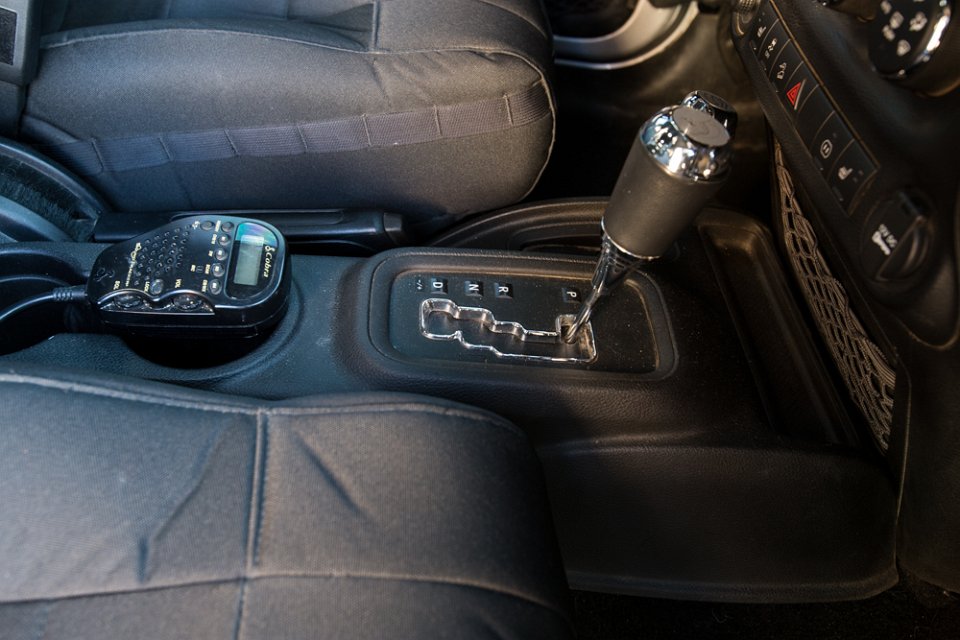
This allowed us to have a longer antenna for better comms without it hitting the garage door. The smaller CB with only one quick disconnect cable also meant that I could put it in the Jeep only when we were running a trial (she did not want it in there all the time).
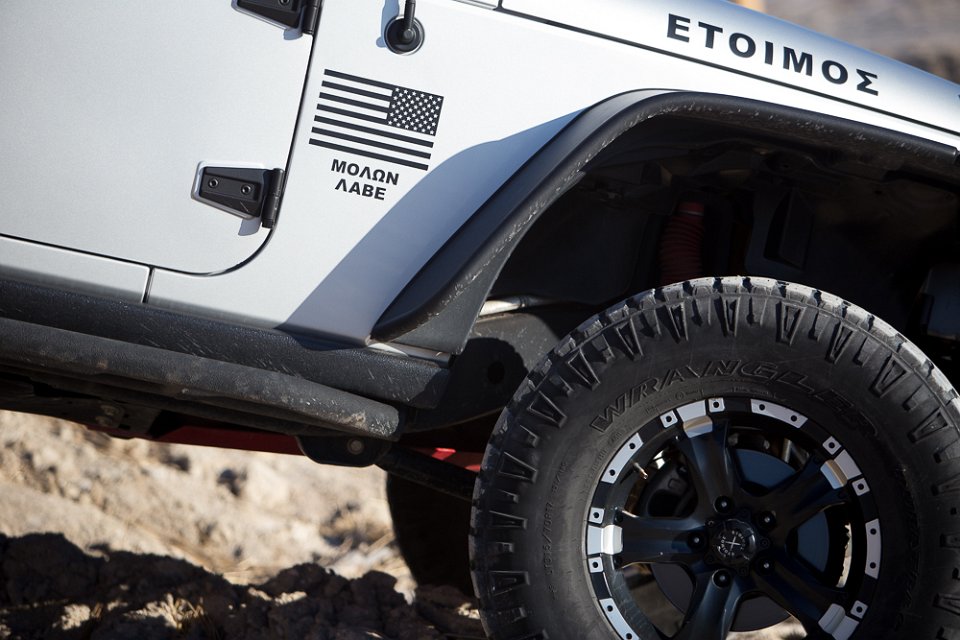
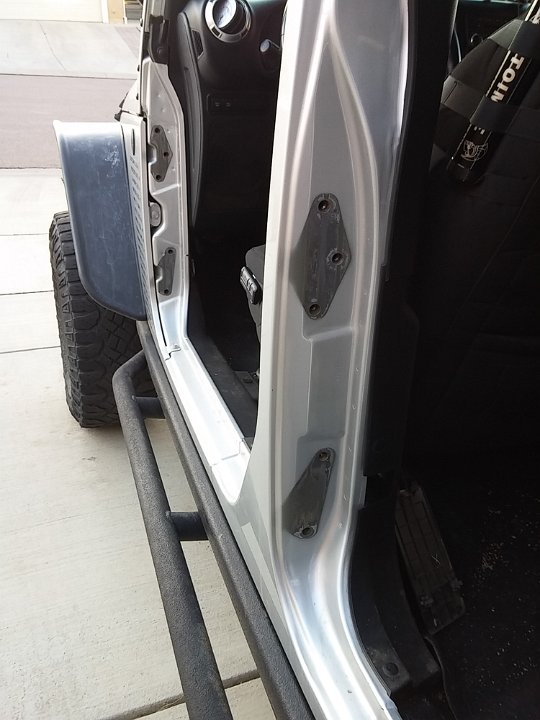
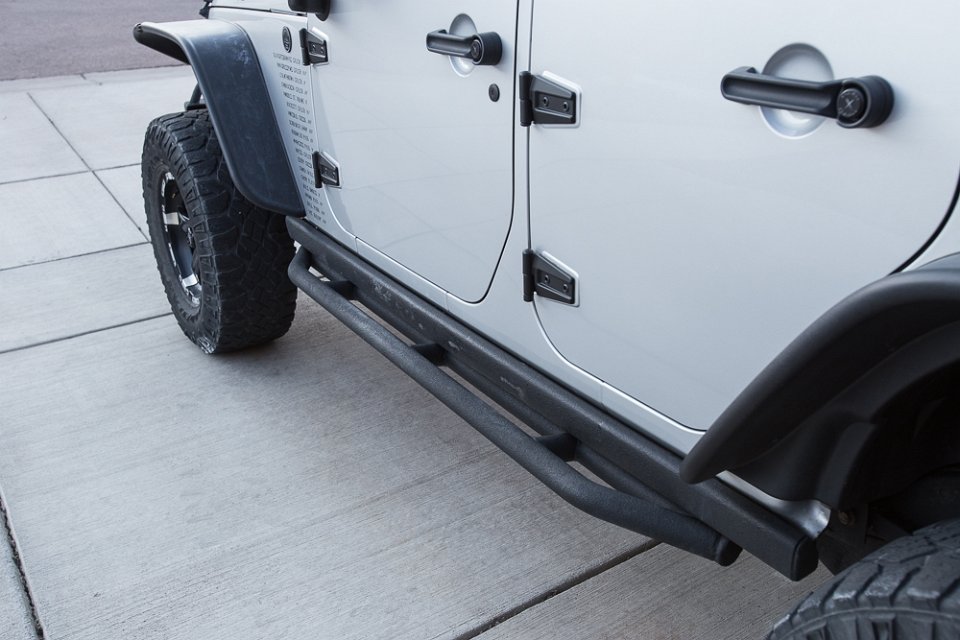
Next on the list of mods was something to make it easier for her and the kiddos to get in and out of it. The ACE Engineering rock sliders did the trick nicely. Of course I had to bed line them to match the fenders and Rubi rails.

Up to this point, we had really only run dirt road trails and always by ourselves. The wife was worried about us getting stuck someplace with the kids. With visions of starvation and bear maulings, she made the mistake of saying we had to have a wench and Hi Lift jack before doing any "real trails". Oh how I loved those words!
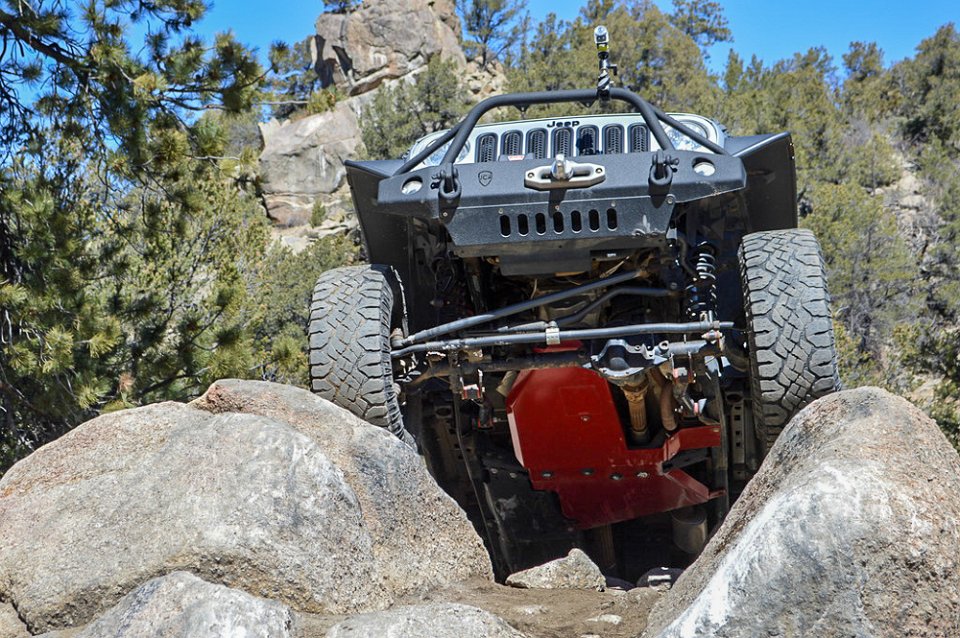
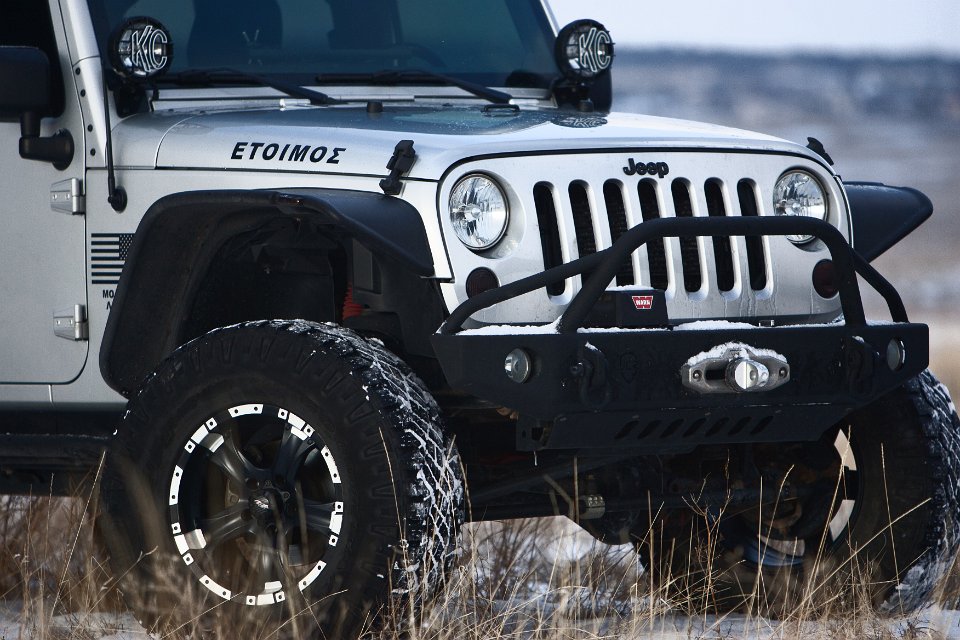
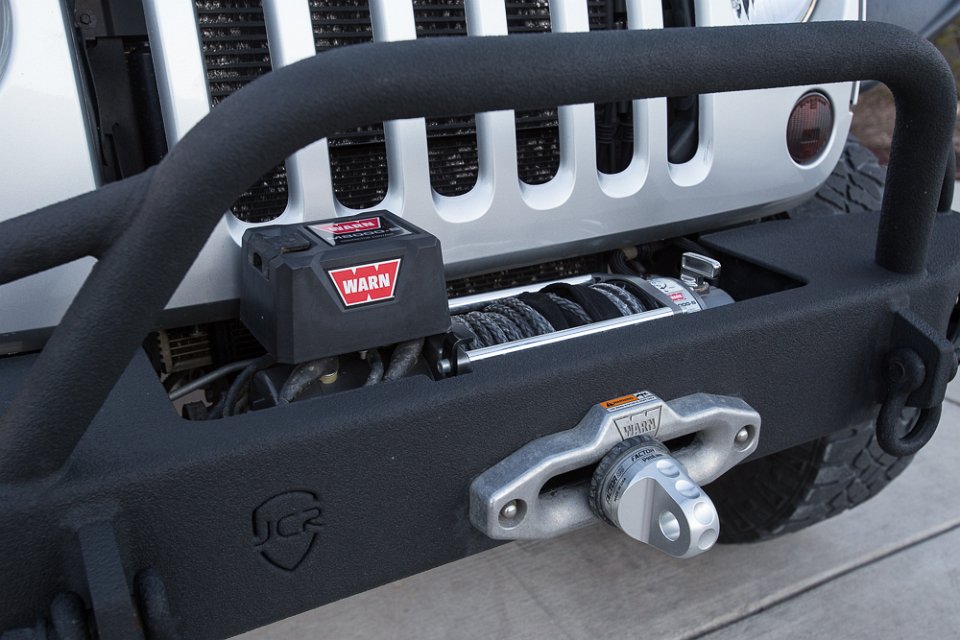
Since you can’t just throw a wench and a Hi Lift in the back of the Jeep, I had to find a way to mount them… for our safety of course. To accomplish this, nothing short of steel front and rear bumpers would do. After much research and mind changing, I finally decided on the Warn M8000-S for the wench and JCR Crusader bumpers (bed lined to match everything else). And since safety was our goal, we just had to have a Factor 55 safety thimble to put on the synthetic wench line. I mean, she would not want my hand to get caught in the line and crushed would she???
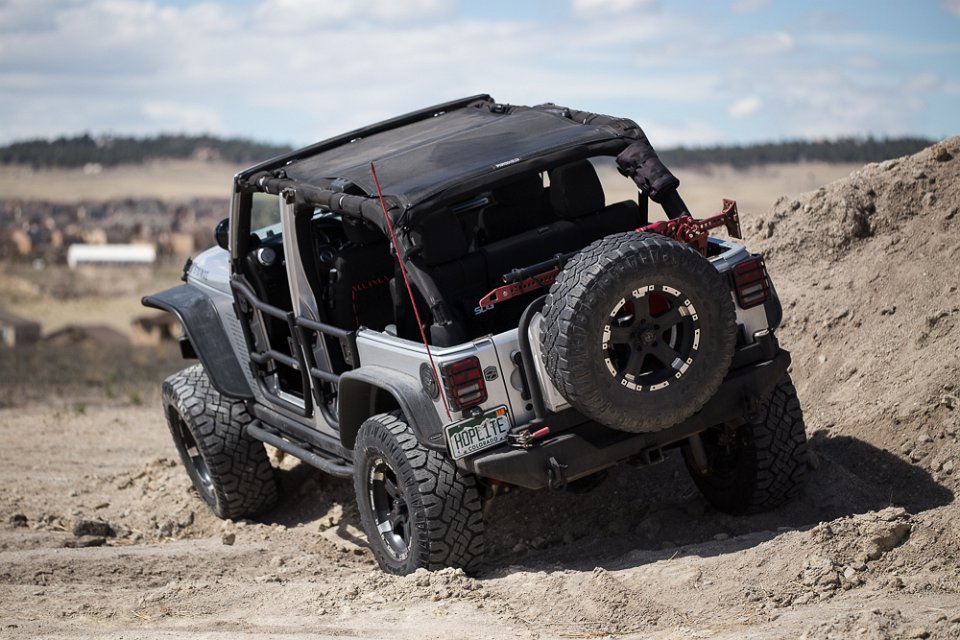
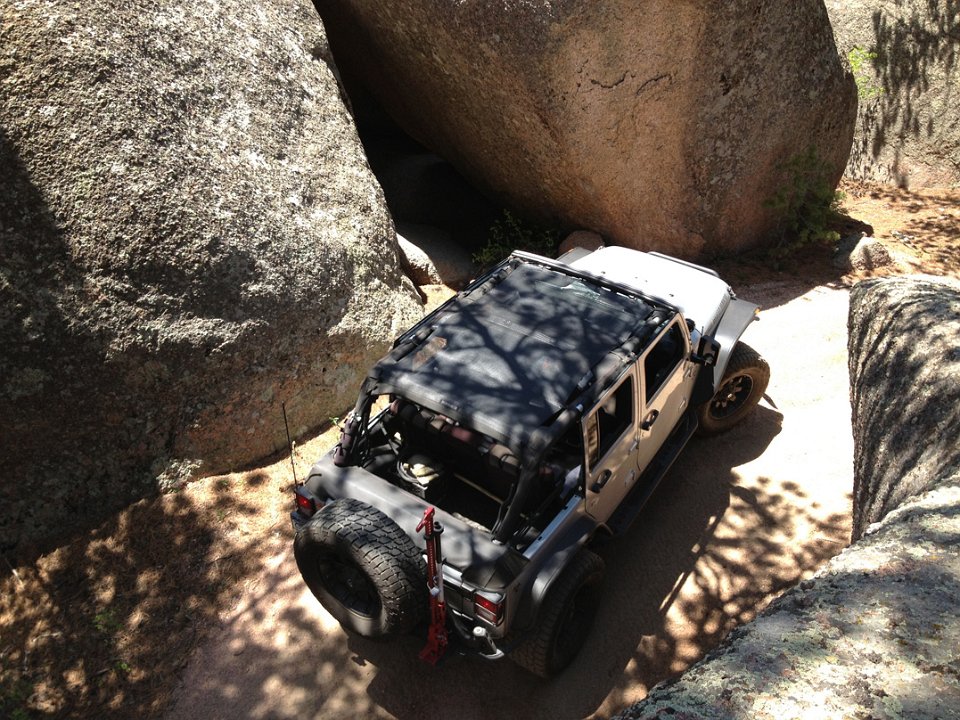
Now properly kitted for some real trails, it became apparent that with the top off, the sun would beat down on us pretty hard over the course of a day. That problem was solved with a Spyder Web Shade.
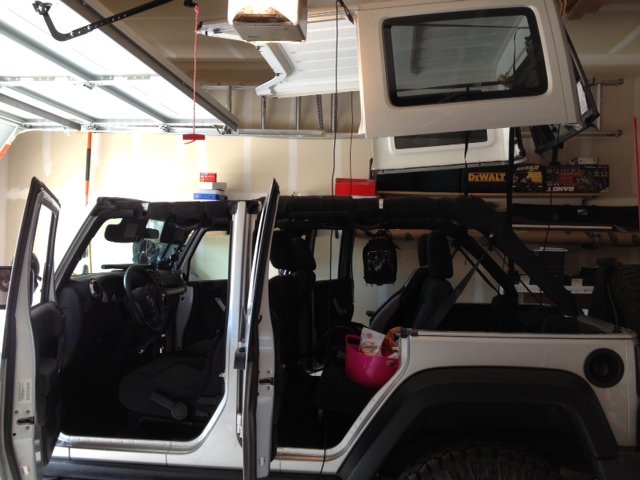
And to make it easier for me to remove the top by myself, a hoist was needed. I was able to find a very nice used Harken Hoist (200# model).
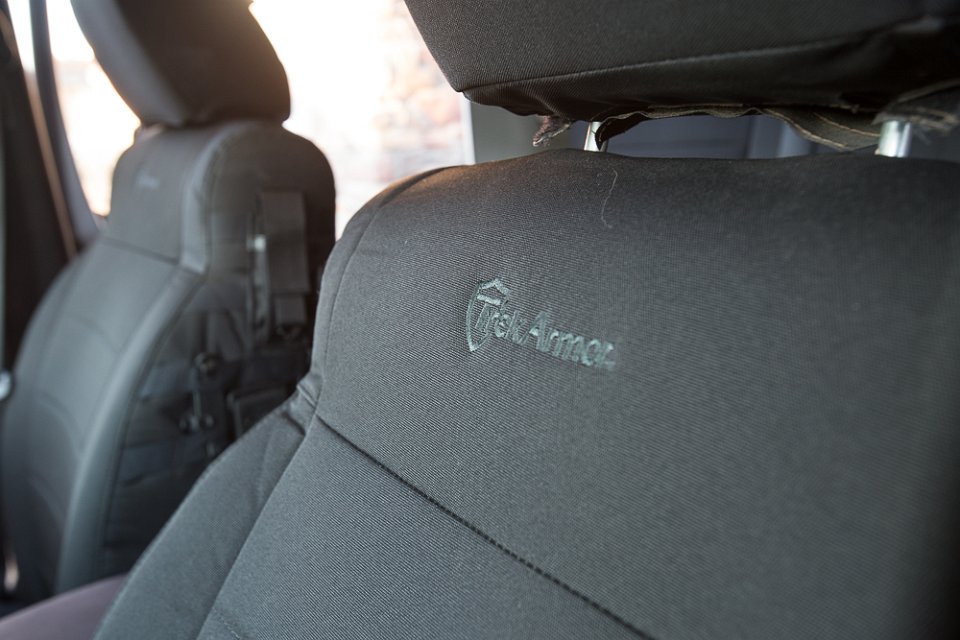
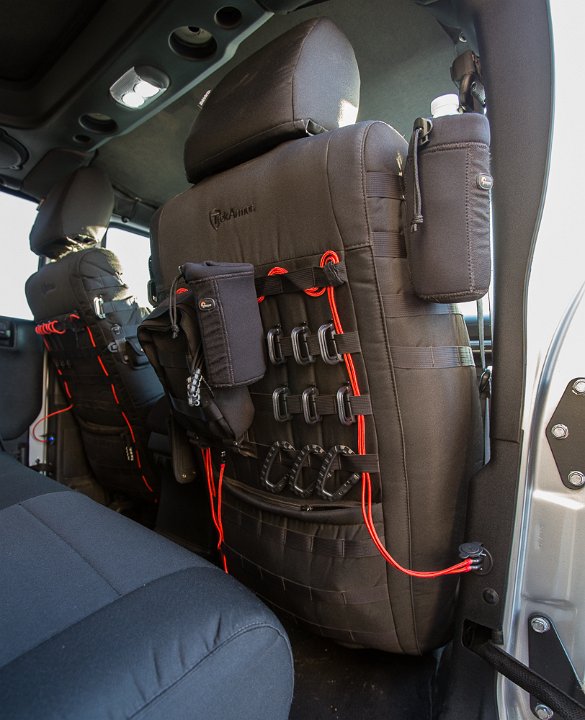
Another early edition to the Jeep was some slightly used TrekArmor seat covers so that the stockers would stay nice and fresh. Between kids and trails, without covers they would not stand a chance.
When you live at the foot of the Rocky Mountains, there is no excuse for not getting up into them as often as you can. Sadly, for our family, many years went by when we just looked at the pretty mountains as we went about our daily lives. I’d take my Yukon Denali on a few "trails" before, but those were years apart and never amounted to anything.
In 2013 the wife and I decided that we need to take better advantage of living in Colorado. We kicked around the idea of picking up hiking as a hobby, but with two younger girls and 2 year old Little Guy, hiking as a family would be… difficult. One day driving around town the wife mentioned that she liked the looks of the newer four door Jeeps. Even before we had a Jeep, only the Wranglers were "Jeeps" to us.
I had already been admiring some of the Unlimited Jeeps that I saw around town, so that was all I needed to start researching. Little did she know that within a week I knew what I wanted in a Jeep to replace her Nissan Armada daily driver… A silver JKUR with color matched hard top, lifted with black rims.
Fast forward a couple of months and we were returning from the aquarium up in Denver with the Little Guy. He almost never took naps and had fallen asleep on drive home… of course just before we got home. So instead of heading to the house and waking him up, I said we should drive down to motor city and just have a look around. The third dealership we came to had a 2012 silver JKUR with color matched hardtop, lifted and rolling on black rims wrapped in 35s and 14k miles on it.
Sorry son, nap time is over!!
Being that the Little Guy was a huge car nut, he did not mind too much when we woke him up to look at the Jeep. He was even more excited to take if for a test drive! We were very surprised at how smooth and quite the ride was in that "off road beast" and liked it right away. The sales lady of course offered to let us take the Jeep home for the rest of the weekend, but we had been driving my car that day and wanted to trade the Armada in if we decided get it. So we passed on the offer. About 2 miles from home, the wife asked what I thought about driving the Armada back down and barrowing the Jeep for the rest of the weekend. Right then I knew it was over… or rather, that it had just begun.
That is how it looked that first weekend. It had a Rancho 4" lift, 35" Duratrac tires, MB 17" wheels and the stock fenders and Rubi rails had been bed lined. It also had a Uniden CB inside a Tuffy Overhead console and the antenna was mounted on the center of the stock spare tire carrier. Over the course of the next three years as I learned more about Jeeps, we would learn that the previous owner had also installed aftermarket fixed lower control arms and 4.56 gears.
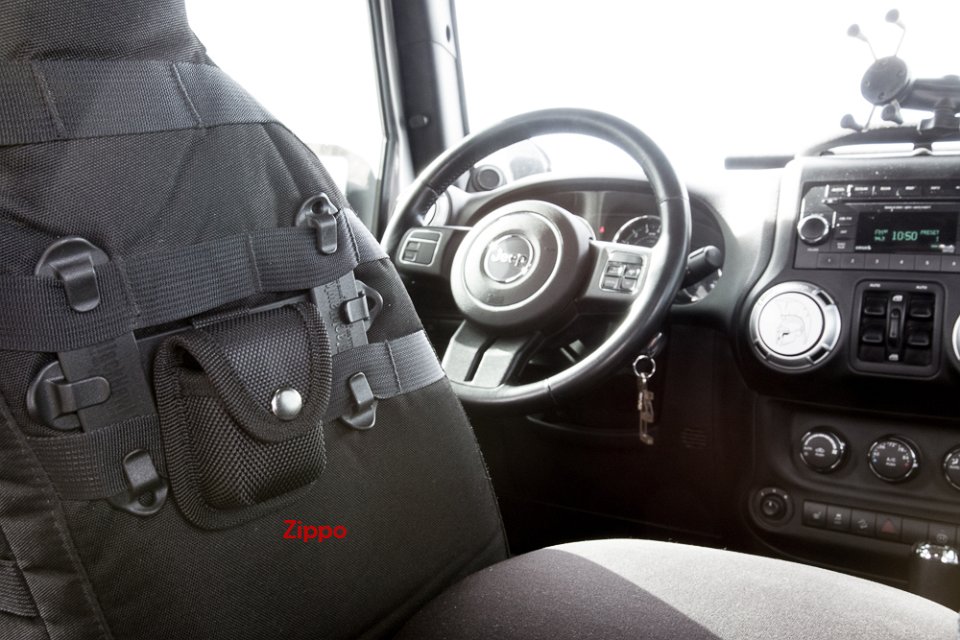
One of the first things the wife wanted in her new Jeep was some place to hold her phone. She loved the Jeep but was not crazy about it not having hands free calling like her Armada. Since this was not going to just be your average family Jeep (at least in my mind), a regular old cell phone holder would not do. Searching around I found the X Grip by Ram Mounts and the Vector Off Road Dock.
She also did not like the Overhead Console "crowding" her, so I had to pull that out and the CB along with it. Since the antenna was mounted up so high, it was always slapping into our garage door. So that had to be removed as well. Knowing we would want the CB for out on the trails, I picked up a Cobra 75WXST, a new red antenna and mounted it to the license plate housing via an UltraMount setup.
Around this same time I was able to find a good deal on some Rugged Ridge tail light guards.
This allowed us to have a longer antenna for better comms without it hitting the garage door. The smaller CB with only one quick disconnect cable also meant that I could put it in the Jeep only when we were running a trial (she did not want it in there all the time).
Next on the list of mods was something to make it easier for her and the kiddos to get in and out of it. The ACE Engineering rock sliders did the trick nicely. Of course I had to bed line them to match the fenders and Rubi rails.
Up to this point, we had really only run dirt road trails and always by ourselves. The wife was worried about us getting stuck someplace with the kids. With visions of starvation and bear maulings, she made the mistake of saying we had to have a wench and Hi Lift jack before doing any "real trails". Oh how I loved those words!
Since you can’t just throw a wench and a Hi Lift in the back of the Jeep, I had to find a way to mount them… for our safety of course. To accomplish this, nothing short of steel front and rear bumpers would do. After much research and mind changing, I finally decided on the Warn M8000-S for the wench and JCR Crusader bumpers (bed lined to match everything else). And since safety was our goal, we just had to have a Factor 55 safety thimble to put on the synthetic wench line. I mean, she would not want my hand to get caught in the line and crushed would she???
Now properly kitted for some real trails, it became apparent that with the top off, the sun would beat down on us pretty hard over the course of a day. That problem was solved with a Spyder Web Shade.
And to make it easier for me to remove the top by myself, a hoist was needed. I was able to find a very nice used Harken Hoist (200# model).
Another early edition to the Jeep was some slightly used TrekArmor seat covers so that the stockers would stay nice and fresh. Between kids and trails, without covers they would not stand a chance.