Good evening -
Bare with me, as I am an electrical dunce. I have the Auxbeam 8 Gang Switch Pod for my Ranger. I mounted it under the hood, as pictured below.
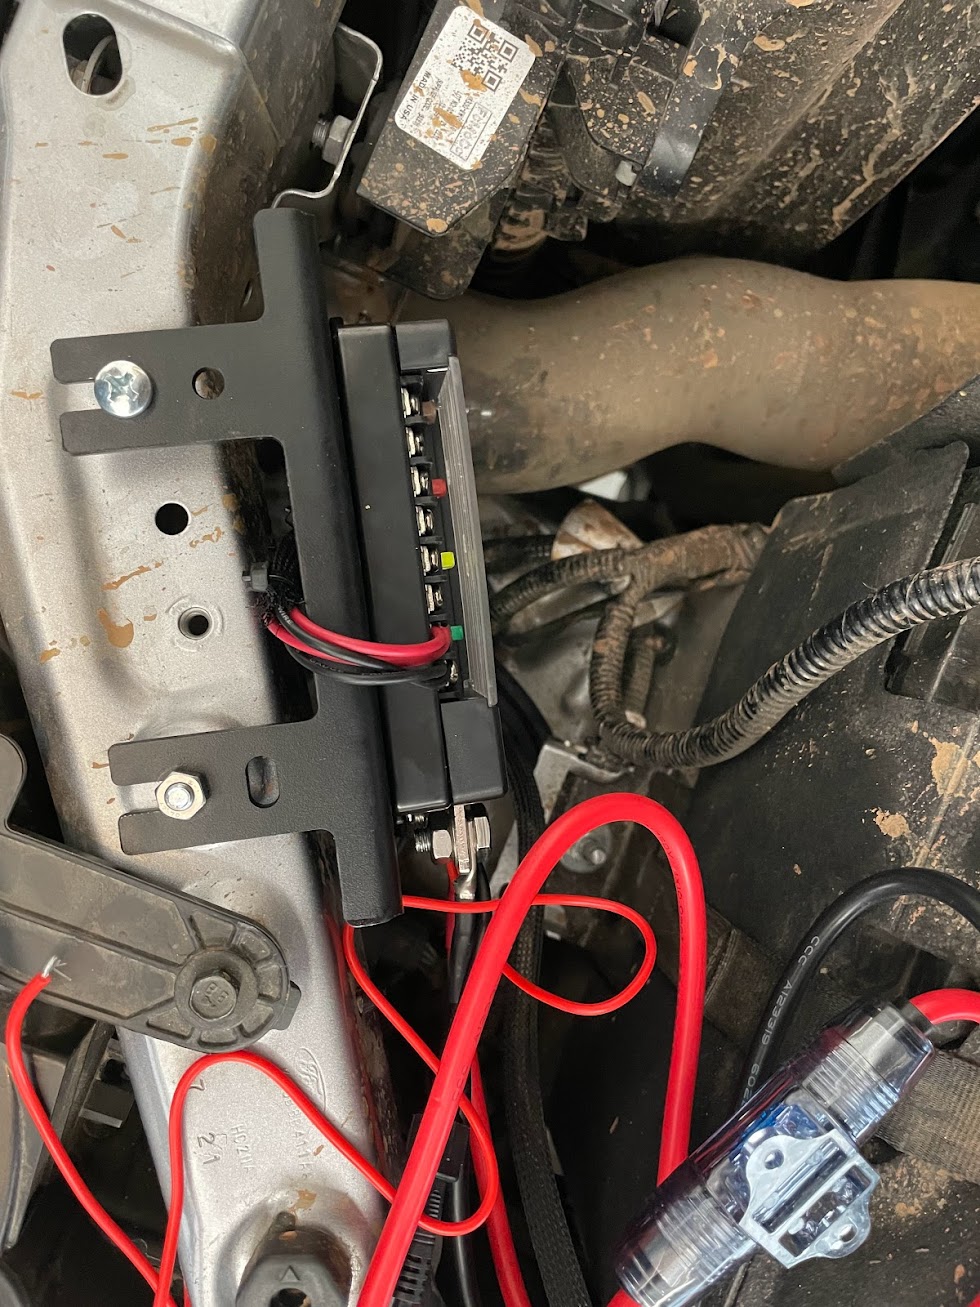
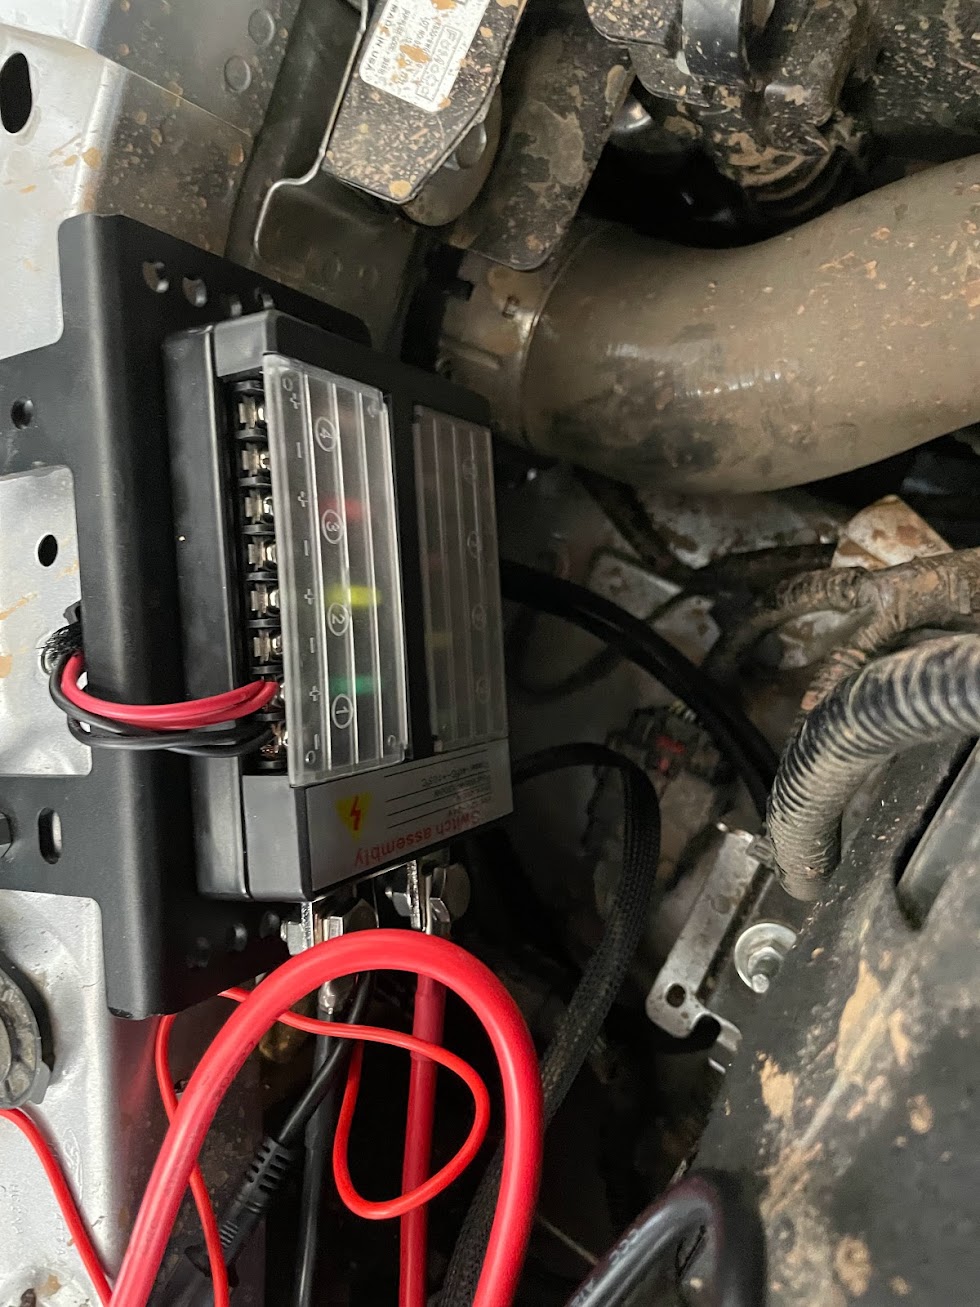
I am a bit worried about water getting in the connections and causing corrosion. The simple solution is to put some kind of dielectric grease on the connections, but I don't know that I like the plate there. I thought about moving it inside the cab, but I worry about fires (this could be completely irrational, but I dunno...). I was thinking it about mounting it behind the back seats on the cab wall. I haven't looked for mounting options yet, this is just spitballing. I would get large gauge wire and feed it in to the cab to run power to the pod and spider the small gauge wire up to all the accessories.
What things should I consider when running the wires inside the cab? Physically, I know how to run the wires, so I am looking for safety things to be aware of.
Please, ask any questions you need to help guide me to better inform you what I am trying to accomplish... ha!
Bare with me, as I am an electrical dunce. I have the Auxbeam 8 Gang Switch Pod for my Ranger. I mounted it under the hood, as pictured below.
I am a bit worried about water getting in the connections and causing corrosion. The simple solution is to put some kind of dielectric grease on the connections, but I don't know that I like the plate there. I thought about moving it inside the cab, but I worry about fires (this could be completely irrational, but I dunno...). I was thinking it about mounting it behind the back seats on the cab wall. I haven't looked for mounting options yet, this is just spitballing. I would get large gauge wire and feed it in to the cab to run power to the pod and spider the small gauge wire up to all the accessories.
What things should I consider when running the wires inside the cab? Physically, I know how to run the wires, so I am looking for safety things to be aware of.
Please, ask any questions you need to help guide me to better inform you what I am trying to accomplish... ha!