
Once again I sit at my notepad and a computer at the start of a build. Despite my good intentions, and lessons learned from my Tacoma build, my list continues to change on an hourly basis (each time to the dismay of my bank account). Some is due to an inability to make a final decision, while other portions have to do with fitment questions on this particular vehicle. Well...
The first and most "unknown" aspect is the KDSS in relation to lift. I understand how the KDSS works, but I have received different information on what can, and cannot, be done with the suspension. A Toyota dealer suggested nothing above a 2" lift, or issues will be experienced, but a local lift specialty shop has done 3"+ lifts on KDSS equipped 4Runners (one I actually saw and talked to the install guy) without issue. I recall reading that the diff drop should not be used (this was specific to the Icons I was looking at), and I believe I understand why this would be the case. My optimum lift would be in the 2-3" range.
Now, lets talk shocks. One of the voices in my head must be standing at the start line of the Baja 1000 in full race garb because "he" is totally out of control and has lost all touch with reality, while the other must only be driving back and forth to church on Sunday morning in Mayberry... Somewhere in there must be someone sane (my wife might disagree), or at least open to suggestion. The Toyota Pro line appears to use the Bilstein setup (maybe 6112 in front and 5160 in rear) with a TRD Pro logo on them. While the price point on the Bilsteins is tempting - although I would just use the straight 6112/5160 without the "Pro" logos - I think they missed the mark on the 6112's adjustability once it's on the vehicle. In my Tacoma build I went with an Icon setup. I had external res on the front and rear (front 2.5 had the adjuster, rear 2.0 did not), Icon UCA replaced the stock, and a OME Dakar leaf spring w/add a leaf (I had a Four Wheel Camper on full time, and the front had a Relentless Fabrication bumper and winch). Other than wanting to upgrade the leaf pack (mostly when the truck/camper were loaded for trips), I liked the performance of the package. I've looked at the King shocks, and I've noticed they can be ordered specifically for the KDSS. I wonder what they do differently. There is no mention of a similar selection for the Icons on the initial purchase, but there are things within the installation instructions I downloaded from their site that are specific to the KDSS equipped vehicle. One example was for the front coilover which says to "deactivate" the KDSS system before beginning, and then to "reset" it after your done. None of the build threads, or videos, I've looked at have said anything about this process, and I could not find anything in the manual about "resetting" the KDSS.
Springs appear to be fairly straight forward and mostly dependent on height and additional weight. There is an OME spring which is described as giving a 2.5 - 2.75" lift with up to 400# of extra weight. Icon offers a 2" lift spring, or a 3" progressive spring, but my research and needs has me leaning toward the OME one.
The three "arms" in the rear again appear to be straight forward to adjust the vehicle back into spec, and I think a valid expense (not to mention the added strength and requirement per instructions in some cases). However, it seems as though it's only the Icons that mention it in their manuals, or offer it in some of their suspension packages (I think above a 4 or 5 stage package).
The UCA seems to be replaced in most builds (as it was in my Tacoma build), and I get the added articulation and alignment advantages, but I have seen a local 3" Icon lift that kept the stock UCA. I've tried tracking the guy down to talk to him about ride quality, etc, but I haven't caught up to him yet. If I stay at 2" with the non extended version of the Icon 2.5 coilover would the UCA need replacing right now (I know it's just as easy to replace it since you have it torn apart for the coilover anyway).
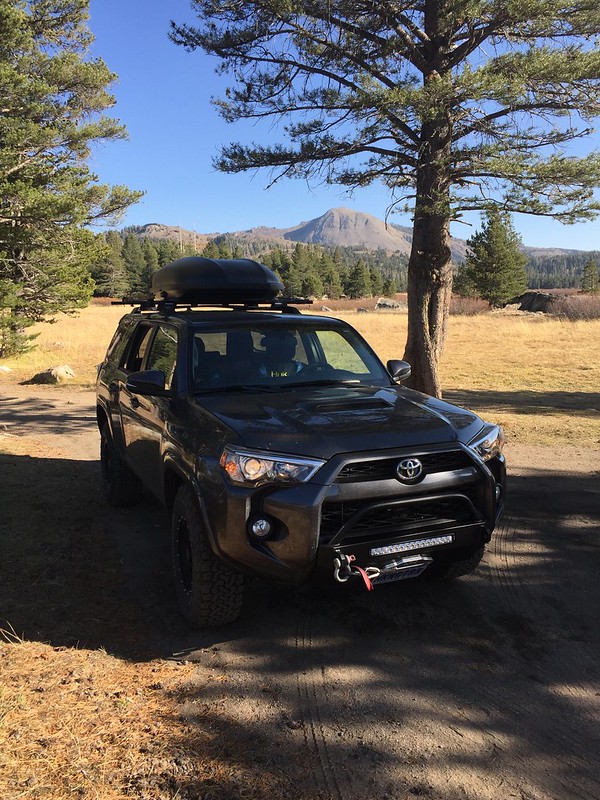
This is what I would be putting on the vehicle: In the front I would do either a hidden winch mount, or the "Southern style" minimal one, with a Smittybuilt winch (taken off my Tacoma). The roof rack would be either the Baja Rack full flat one, or the Gobi full length one. On top I like the Tepui 2 person Ayer RTT, or one of the hard shell James Baroud models, but I have been playing around with a sleeping platform/drawer system inside. Typical Yeti cooler or the like, and basic recover equipment, as well as personal items for 2 (and a dog). I run a 275/70/17 so a spare can be fit underneath, but if I go up to a 285/75/17 some time in the future I would be looking at some type of rear bumper/tire carrier.
In not trying to be long winded I have failed miserably, but this is where I stand at this point. I would like to know others who have progressed past this quagmire of writing out lists of possibilities and actually done something.
The first and most "unknown" aspect is the KDSS in relation to lift. I understand how the KDSS works, but I have received different information on what can, and cannot, be done with the suspension. A Toyota dealer suggested nothing above a 2" lift, or issues will be experienced, but a local lift specialty shop has done 3"+ lifts on KDSS equipped 4Runners (one I actually saw and talked to the install guy) without issue. I recall reading that the diff drop should not be used (this was specific to the Icons I was looking at), and I believe I understand why this would be the case. My optimum lift would be in the 2-3" range.
Now, lets talk shocks. One of the voices in my head must be standing at the start line of the Baja 1000 in full race garb because "he" is totally out of control and has lost all touch with reality, while the other must only be driving back and forth to church on Sunday morning in Mayberry... Somewhere in there must be someone sane (my wife might disagree), or at least open to suggestion. The Toyota Pro line appears to use the Bilstein setup (maybe 6112 in front and 5160 in rear) with a TRD Pro logo on them. While the price point on the Bilsteins is tempting - although I would just use the straight 6112/5160 without the "Pro" logos - I think they missed the mark on the 6112's adjustability once it's on the vehicle. In my Tacoma build I went with an Icon setup. I had external res on the front and rear (front 2.5 had the adjuster, rear 2.0 did not), Icon UCA replaced the stock, and a OME Dakar leaf spring w/add a leaf (I had a Four Wheel Camper on full time, and the front had a Relentless Fabrication bumper and winch). Other than wanting to upgrade the leaf pack (mostly when the truck/camper were loaded for trips), I liked the performance of the package. I've looked at the King shocks, and I've noticed they can be ordered specifically for the KDSS. I wonder what they do differently. There is no mention of a similar selection for the Icons on the initial purchase, but there are things within the installation instructions I downloaded from their site that are specific to the KDSS equipped vehicle. One example was for the front coilover which says to "deactivate" the KDSS system before beginning, and then to "reset" it after your done. None of the build threads, or videos, I've looked at have said anything about this process, and I could not find anything in the manual about "resetting" the KDSS.
Springs appear to be fairly straight forward and mostly dependent on height and additional weight. There is an OME spring which is described as giving a 2.5 - 2.75" lift with up to 400# of extra weight. Icon offers a 2" lift spring, or a 3" progressive spring, but my research and needs has me leaning toward the OME one.
The three "arms" in the rear again appear to be straight forward to adjust the vehicle back into spec, and I think a valid expense (not to mention the added strength and requirement per instructions in some cases). However, it seems as though it's only the Icons that mention it in their manuals, or offer it in some of their suspension packages (I think above a 4 or 5 stage package).
The UCA seems to be replaced in most builds (as it was in my Tacoma build), and I get the added articulation and alignment advantages, but I have seen a local 3" Icon lift that kept the stock UCA. I've tried tracking the guy down to talk to him about ride quality, etc, but I haven't caught up to him yet. If I stay at 2" with the non extended version of the Icon 2.5 coilover would the UCA need replacing right now (I know it's just as easy to replace it since you have it torn apart for the coilover anyway).
This is what I would be putting on the vehicle: In the front I would do either a hidden winch mount, or the "Southern style" minimal one, with a Smittybuilt winch (taken off my Tacoma). The roof rack would be either the Baja Rack full flat one, or the Gobi full length one. On top I like the Tepui 2 person Ayer RTT, or one of the hard shell James Baroud models, but I have been playing around with a sleeping platform/drawer system inside. Typical Yeti cooler or the like, and basic recover equipment, as well as personal items for 2 (and a dog). I run a 275/70/17 so a spare can be fit underneath, but if I go up to a 285/75/17 some time in the future I would be looking at some type of rear bumper/tire carrier.
In not trying to be long winded I have failed miserably, but this is where I stand at this point. I would like to know others who have progressed past this quagmire of writing out lists of possibilities and actually done something.


 IMG_7009
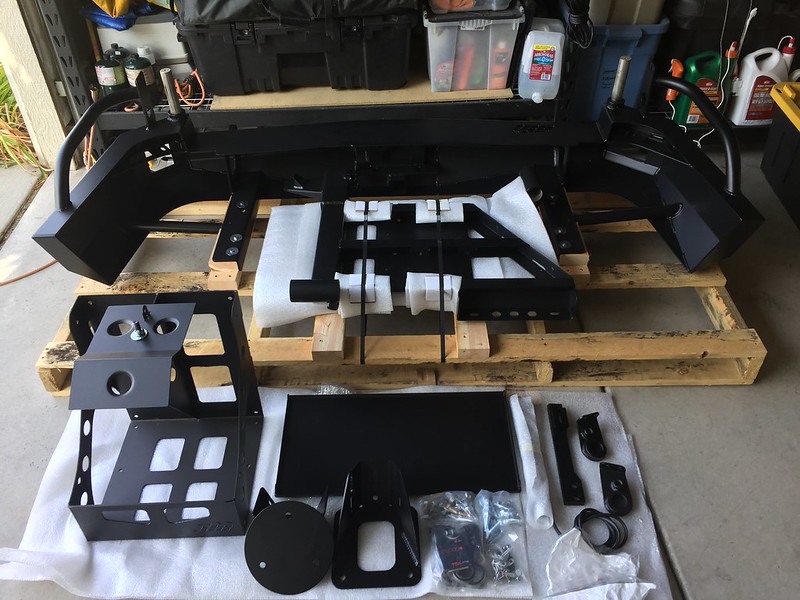 IMG_7006
 IMG_7019
 IMG_7020
 IMG_7022
 IMG_7016
 IMG_7015
 IMG_7024
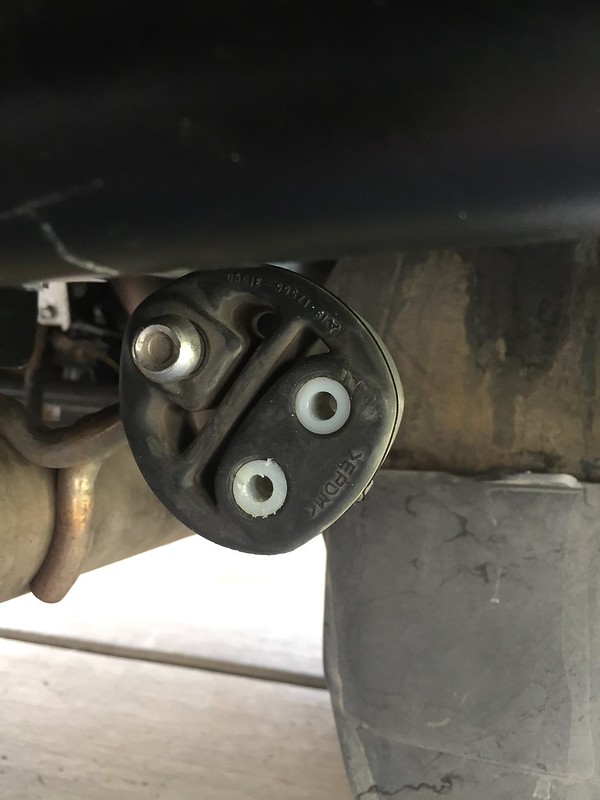 IMG_7023
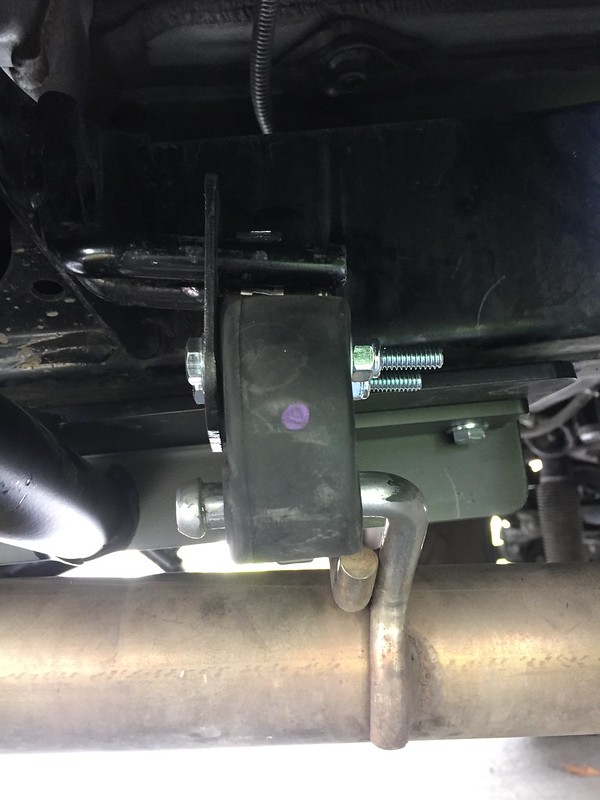 IMG_7025
 IMG_7036
 IMG_7037
 IMG_7038
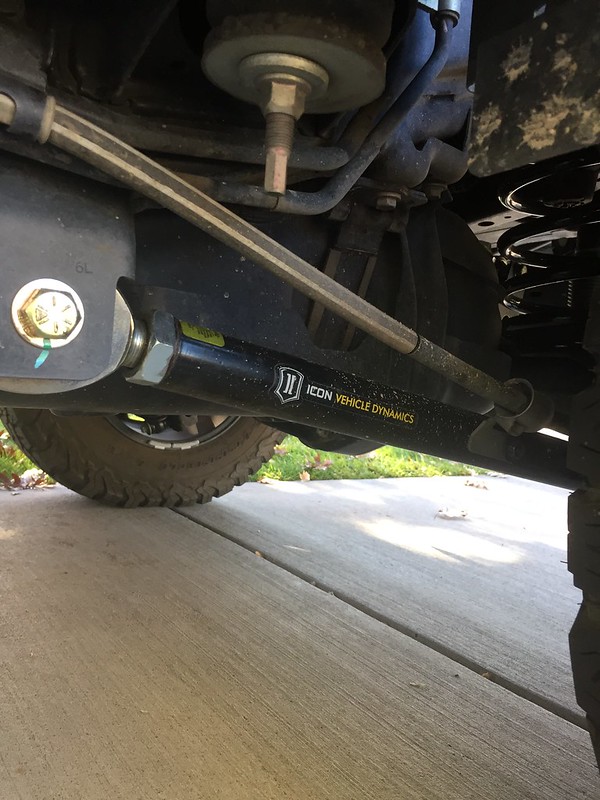 IMG_7039
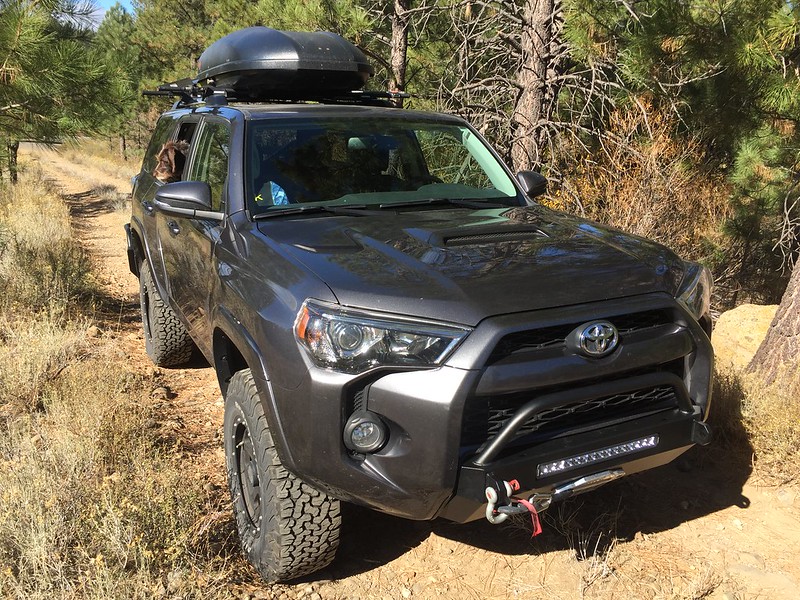 IMG_7027
 IMG_7028
 IMG_7044
 IMG_7048