2015 Toyota 4Runner TRD Pro

  • HTML tutorial

KevinE

Rank IV
Launch Member

Pathfinder III

1,011
Saratoga Springs, Utah County, Utah, United States
First Name
Kevin
Last Name
Escott
Member #

6491

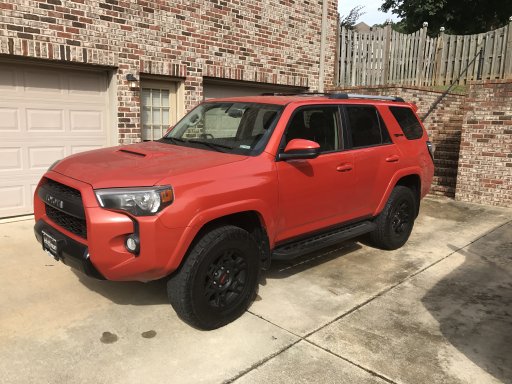
So I am starting a thread to memorialize my build of my 4Runner and look forward to getting everyone's input and help. I have learned a ton from the other builds and hope that this build will help me in my goal and also provide inspiration for others that follow.

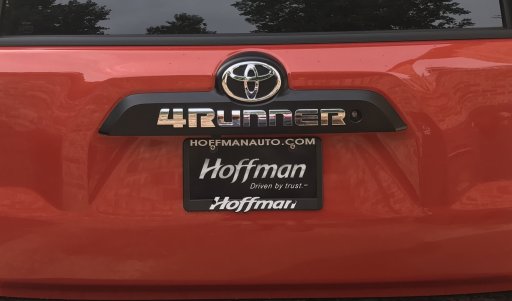
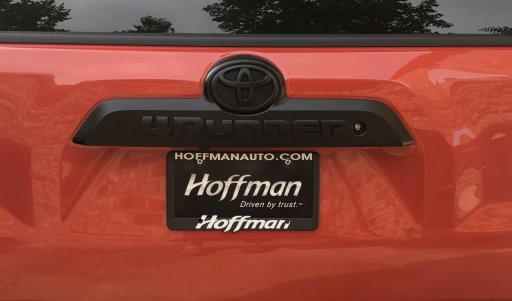
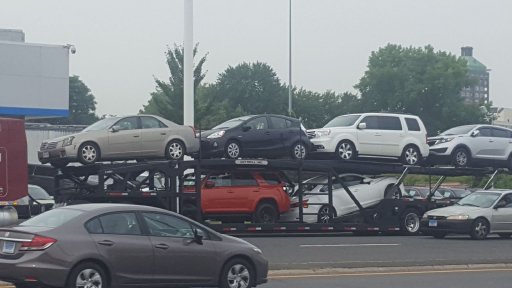
I am new to over landing so any help will greatly be appreciated. She is being delivered this weekend and already have a couple of items waiting to be mounted. I.e. black out lettering for the 4Runner badges on the tail gate and also Bushwacker Pocket Flares.

The picture shows her all nestled in for the trip south. It was loaded up this morning and I can not wait until she is in driveway!!20170802_090028_1501678848900.jpg
 

geekyadam

Rank V
Launch Member

Pathfinder I

2,484
Mead, CO, USA
First Name
Adam
Last Name
Wright
Member #

7105

Cheers man! I've always been a fan of the 4Runners that have to the large roof rack with the ladder in the back attached. Looks badass.

Sent from my Nexus 5X using OB Talk mobile app
 
  • Like
Reactions: KevinE

Trail Wonky

Rank V
Launch Member

Advocate II

1,759
Bellingham WA
Member #

3126

Hey Kevin! Looks good sitting there amongst all the norm. I've subscribed to your thread and look forward to seeing what you do with her. Congrats!


Sent from my iPhone using OB Talk
 
  • Like
Reactions: KevinE

KevinE

Rank IV
Launch Member

Pathfinder III

1,011
Saratoga Springs, Utah County, Utah, United States
First Name
Kevin
Last Name
Escott
Member #

6491

My first weekend with my new (to me) 4Runner and I am so liking my decision. I went for a couple of rides and am planning on taking her off road next weekend for my initial test. More to come on that. I have attached a picture of her in the driveway waiting for the next adventure.

IMG_0295.JPG

Updates: after taping on the bushwhacker pocket flares I have decided they aren't the look for me so back they go. They look very much like extended wings and unless you had bigger tires it looks a bit out of whack. Not the look I am looking for.

I have done one small mod, I have blacked out the chrome letters on the back to match the rest of the TRD logos. Why Toyota did this I have not idea. Here is a before and after.

IMG_0297.JPG IMG_0298.JPG

Coming this week. New Fogs!!!
 

KevinE

Rank IV
Launch Member

Pathfinder III

1,011
Saratoga Springs, Utah County, Utah, United States
First Name
Kevin
Last Name
Escott
Member #

6491

IMG_0308.JPG IMG_0307.JPG


Ok so not much progress on the build lately but did receive a couple of goodies in the post. Hope to get the fogs mounted this weekend!!

Any advice on roof racks, looking at that for the next purchase. I do not want to drill and am up for a full rack (no sunroof). Any advice would be appreciated.
 

Attachments

KevinE

Rank IV
Launch Member

Pathfinder III

1,011
Saratoga Springs, Utah County, Utah, United States
First Name
Kevin
Last Name
Escott
Member #

6491

IMG_0328.JPG OK, I was able to carve some time and finish some installation of some parts on the Ginger Lady!!! I went and purchased a Ram Mount for my phone and I also bought the the adapter for my Ipad so that I can switch out depending on use.

Mounting was easy, I undid the bolt to the front left passenger seat and slid it right in and rebolted it. Took about 10 mins or so. The Ram mount is by the most sturdy mounting system that I have had. Went wheeling this weekend and it did not move like other mounts I have seen. Highly impressed and recommended.
 
  • Like
Reactions: Jimmy P

KevinE

Rank IV
Launch Member

Pathfinder III

1,011
Saratoga Springs, Utah County, Utah, United States
First Name
Kevin
Last Name
Escott
Member #

6491

IMG_0226.JPG IMG_0237.JPG Installation of Rigid Series D2 Fogs & Mounting Brackey

This took some time, not the 45 minutes that were advertised with the brackets. I am guessing that they mean that it takes 45 minutes with the front bumper removed and not the time to remount it. This could have alot to do with doing this solo also. Removing the from bumper was quite a task due to the gazillion screws and grommets. :( In all I would schedule a couple of hours if you are doing this mod.

The instructions were ok but did lack when coming to the wiring harness and how to properly wire it. I did a straight re-wire so that I could still use the factory switch.

You Tube to the rescue!!!! There are multiple links on You Tube that can guide you and they were very helpful. Especially when pulling off at the wheel well. I did not fall prey breaking it like so many previously.

The brackets mounted easy and so did the fogs. They make a big difference and I really like them.
 

Directive51

Rank IV
Launch Member

Enthusiast III

1,080
Wetumpka, AL, USA
First Name
Neil
Last Name
Hoggard
Member #

6130

Good looking build. Looks like we are pretty close down here in Alabama. Have you had a chance to hit the Gana trail yet?