Update: July 5, 2016
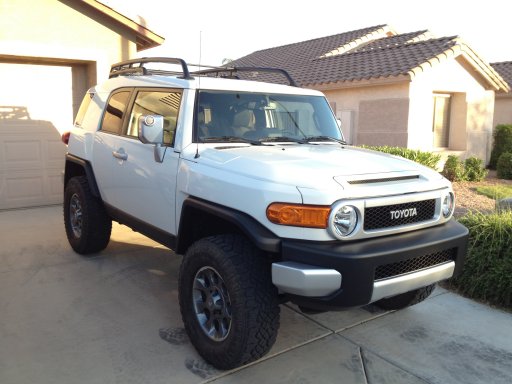
In May 2013, in an attempt to get a little smaller with my vehicle, I traded my 2006 Ram 1500 for a new 2013 FJ Cruiser. Over the few years I have owned it it has been to many places and been modified for the ability to go out independently.
Drive-train: Stock
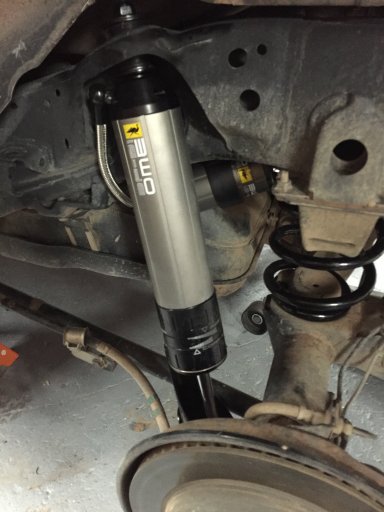
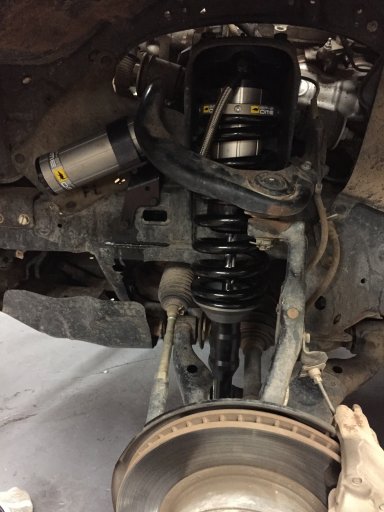
Suspension:
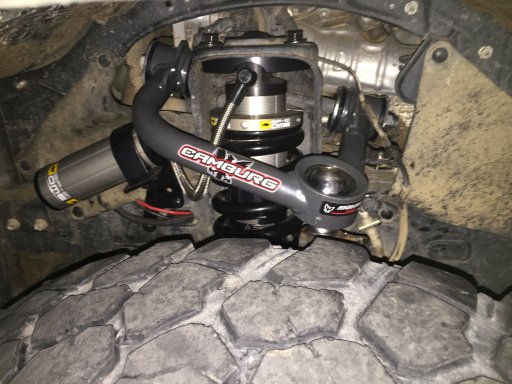
- OME BP-51 Shocks all around
- Camburg Unu-Ball Front Upper Control Arms
Armor:
- Stock
Wheels/Tires:
- Stock Revolver Rims
- BFG KM2 285/70R17
Additions:
- Warrior Industries flat roof rack
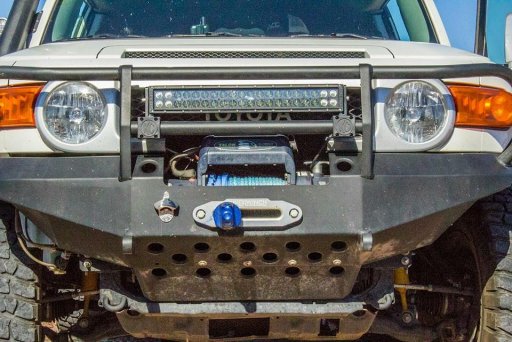
- Warrior Industries front bumper
- Warrior Industries rear bumper
- Superwinch Talon 9.5iSR
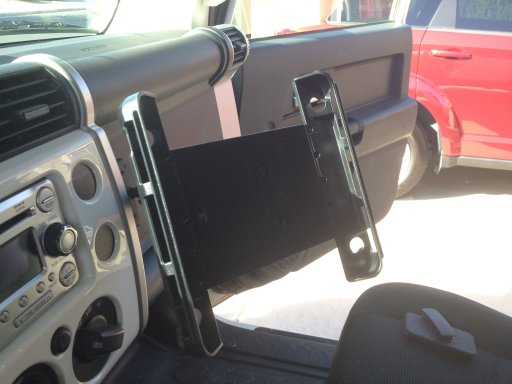
- RAM dash mount for iPad
- Custom AZ license plate
- LED back-up lights
- LED front light bar
- Gobi ladder (install coming soon)
- Transfer case breather relocation kit (install coming soon)
- Front differential breather relocation kit (install coming soon)
- Rear differential/E-locker breather relocation kit (install coming soon)
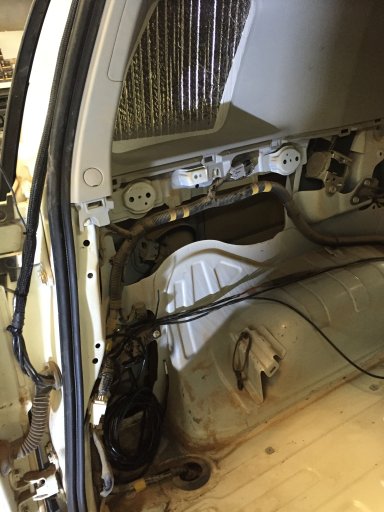
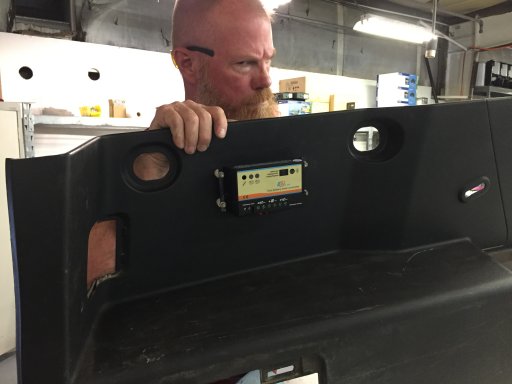
- Renergy 100w solar panel
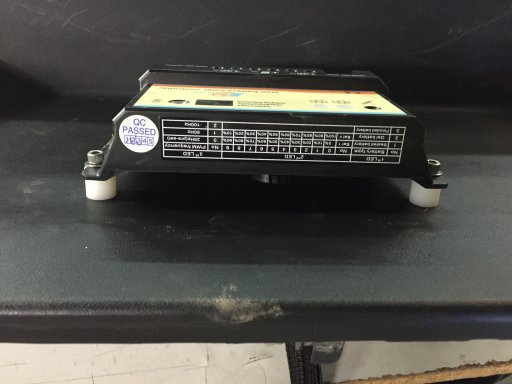
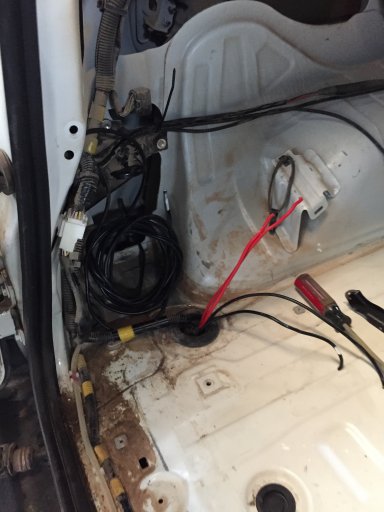
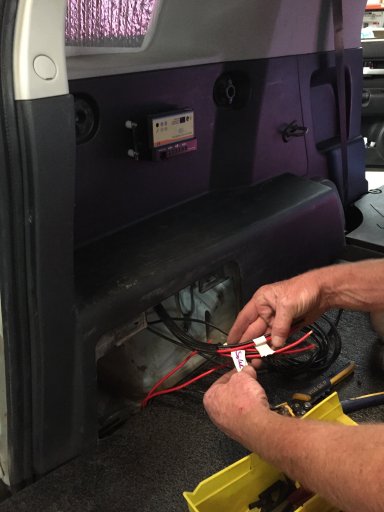
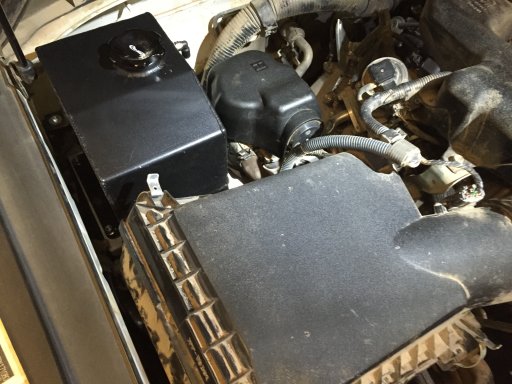
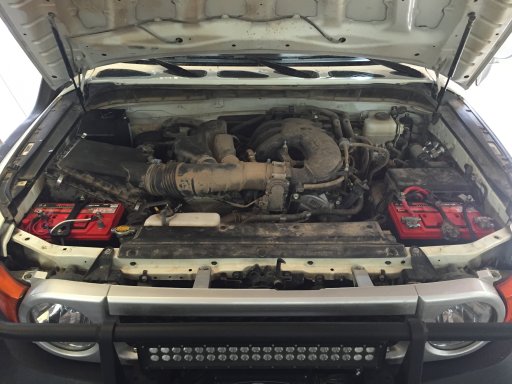
- Dirty parts dual battery install kit
- Dirty parts washer bottle relocation kit
- Snorkel
- ARB single air compressor
- Turtleback bumper mounted bottle opener
- Foxwing awning with three walls
Recovery:
- ARB Recovery kit
- 6-3/4T shackle
- 2-snatch block
- Factor 55 hitch shackle recovery point
- Gloves
- WFR First aid kit
- Tool kit
- 48” Hi-Lift jack with base
- Hi-Lift winch assessory kit
- MAXSA Innovations Escaper Buddy Orange Traction Mat
- Large shovel
- Small garden shovel
- Ax
Communications:
- Yaesu FT-8800r dual band HAM, relocated the radio face to the dash.
- Baofeng UV-5r handheld
- Delorme inReach explorer
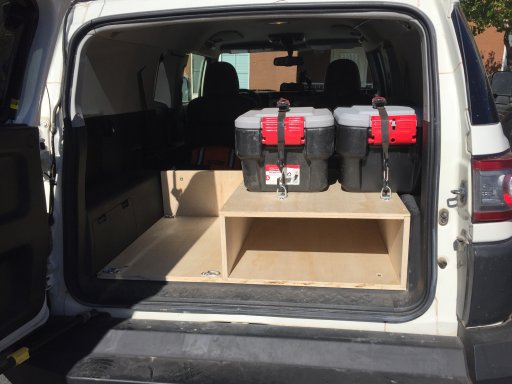
Sad thing is I think it may almost be done. I have begun work on a small trailer to go with it for base camping options.
Hopefully by the end of this weekend the new suspension will be installed.
In May 2013, in an attempt to get a little smaller with my vehicle, I traded my 2006 Ram 1500 for a new 2013 FJ Cruiser. Over the few years I have owned it it has been to many places and been modified for the ability to go out independently.
Drive-train: Stock
Suspension:
- OME BP-51 Shocks all around
- Camburg Unu-Ball Front Upper Control Arms
Armor:
- Stock
Wheels/Tires:
- Stock Revolver Rims
- BFG KM2 285/70R17
Additions:
- Warrior Industries flat roof rack
- Warrior Industries front bumper
- Warrior Industries rear bumper
- Superwinch Talon 9.5iSR
- RAM dash mount for iPad
- Custom AZ license plate
- LED back-up lights
- LED front light bar
- Gobi ladder (install coming soon)
- Transfer case breather relocation kit (install coming soon)
- Front differential breather relocation kit (install coming soon)
- Rear differential/E-locker breather relocation kit (install coming soon)
- Renergy 100w solar panel
- Dirty parts dual battery install kit
- Dirty parts washer bottle relocation kit
- Snorkel
- ARB single air compressor
- Turtleback bumper mounted bottle opener
- Foxwing awning with three walls
Recovery:
- ARB Recovery kit
- 6-3/4T shackle
- 2-snatch block
- Factor 55 hitch shackle recovery point
- Gloves
- WFR First aid kit
- Tool kit
- 48” Hi-Lift jack with base
- Hi-Lift winch assessory kit
- MAXSA Innovations Escaper Buddy Orange Traction Mat
- Large shovel
- Small garden shovel
- Ax
Communications:
- Yaesu FT-8800r dual band HAM, relocated the radio face to the dash.
- Baofeng UV-5r handheld
- Delorme inReach explorer
Sad thing is I think it may almost be done. I have begun work on a small trailer to go with it for base camping options.
Hopefully by the end of this weekend the new suspension will be installed.
Last edited: