2010 GMC Build.

  • HTML tutorial

eagle_A40

Rank VI
Launch Member

Member II

3,341
Galvez, Louisiana. USA
First Name
Michael
Last Name
Somebody
Member #

19666

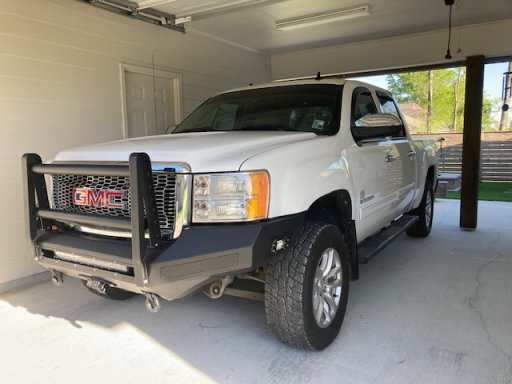
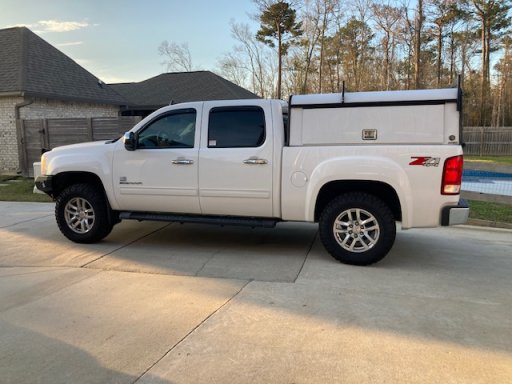
Back in the summer of 2022, I replaced my 2018 Nissan Frontier with a 2010 GMC Sierra Crew Cab SLT 1500 Z28 4x4.
The first thing I did was to replace the factory chrome running boards with solid black boards.
IMG_4083.jpg

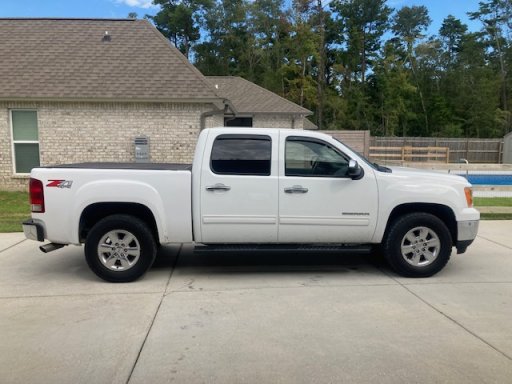
I also swapped the 6 spoke 2010 factory chrome wheels and Cooper tires for 10 spoke 2022 factory aluminum wheel and TOYO Open Country.
img-4122_orig.jpg

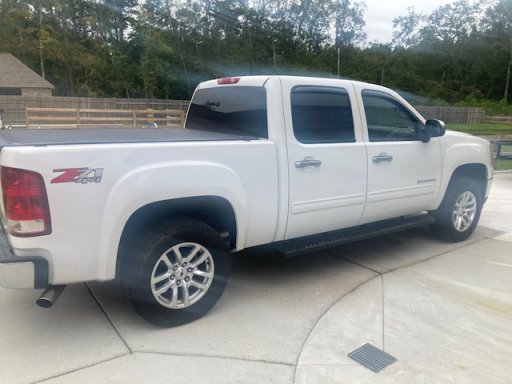
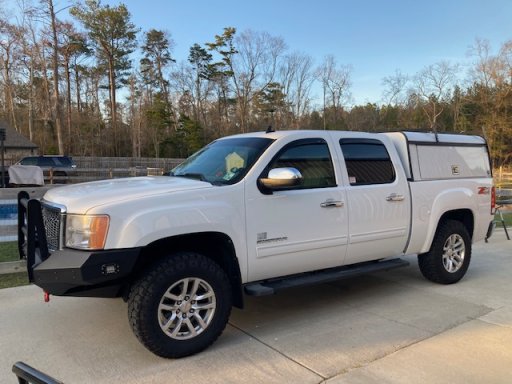
Later, I installed 2" leveling spacers and a 1-1/4" body lift.
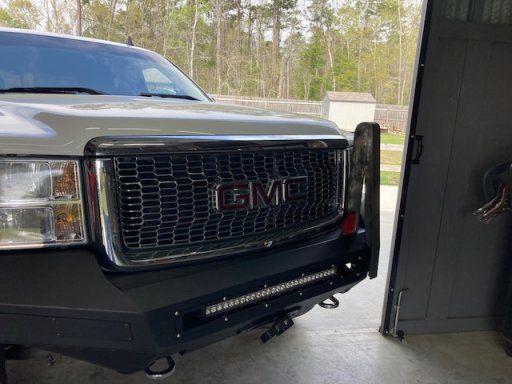
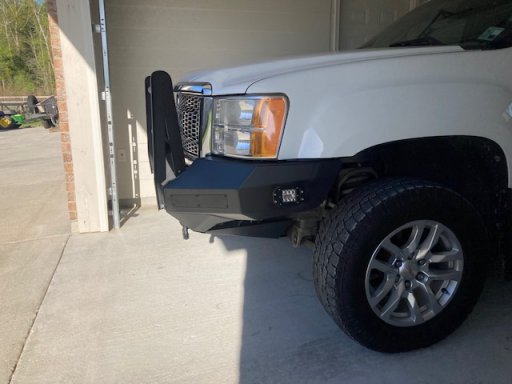
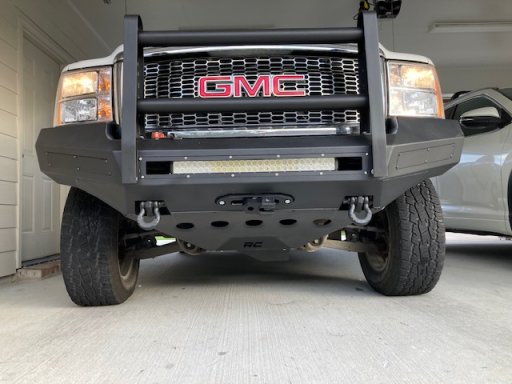
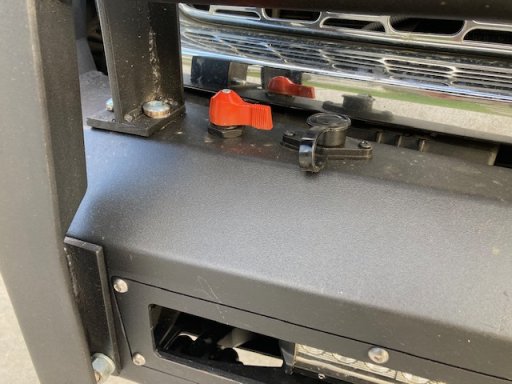
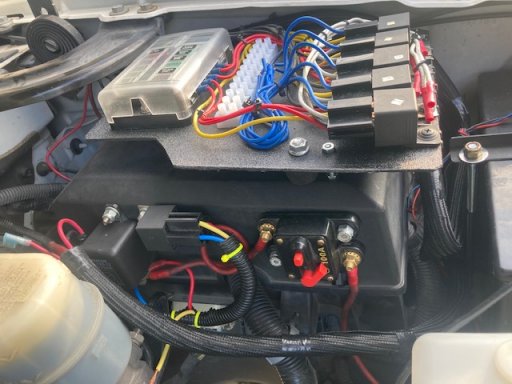
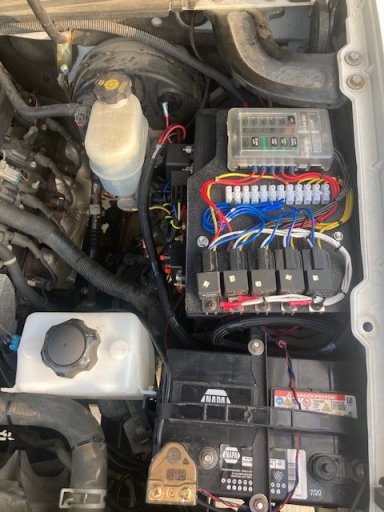
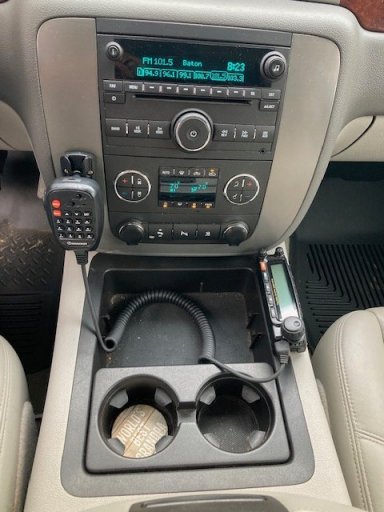
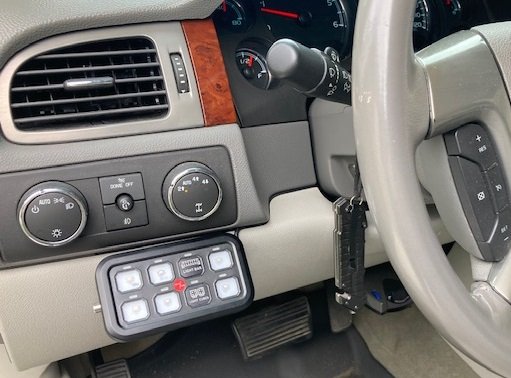
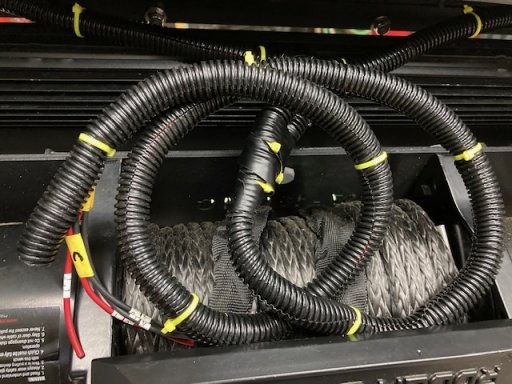
I then purchased a high clearance bumper and 12K winch. I installed LED lights and ran wires to feed them.
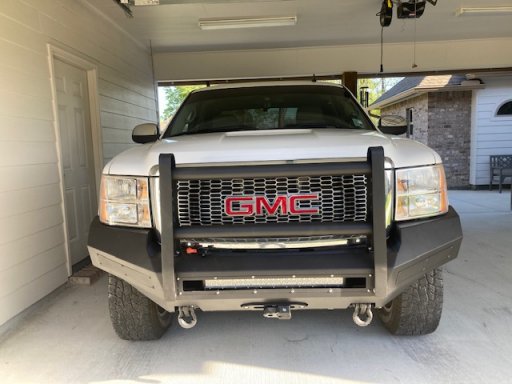
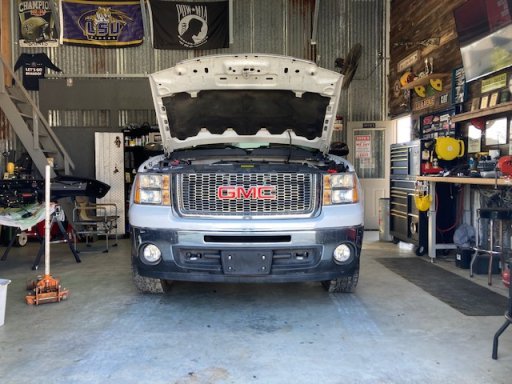
 IMG_4771.jpg

IMG_4772.jpg

Parked in my shop.
Factory bumper ready for removal.
IMG_4803.jpg

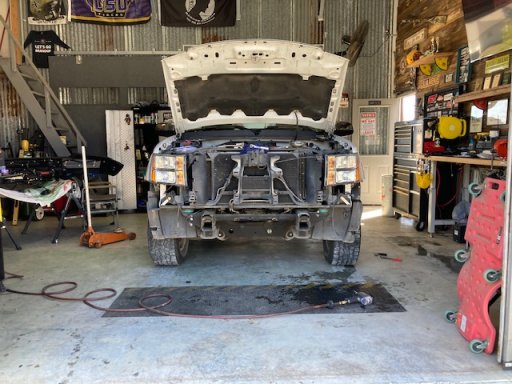
Factory bumper removed.
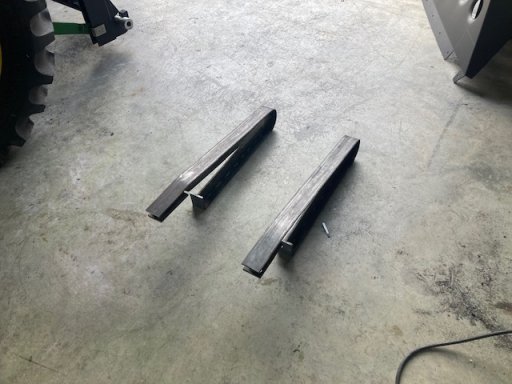
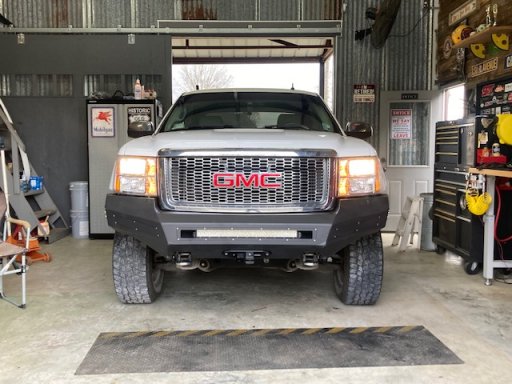
Because of the installation of the 1-1/4" body lift, modification to the new winch bumper brackets were made for proper fit.
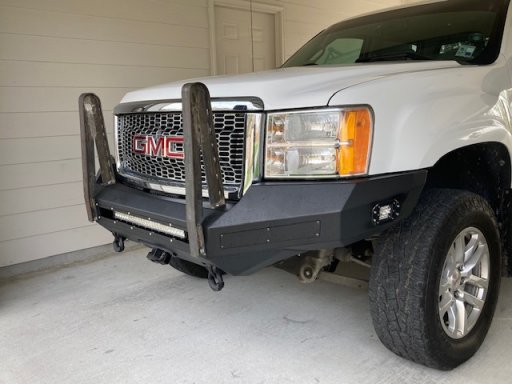
IMG_4805.jpg


New bumper mounted.
IMG_4806.jpg
 
Last edited:
  • Like
Reactions: Neon Paradise

eagle_A40

Rank VI
Launch Member

Member II

3,341
Galvez, Louisiana. USA
First Name
Michael
Last Name
Somebody
Member #

19666

Last week, I began fabricating a brush guard to fit the bumper.
I started with the two center uprights, using 1/4" flat bar stock.
IMG_4918.jpg

Fitting the uprights for the ideal location.
IMG_4914.jpg


Looks to be the best location for the uprights.
In the image below, new tow mounts and shackles can be seen.
IMG_4922.jpg

I then cut-to-size and welded the two center, horizontal cross bars to the uprights. These are 2-3/8" OD.
All was then sanded, clean, primed and painted with a textured matt black paint, to match the bumper's finish. After a 24-hr. drying time, the center section was installed.
IMG_4930.jpg


Below is an angled view.
IMG_4932 (1).jpg

Side view.
IMG_4931 (1).jpg

I was then able to install the forward skid plate, along with a front diff skid plate.
IMG_4977.jpg

Next up is to fabricate the brush guard wings, for headlight protection.
 
Last edited:
  • Like
Reactions: Neon Paradise

eagle_A40

Rank VI
Launch Member

Member II

3,341
Galvez, Louisiana. USA
First Name
Michael
Last Name
Somebody
Member #

19666

On the upper flat of the bumper, I installed a cut-off switch for the winch power supply and a winch control extension receptacle.
IMG_4969.jpg


Yesterday, I installed a second battery to be used for auxiliary power, and also installed the auxiliary power panel (fuses and replays).
This will power and control any additional accessories added to the vehicle.
IMG_4967.jpg

A view from above.
Darn!! The engine compartment is dusty!
IMG_4966.jpg
 
  • Like
Reactions: Neon Paradise

eagle_A40

Rank VI
Launch Member

Member II

3,341
Galvez, Louisiana. USA
First Name
Michael
Last Name
Somebody
Member #

19666

Yesterday, I purchased a lightly used, 1-year old A.R.E. aluminum commercial camper top (bed cap).
I haven't seen it in person as I'm down with a bad case of Sciatica. My SIL took a ride to inspect it for me. He is going back today to pay for it and bring it home.

My truck has a 5'8" bed and I didn't want to buy new because of the price on these. A used cap in this short of a length is few and far between. I've been searching for a nice used one a while now and being this one is in such good condition; I didn't waste time in securing it. As you can see, it's equipped with 3 doors, which is what I was shopping for.

406106446_7120895154639943_5925844074418602814_n.jpg


Both side doors are equipped with cabinets as in the example photo below. The plan (in my head at this time) is to remove both cabinets, to be able to gain access into the cap from outside. The other cabinet may be modified to house cooking gear and such.
NOTE: Plan may change without notice. :wink:
eachside.png


EDIT:
I also plan to either purchase a wedge roof-top tent or build one. Time will tell.
RTT.png
 
Last edited:

eagle_A40

Rank VI
Launch Member

Member II

3,341
Galvez, Louisiana. USA
First Name
Michael
Last Name
Somebody
Member #

19666

A few months back, I installed a GMRS Wouxun KG-100 +.
I placed the head unit on the console using 3M double stick tape. The base unit is installed in the under-seat compartment under the back seat.
IMG_5157.jpg

The accessory pod is also install using 3M double stick tape onto the lower left dash. The front bumper light bar and the ditch lights are the only circuits connected at this time.
IMG_5163.jpg
 

eagle_A40

Rank VI
Launch Member

Member II

3,341
Galvez, Louisiana. USA
First Name
Michael
Last Name
Somebody
Member #

19666

Been down with my back since I last posted.

Early this morning, my son walked over and placed the camper top on sawhorses. He's a big boy. thumbsup.gif
IMG_6386.jpg

After lunch, he removed the inner side cabinets for me.
IMG_6388.jpg

Once I get the camper installed onto my truck and figure out where I want things. I'll then modify the cabinets to my liking and re-install them.
 
  • Like
Reactions: Neon Paradise

eagle_A40

Rank VI
Launch Member

Member II

3,341
Galvez, Louisiana. USA
First Name
Michael
Last Name
Somebody
Member #

19666

Being my Dr. put me on light-duty, I said to myself, "Aluminum was light!"

Yesterday, I modified the 1" aluminum framework on the inside of the camper top to accept 1/4" Plexiglas (18" x 48").
IMG_6405.jpg

I then marked and cut out the opening for the window.
IMG_6407.jpg

I may try to fabricate and install the outer framing today.
thinking.1.png
 
Last edited:
  • Like
Reactions: Neon Paradise

eagle_A40

Rank VI
Launch Member

Member II

3,341
Galvez, Louisiana. USA
First Name
Michael
Last Name
Somebody
Member #

19666

Today, I had no plans, so I fabrication and installed the front window frame. Once that was done, I installed the Plexiglas. I will pick up the sealant tomorrow. Once the window is sealed, I'll get my son and his neighbor to install it onto the truck bed, then I'll prepare the rear door for a window.
IMG_6414.jpg
 
  • Like
Reactions: Neon Paradise

eagle_A40

Rank VI
Launch Member

Member II

3,341
Galvez, Louisiana. USA
First Name
Michael
Last Name
Somebody
Member #

19666

My son and neighbor walked over this evening and placed the camper top onto the truck bed for me.
IMG_6434.jpg

IMG_6437.jpg

IMG_6440.jpg

My son's new 4-Runner can be seen through the open camper side doors.
IMG_6441.jpg

I'm waiting on a different seal for between the camper top and truck bed. The one I have is too hard and doesn't make a good seal.
 
Last edited:
  • Like
Reactions: Neon Paradise