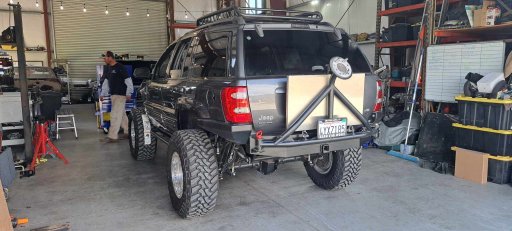
2003 Jeep Grand Cherokee Overland Build

  • HTML tutorial

tjZ06

Rank V
Launch Member

Advocate I

2,268
Las Vegas/Palo Alto
First Name
mynameisntallowed
Last Name
Adams
Member #

20043

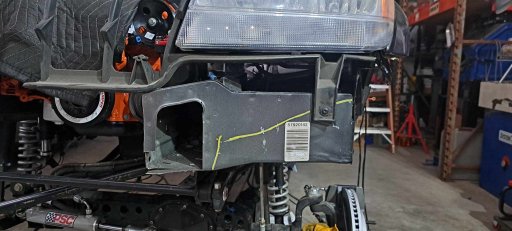
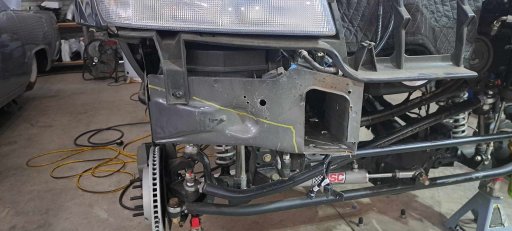
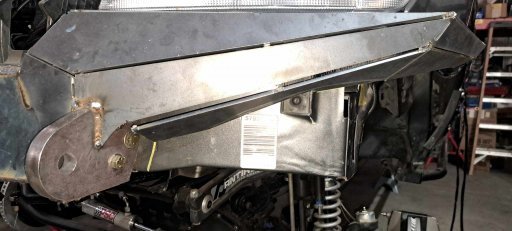
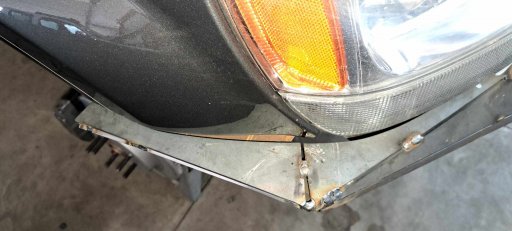
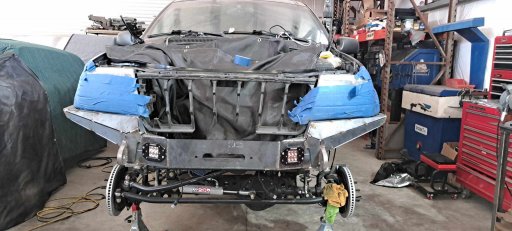
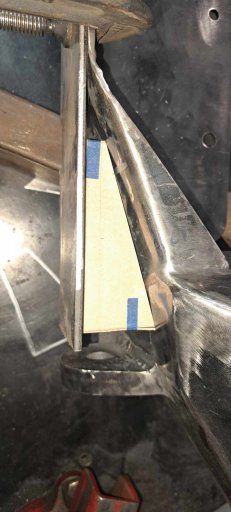
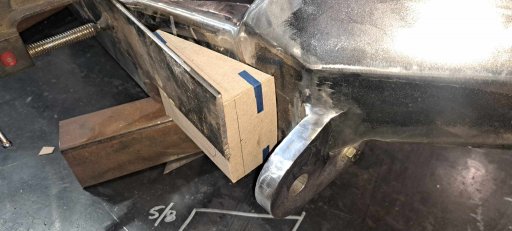
I guess I'm a little behind on updates here. Front bumper fitment is going well, it needed a lot of fitment work to get it tight, but that is to be expected with a DIY kit and why I went with a DIY vs. fully-fabbed:

395338145_159946703806231_2578843012711609251_n.jpg
394655026_1079207526410086_2731872496517665433_n.jpg
395286035_166213093233564_5548145912301523840_n.jpg
395318942_213472061746280_3001597485494982095_n.jpg
394556167_626177939456089_643468926197082017_n.jpg
 

tjZ06

Rank V
Launch Member

Advocate I

2,268
Las Vegas/Palo Alto
First Name
mynameisntallowed
Last Name
Adams
Member #

20043

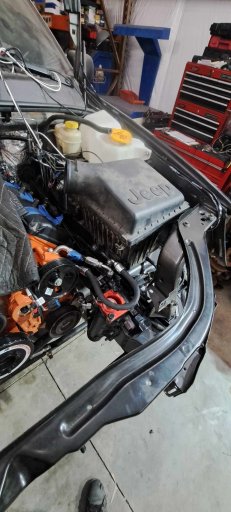
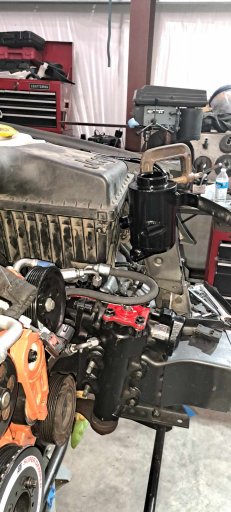
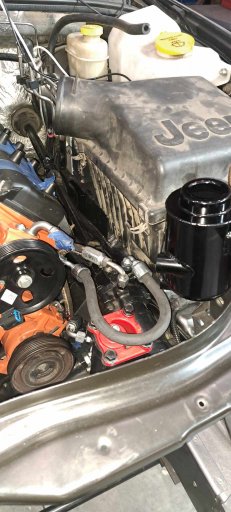
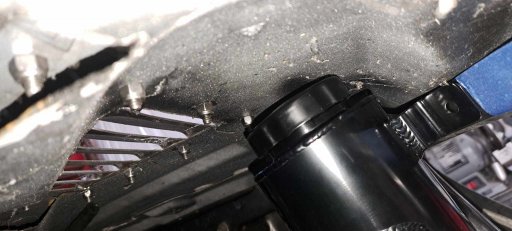
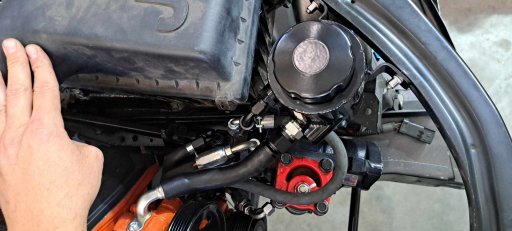
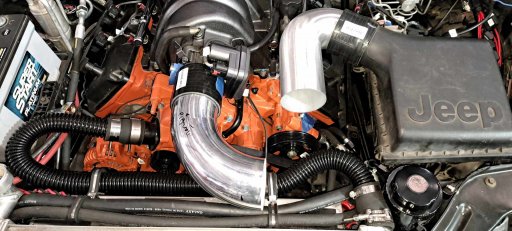
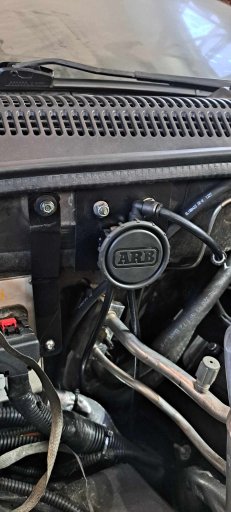
We're also getting some more of the odds and ends fit up, like getting the stock airbox in, making lines for the Hemi PS pump to work w/ my steering setup, mounting a PS reservoir that clears the airbox and hood, figuring out the AC lines (need to get one 1 cut/welded), etc:
393976576_291384950383448_2564664735374300899_n.jpg
395097452_1539144606919731_2227805197661696326_n.jpg
395730999_1372075423664567_3632316458411279601_n.jpg
367374589_1369664437315692_8303165448498957273_n.jpg
371537818_1100615050920684_2968810167447392521_n.jpg

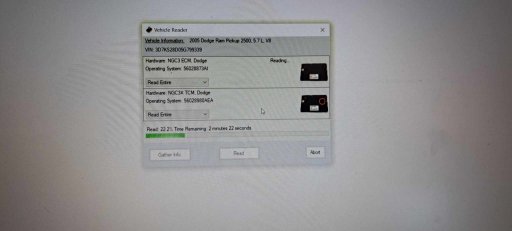
Also got the harness and '05 RAM computer in and communicating:
371452687_1442841309970857_7138579780274278714_n.jpg

-TJ
 

tjZ06

Rank V
Launch Member

Advocate I

2,268
Las Vegas/Palo Alto
First Name
mynameisntallowed
Last Name
Adams
Member #

20043

Okay, some more (slow) movement...

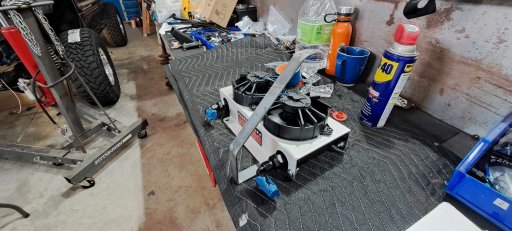
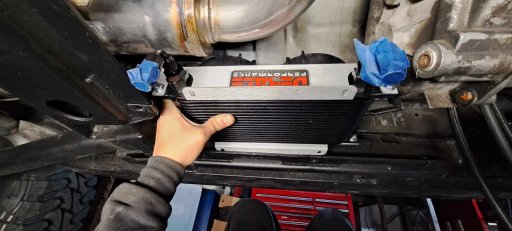
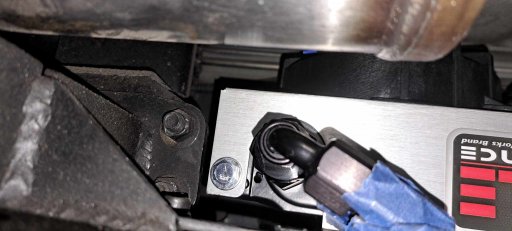
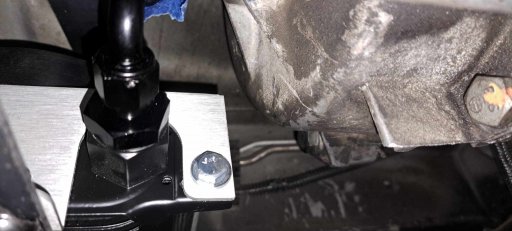
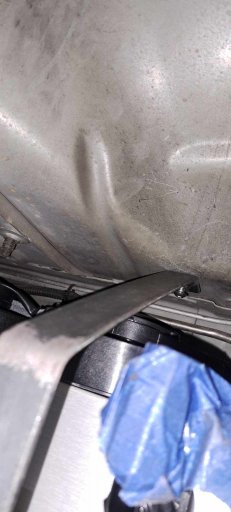
First, trans cooler. We (my buddy that's doing most of the actual build/fab) and I decided to divorce the trans cooling from the radiator entirely, and move it out of the front cooling stack. The cooling stack is already pretty packed and has a lot of thermal load between the engine radiator, AC condenser, giant PS cooler (mine being a later V8 had the hydraulic cooling fan, even though I eliminated that I maintained the giant cooler since I have hydraulic-assist steering on it) and now an oil cooler (going where my aux trans cooler used to be... in fact I think I'm just going to use the same cooler/fan itself).

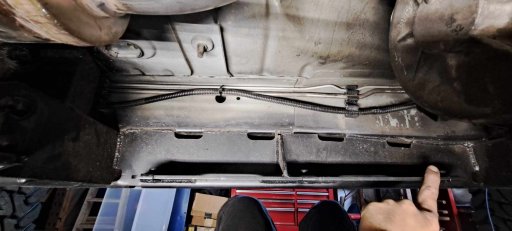
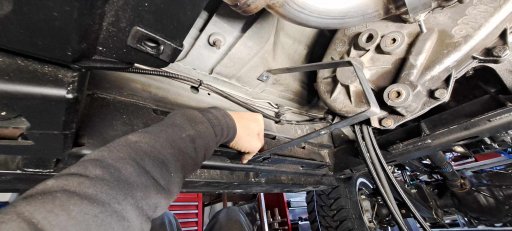
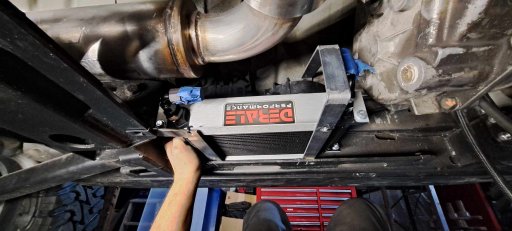
Here is where we decided to land the cooler, utilizing the additional "subframe" that is part of the Trail Forged long arm/full belly skid and is welded into the unibody making a huge frame stiffener for the entire center of the vehicle (the front/rear are of course also stiffened on my WJ):
368561741_662630936015561_5306729444963159228_n.jpg

Went with a nice, big Deraile unit:
370615511_334057385922290_5249630780255656458_n (1).jpg
371255389_1057269248955478_7835636944174065315_n (1).jpg


Mounts coming together:
368393038_6743051009147829_646764296279503585_n (1).jpg

386877313_249274701235934_687474367520270395_n.jpg

403399841_328339596847102_8950065802749093965_n.jpg
387502290_1044413413547015_4439482841419732458_n.jpg

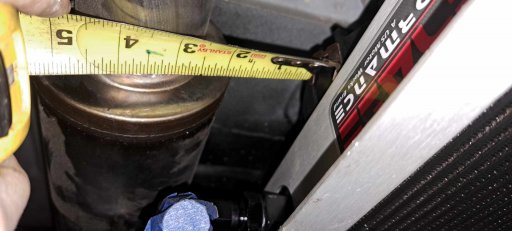
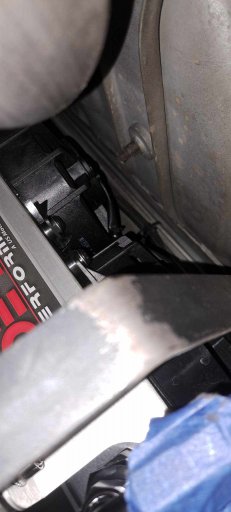
And it's tight under there, but I think we have sufficient room between the fans and the floorpans for airflow, and it's not too-too close to the exhaust:
371494243_1367865730823530_6816205811210269725_n.jpg
403420559_894631555409002_5354511839463695605_n.jpg
387518128_373993371743662_2700923492271780673_n.jpg

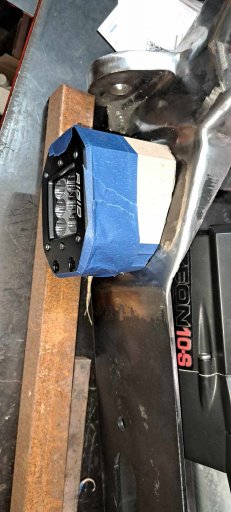
Next, figuring out the lights on the bumper. Where I originally thought I'd land them they won't clear the winch without huge stand-off "boxes" to space them out. I want a little box to square them up so they aim directly forward, but it would have had to be giant in the first spot. So, it's looking like they'll land pretty close to the shackle mounts. For recovery that's NBD because soft shackles will sneak in easy. What I need to do is figure out what drawbar assembly I'm going to use for flat towing and see what space is needed for that.

Here's how it would have had to be in the first location (no bueno):
373067847_840821071109370_1637187082425469797_n.jpg

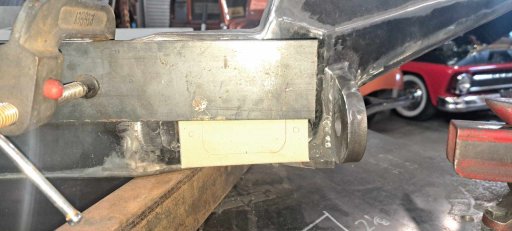
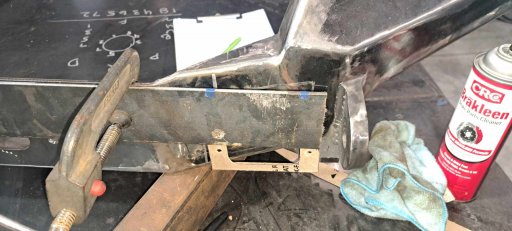
And here's what it's looking like we'll do:
403612303_296502662740140_2802987381268590887_n - Copy.jpg
403616296_221490400895299_7398391717371383266_n.jpg
386888647_1317038419691918_1673214648322800378_n.jpg
403403503_1071395343863892_9171589070998112305_n.jpg


-TJ
 

tjZ06

Rank V
Launch Member

Advocate I

2,268
Las Vegas/Palo Alto
First Name
mynameisntallowed
Last Name
Adams
Member #

20043

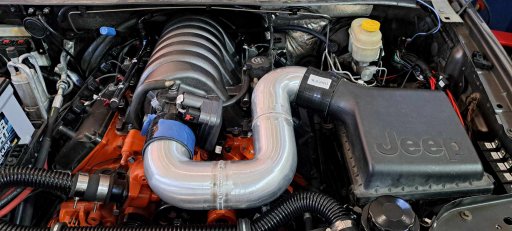
Progress little by little:
415938640_910767447157946_6085865033715031208_n.jpg

I'm not worried about the tight turns that will be necessary to make this work. Ordered more bends, and with the size of the tubing I don't think it will be a massive restriction - and honestly as I've said all along I should probably be taking power *out* of it anyway.

-TJ
 

tjZ06

Rank V
Launch Member

Advocate I

2,268
Las Vegas/Palo Alto
First Name
mynameisntallowed
Last Name
Adams
Member #

20043

416150675_304327769303065_5309538831270162782_n (1).jpg

To be honest, I don't think this is actually going to add any restriction, at least as compared to the intake box itself. Once this thing gets on a dyno I do intend to test a few different ways...
  • Complete assembly with a basic parts store paper filter
  • Complete assembly with some whiz-bang filter (IDK if I'll do oiled cotton/gauze, because I'm not a big fan of them in off-road applications where a pre-filter isn't available/doesn't make sense)
  • Upper lid popped/propped up off the lower air box with filter secured to lid (to determine if the lower airbox itself is restrictive)
  • Upper lid w/o filter (basically just a science experiment since I'd never consider running without a filter, but need the data-point to compare against)
  • Just the intake tube assembly, no lid
  • Just the open TB
With all of that, I should be able to figure out what's most restrictive of the bunch and how littler I care... because I'm going to run it like this with a filter in it no matter what the numbers say. So, come to think of it, maybe I'll do none of the above (other than running complete w/ a parts store filter I can just carry spares of cheaply and replace on the trail).

-TJ
 

orange01z28

Rank II

Enthusiast III

443
Queen Creek, AZ, USA
First Name
Andrew
Last Name
Bennett
View attachment 273081

To be honest, I don't think this is actually going to add any restriction, at least as compared to the intake box itself. Once this thing gets on a dyno I do intend to test a few different ways...
  • Complete assembly with a basic parts store paper filter
  • Complete assembly with some whiz-bang filter (IDK if I'll do oiled cotton/gauze, because I'm not a big fan of them in off-road applications where a pre-filter isn't available/doesn't make sense)
  • Upper lid popped/propped up off the lower air box with filter secured to lid (to determine if the lower airbox itself is restrictive)
  • Upper lid w/o filter (basically just a science experiment since I'd never consider running without a filter, but need the data-point to compare against)
  • Just the intake tube assembly, no lid
  • Just the open TB
With all of that, I should be able to figure out what's most restrictive of the bunch and how littler I care... because I'm going to run it like this with a filter in it no matter what the numbers say. So, come to think of it, maybe I'll do none of the above (other than running complete w/ a parts store filter I can just carry spares of cheaply and replace on the trail).

-TJ
You gotta get Freiburger and the Steves to do those tests
 
  • Love
Reactions: tjZ06

tjZ06

Rank V
Launch Member

Advocate I

2,268
Las Vegas/Palo Alto
First Name
mynameisntallowed
Last Name
Adams
Member #

20043

I thought maybe a little recap and status check was in order, so... things that have been done:
  • The whole drivetrain is back in, fresh fluids in, etc.
  • Shifters and interior back in/together
  • Big trans cooler setup fab'ed and installed (fully divorced trans cooling from rad)
  • All power steering stuff figured out (had to move a lot of the hydro assist lines around)
  • AC lines all figured out/fab'ed
  • Intake to stock air box all done (just needs paint)
  • New Teraflex Big Brakes on
  • New wheels/tires mounted
  • DIY kit bumper all welded up and smoothed and sent off for blasting so we can paint it today
  • Fuel system all done with Bosch 044 in the stock basket and new Hellcat injectors
  • EVAP deleted and all the wiring/lines on top of the fuel tank greatly cleaned up
  • Fuel fill line changed/un-kinked for hopefully better fill ups (kinked line was a result of tank-tuck)
  • Pod lights in bumper mounted (well, they're back out since the bumper is off but it's all setup and wired)
  • Relay block built for all the various stuff we added or changed that needed power, or was redone more cleanly than previous
  • Custom engine harness from Hotwire to marry WJ chassis/body stuff and run a '05 RAM computer in and basic function tested
  • Base tune from Modern Muscle (where I sourced the cam) loaded in based on engine build specs
  • ATS CoPilot all wired in for trans control (including giving it dedicated power, that's what one of the new relays is for)
  • Full custom stainless exhaust front to back, including headers built (running high flow cats, mufflers and an X-pipe)
  • Unibody notching, custom motor mounts, etc. all done
  • New headlights and taillights in (LED)
I know I'm forgetting a ton of other details along the way, but a LOT has been done.

So, what isn't done?
  • Cowl pod light mounts/wiring (obv not a blocker to starting the thing)
  • Final trans fluid level set (waiting on new dipstick, no idea where the original one went, lol)
  • Paint front bumper and get it back on with lights, winch, etc.
  • Setup both pairs of pod lights for control via the Trail Dash (wiring is done, just need to do the TD setup)
  • Fresh battery
  • Pray... a lot
-TJ
 

tjZ06

Rank V
Launch Member

Advocate I

2,268
Las Vegas/Palo Alto
First Name
mynameisntallowed
Last Name
Adams
Member #

20043

Little update:

THE 426CUI GEN III HEMI STARTED!!!!!

...kinda. We've been having a hell of a time getting HP Tuners to play nice with the overall setup (2005 Ram computer, custom Hotwire harness, early Gen III Hemi, 545RFE). It's still complaining about an unsupported VIN, even though it shows the VIN is fully licensed (and obviously sees the VIN). We're getting a cable hopefully today to be able to bench-tune the ECU, but for now we only have the basically stock 6.1 SRT8 tune (with things like SKIM, EVAP etc. deleted) in it that Hotwire set us up with. The motor is obviously much larger, has a decent little cam in it, and the big kicker for just trying to get it to start/idle is that it has Trackhawk injectors. We got it to fire, but pretty much instantly turned it off so we didn't wash down the cylinders on a fresh build.

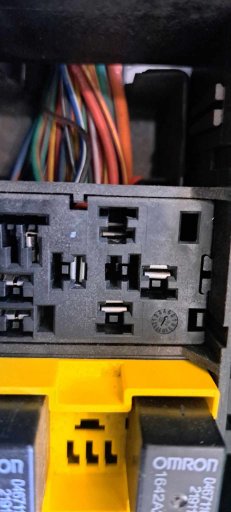
Also, here's what actually was keeping us from starting it for a few days:
423541618_1942795496154788_2848357389508033816_n.jpg

This relay provides power to the injectors and coils. As you can see the uppermost... IDK what the right name is, PIN receptacle, female side of a PIN, whatever had backed out (the plastic retention clip in the fuse block is broken... eventually I'll replace it, but once we reached underneath and held it in place while replacing the relay it holds nice and tight... I'm sure if/when I ever have to replace the relay I'll forget all about this and the Jeep won't start and I'll light it on fire and push it off a cliff).

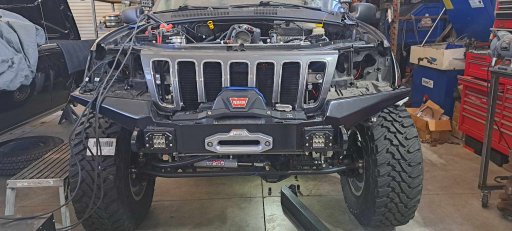
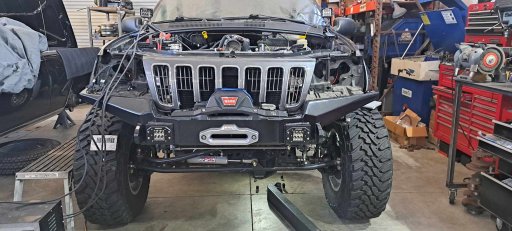
Front coming together, but I ordered the wrong headlights... I'll probably do some kind of screen/mesh behind the grill but the stock "bars" weren't supported well enough to use:
423568561_983088756716575_4492543564929179129_n.jpg
430259519_1108694203499152_4806657177092895304_n.jpg
it's hard to explain, but because of what's missing from the grill shell that's how much hit had to be cut up. I like the look without it better for now, but longer term I'd still like some protection from debris for the cooling stack.

Also doing some small button-up stuff like running all my breathers up into the engine bay:
423904117_2049846725387727_3275898048578379944_n.jpg

-TJ
 
  • Love
Reactions: reaver

reaver

Rank VI
Member

Explorer I

3,680
Caldwell, ID, USA
First Name
Brian
Last Name
McGahuey
Member #

23711

Ham/GMRS Callsign
GMRS WRMV941
Haha, right! At least this one was simple, once found.

-TJ
I had a similar issue happen with the relay box for my lighting in the Xterra. I had one switch that wasn't working no matter what I did. It wasn't until I actually pulled the box out to rewire the whole thing, that I noticed the problem. One of the terminald from the switch to the relay had dropped out of the holder. I ended up replacing the relay box and redoing the entire setup later.
 

tjZ06

Rank V
Launch Member

Advocate I

2,268
Las Vegas/Palo Alto
First Name
mynameisntallowed
Last Name
Adams
Member #

20043

It runs:


1ce2f331-8424-4500-9aca-3eff419e4d36.jpeg

Sorry for the quality, I'm out of town on business so my buddy that is doing the majority of the build had to send me the vid.

-TJ