
Traveler I
So I bought this rig used and within a few months of owning it, i had engine problems.. not surprised. So after a fix here and a fix there and a non opp left and right I finally got her on the road.. mind you this was going on for a few yrs. so I took the stock Rover and purchased a bunch of parts and when I had enough gathered up I started to build her up.

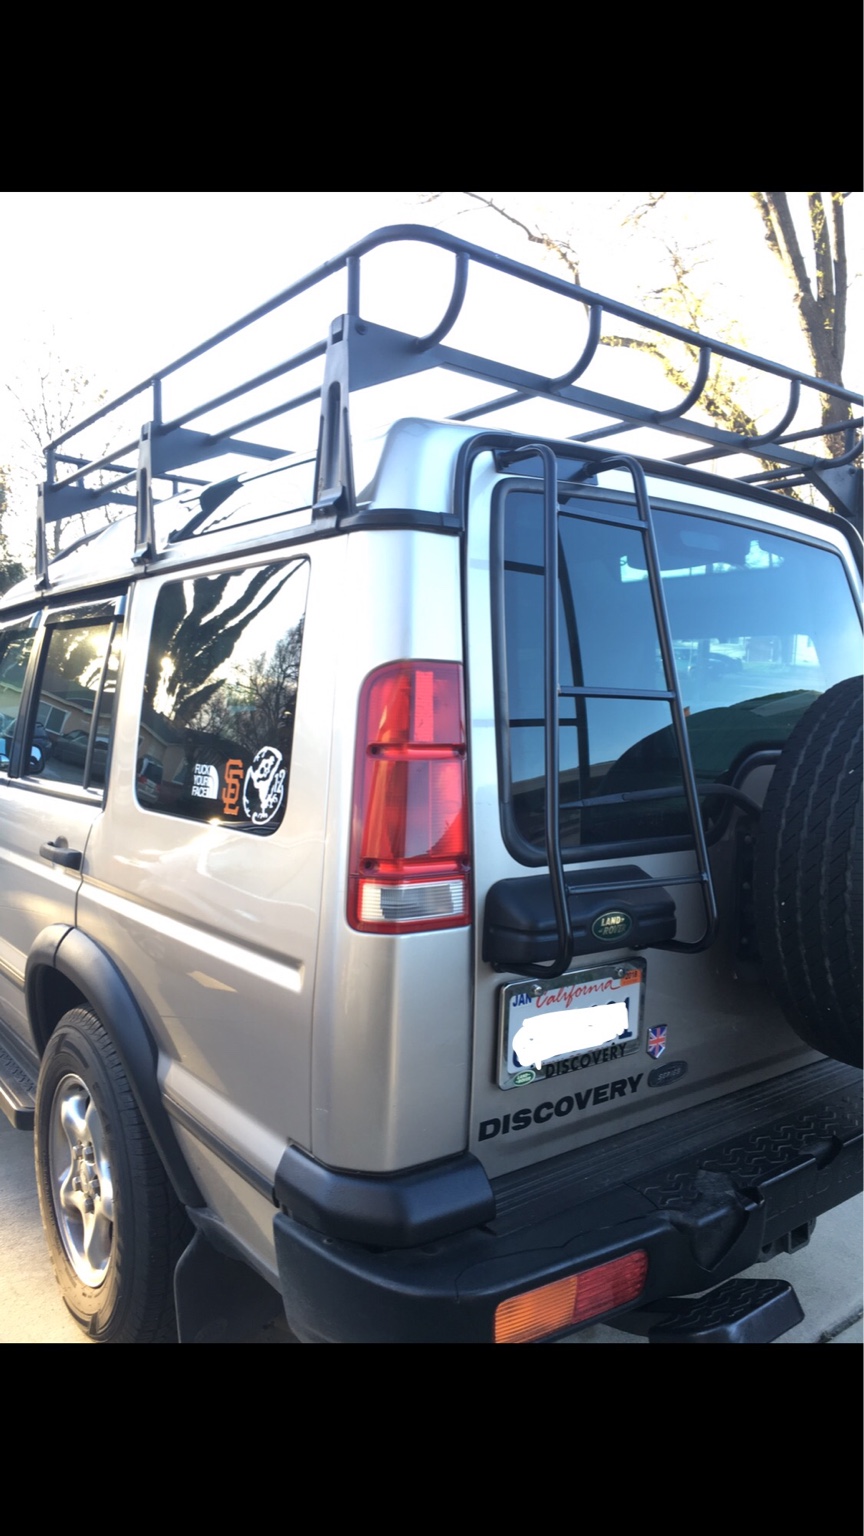
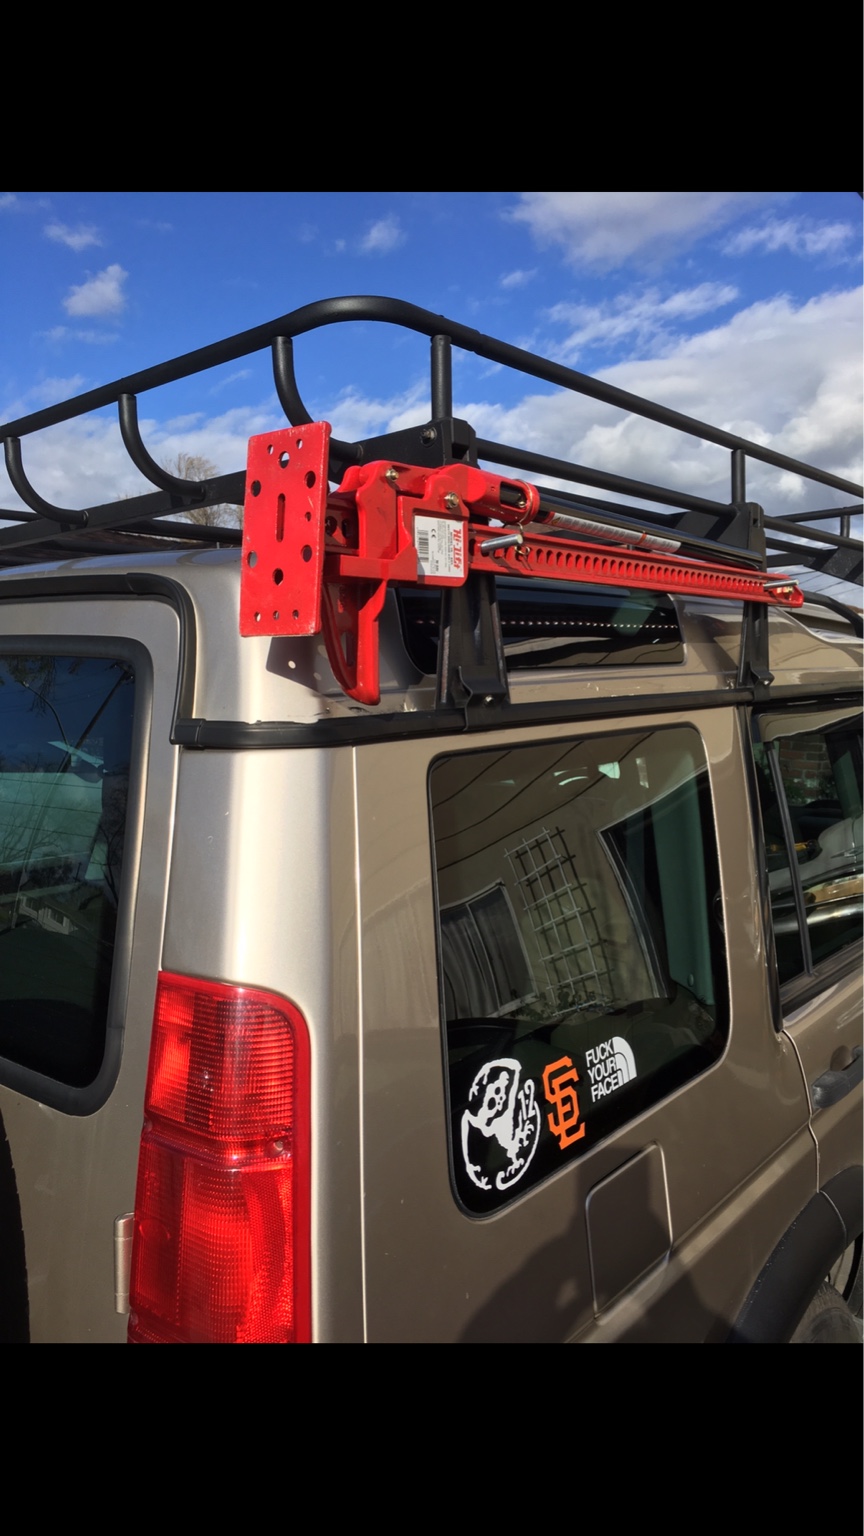
First I placed the roof rack on, (bought used so no idea who made it) then the ladder, purchased from lucky8 out of New York.
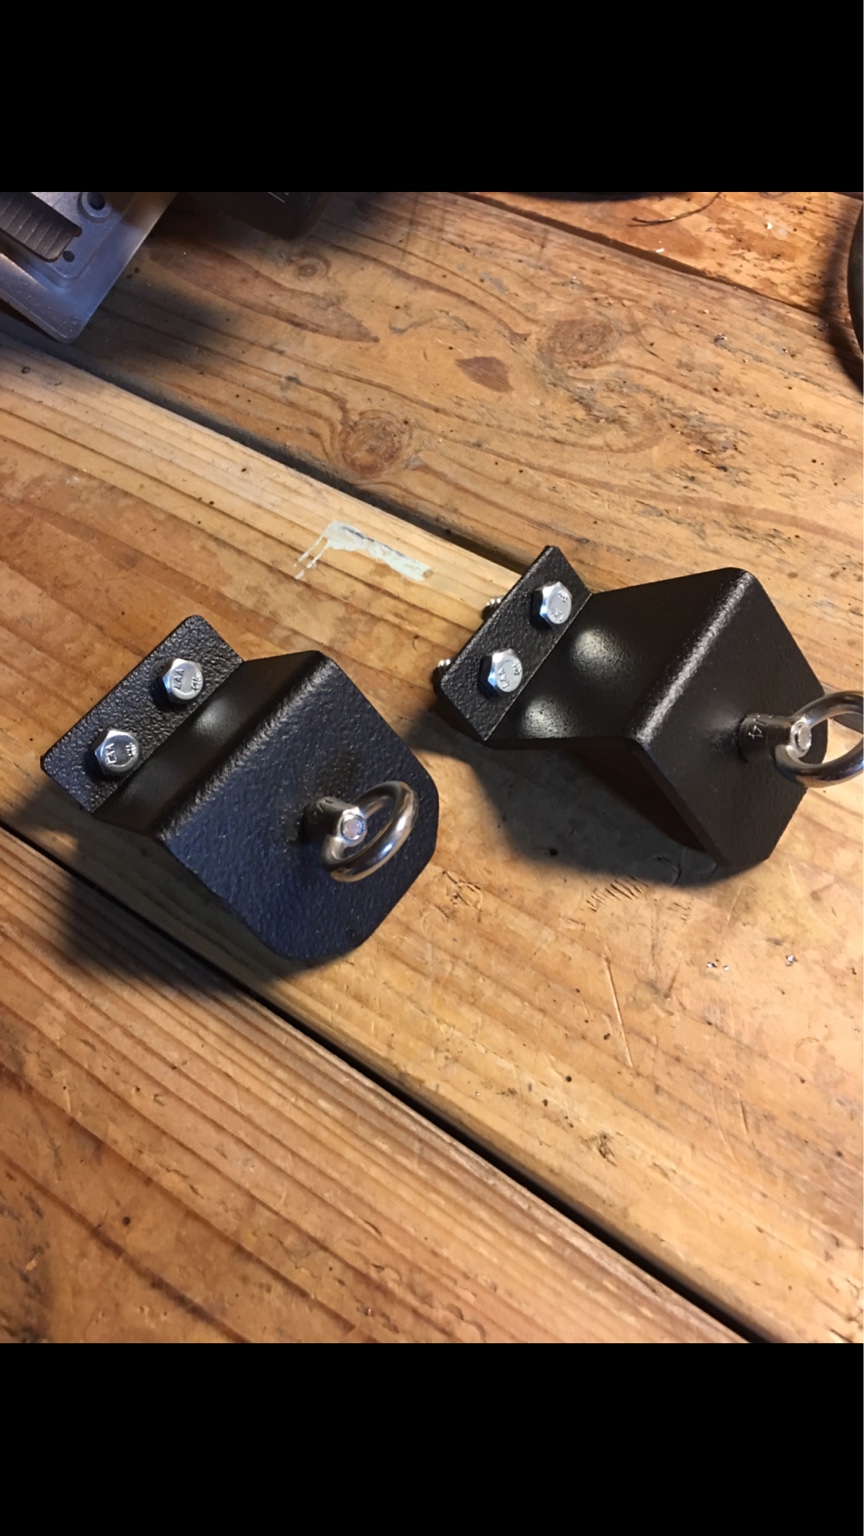
Then I had a buddy of mine bend me up some brackets for the limb risers, I just screwed them under the hood on the fenders
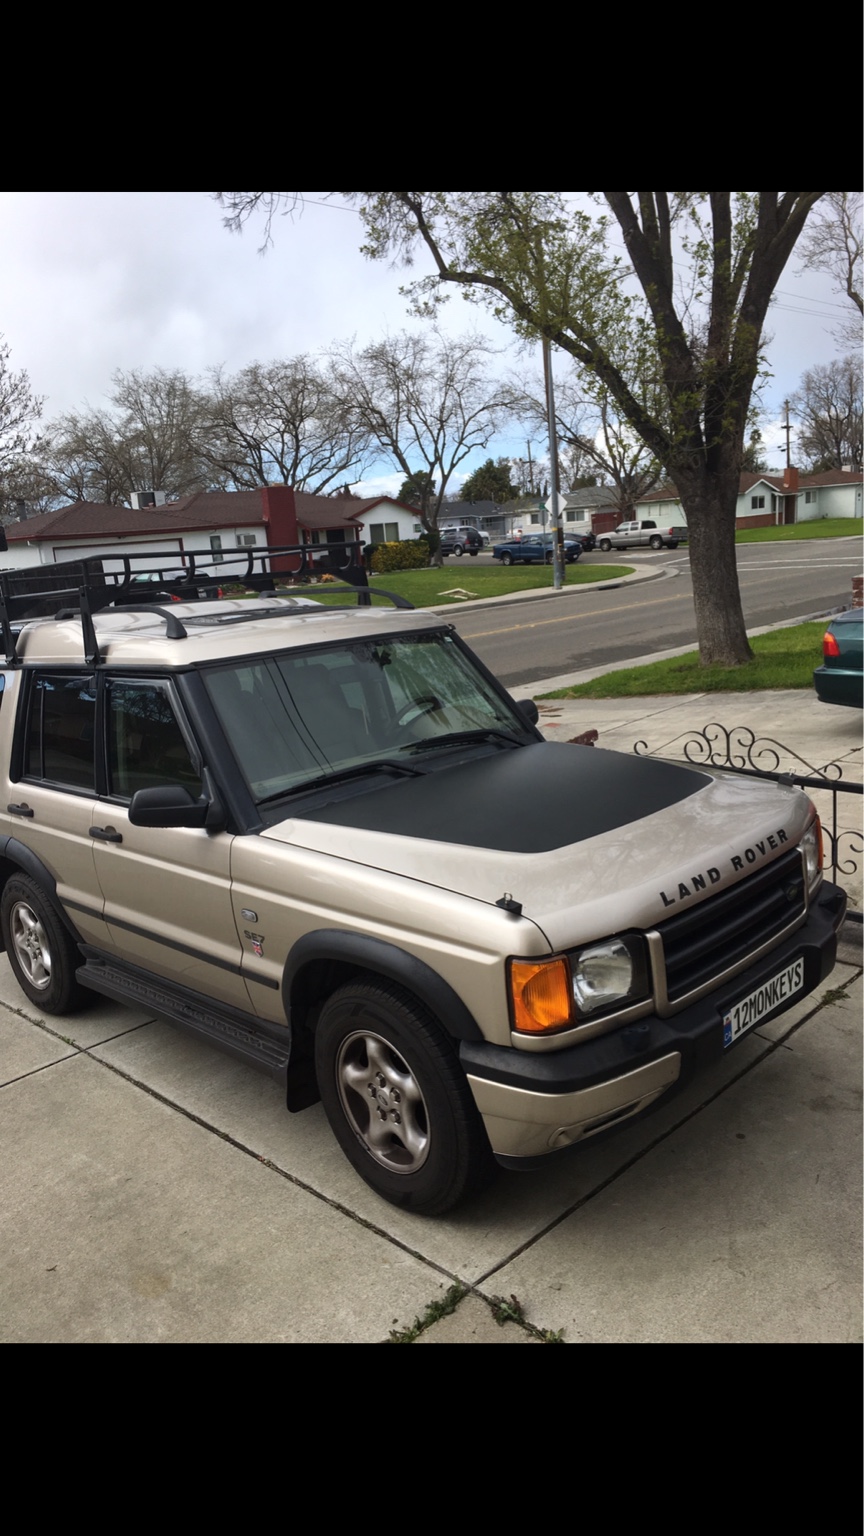
I bought a blackout hood decal then after I applied it I noticed it was a Cunt hair short but still looked good so I just ran with it, it was a simple application, best not on a windy day ha.
 .
.
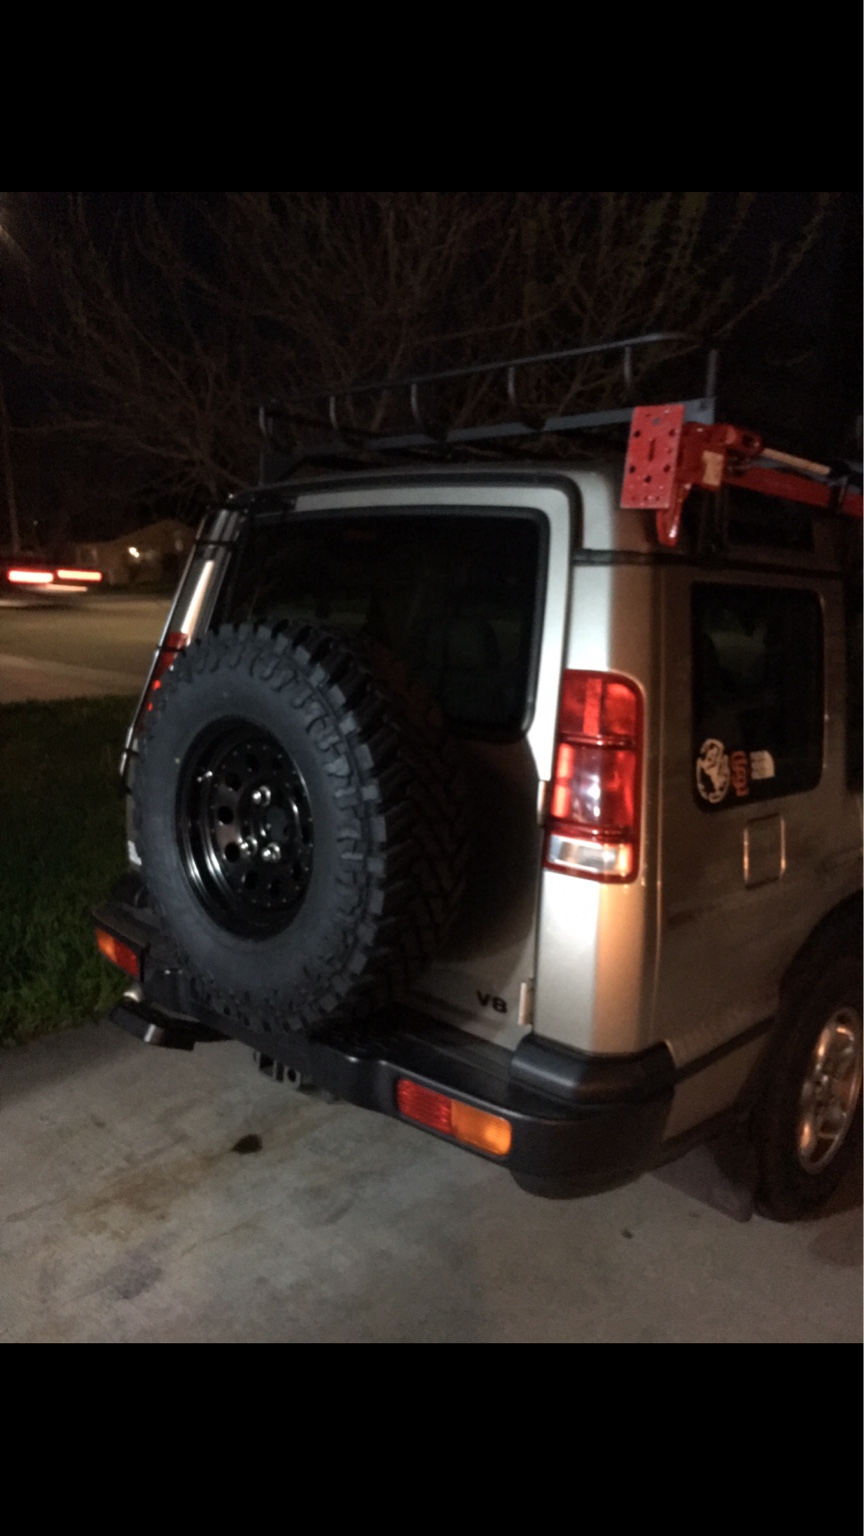
The 5 tires came in first from Lucky8, Atturo M/T lt285/75R16 since it's my daily driver I didn't go too crazy on the treads.

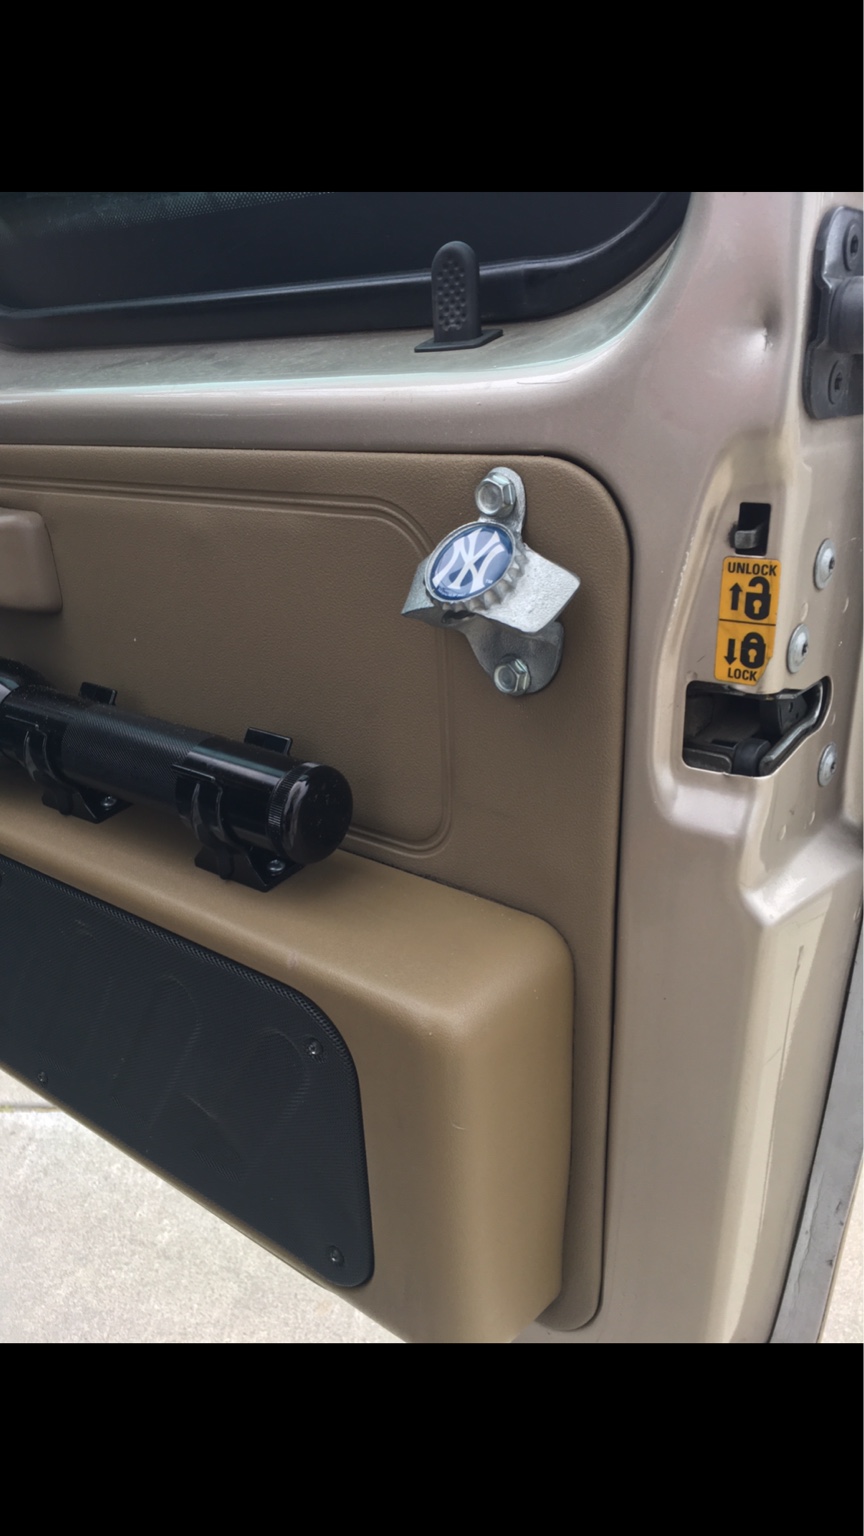
I then dressed up the tailgate with a first aid kit, fire extinguisher and a flashlight. Then added the best survival tool of them all... a beer opener (don't hate on my team, we have 27 rings) :)

I then drilled a couple holes in the base of the rack so I can run some bolts through them to hold the high lift jack.

I had the rims and tires mounted then purchased a spare tire adapter from lucky8 to raise the spare higher up to clear the bumper since the tire went from a 28" to 33"
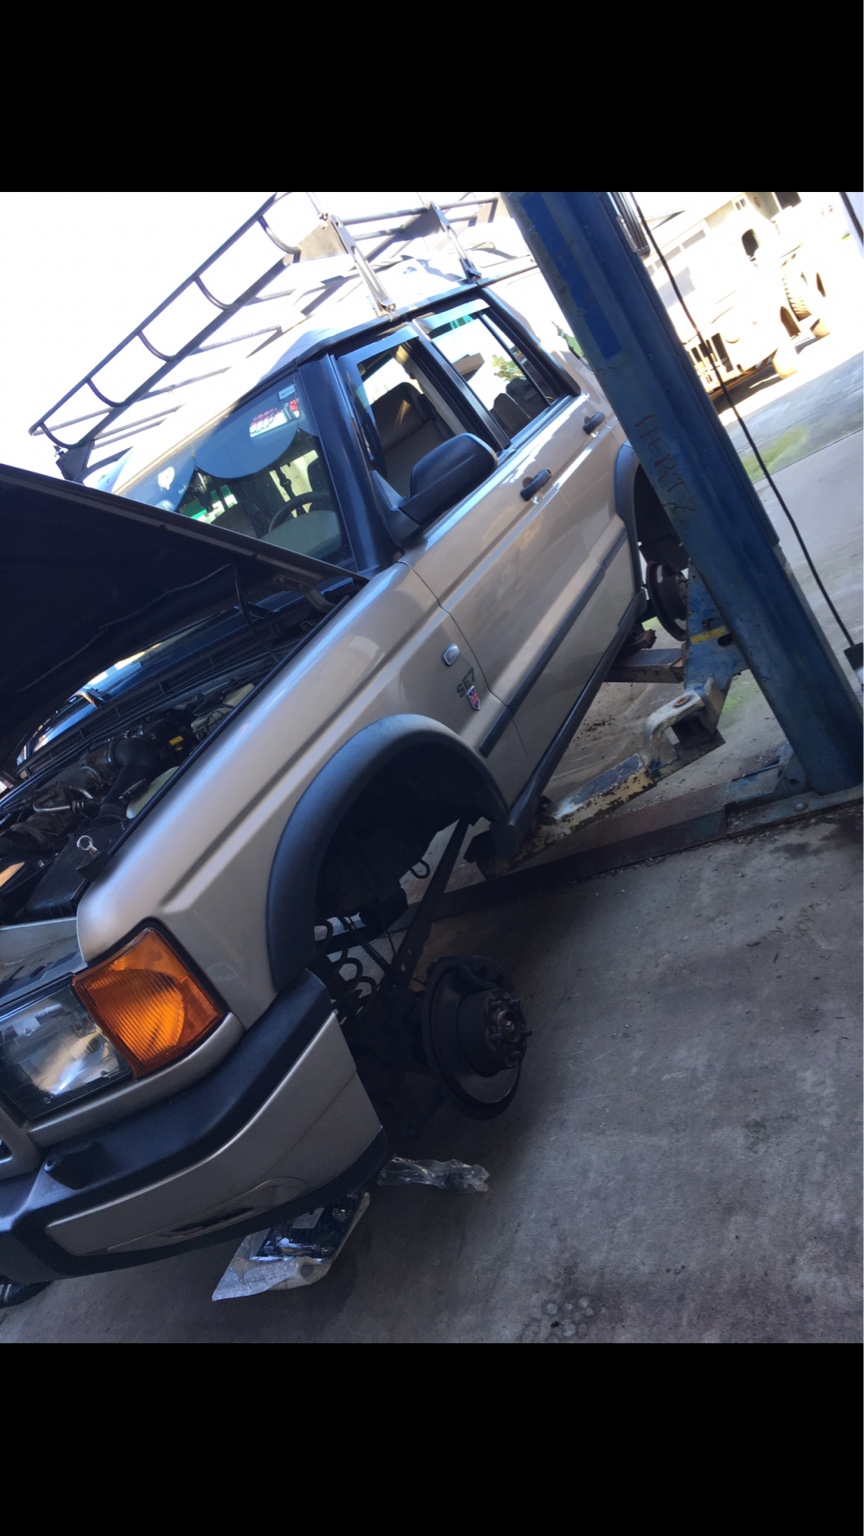
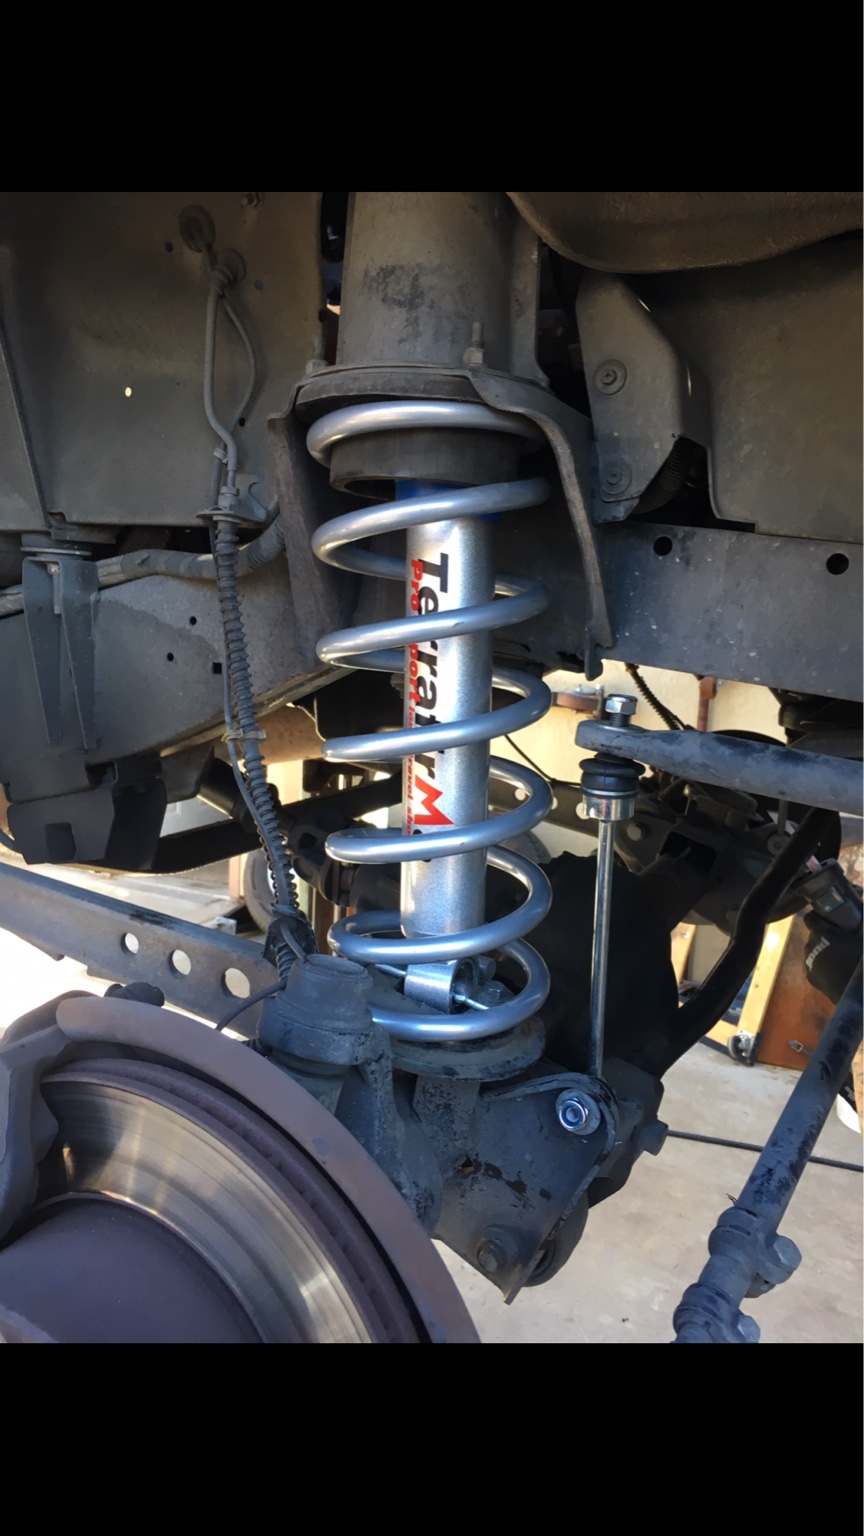
Now it was time to install the lift kit, if you have a lift it'll make it a lot easier but still doable without one. Luckily I had access to one, if you have the air ride inform the seller prior to getting the kit bc you'll have to get a bracket made to hold the rear springs in place. Kit came with 4 springs and shocks and extended sway bars, along with braided brake lines but I didn't install them.

Sway bar gave me a hard time to remove so I just cut the bolt off.
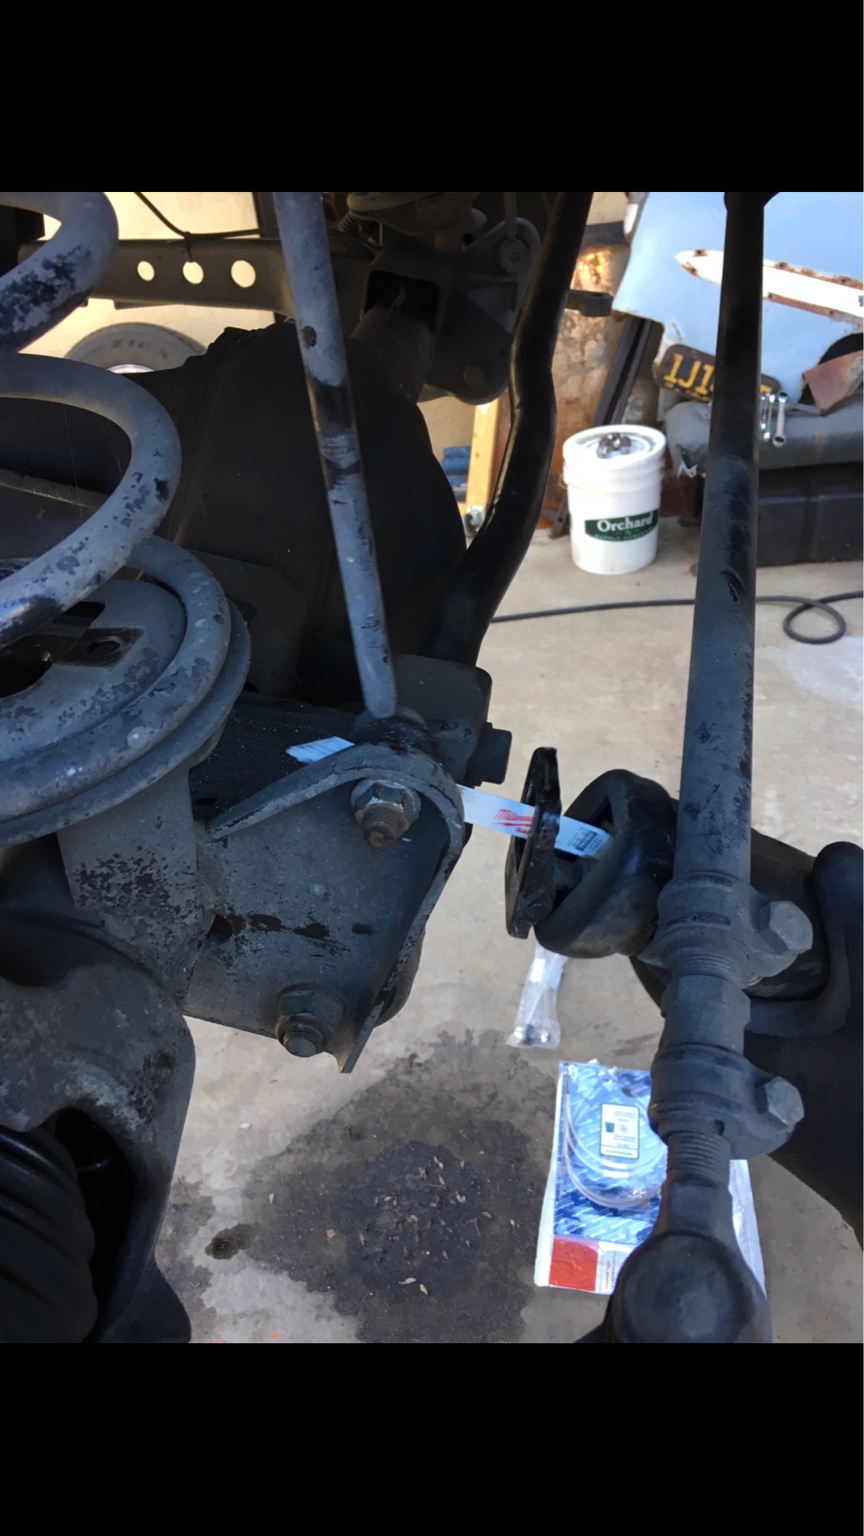
I used the stock jack to pry the spring out and also help install the new springs.
And the rear was simple, I disconnected the air line going into the airbag after disconnecting the air from the pump located under the rear driver side beneath the passenger area, the spring bracket came with a couple bolts a piece


Sent from my iPhone using OB Talk
First I placed the roof rack on, (bought used so no idea who made it) then the ladder, purchased from lucky8 out of New York.
Then I had a buddy of mine bend me up some brackets for the limb risers, I just screwed them under the hood on the fenders
I bought a blackout hood decal then after I applied it I noticed it was a Cunt hair short but still looked good so I just ran with it, it was a simple application, best not on a windy day ha.
The 5 tires came in first from Lucky8, Atturo M/T lt285/75R16 since it's my daily driver I didn't go too crazy on the treads.
I then dressed up the tailgate with a first aid kit, fire extinguisher and a flashlight. Then added the best survival tool of them all... a beer opener (don't hate on my team, we have 27 rings) :)
I then drilled a couple holes in the base of the rack so I can run some bolts through them to hold the high lift jack.
I had the rims and tires mounted then purchased a spare tire adapter from lucky8 to raise the spare higher up to clear the bumper since the tire went from a 28" to 33"
Now it was time to install the lift kit, if you have a lift it'll make it a lot easier but still doable without one. Luckily I had access to one, if you have the air ride inform the seller prior to getting the kit bc you'll have to get a bracket made to hold the rear springs in place. Kit came with 4 springs and shocks and extended sway bars, along with braided brake lines but I didn't install them.
Sway bar gave me a hard time to remove so I just cut the bolt off.
I used the stock jack to pry the spring out and also help install the new springs.
And the rear was simple, I disconnected the air line going into the airbag after disconnecting the air from the pump located under the rear driver side beneath the passenger area, the spring bracket came with a couple bolts a piece
Sent from my iPhone using OB Talk


