Traveler III
- 2,105
- First Name
- John
- Last Name
- Boucher
- Member #
14789
- Service Branch
- Retired USN
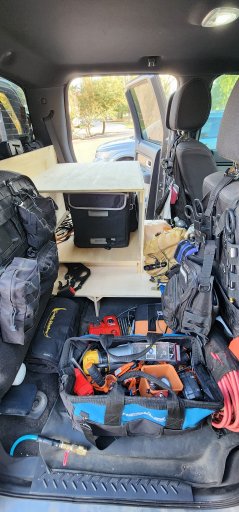
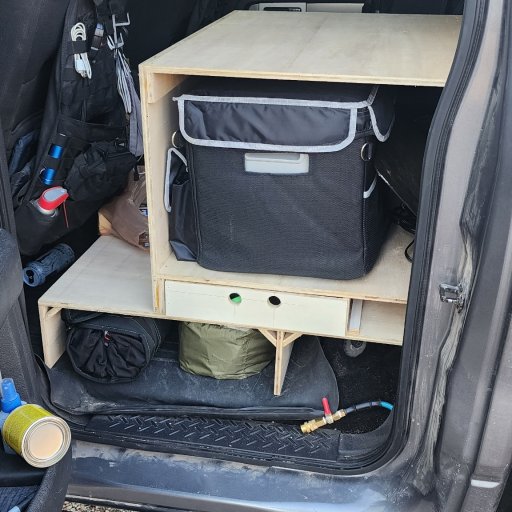
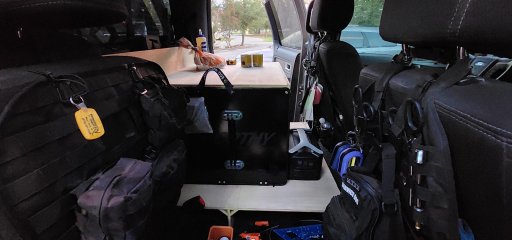
Did some work on the camper preparing for next weekend and then my trip to Maine

Traveler III
14789

Member III
20468


Off-Road Ranger I

Traveler III
14789

Traveler III
Traveler III
14789
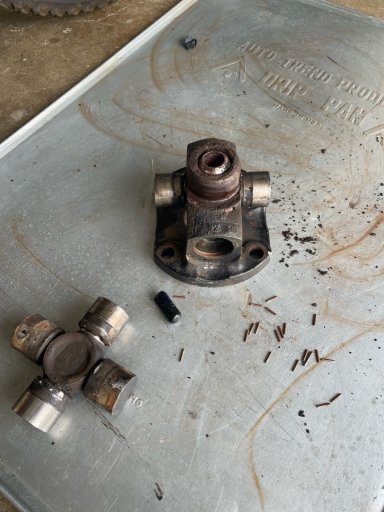
Great jobPulled the lunchbox locker out of the D35 (Previous owner installed) and installed a new set of open diff spider gears.
View attachment 267105View attachment 267106View attachment 267107
Off-Road Ranger I
16968

Enthusiast III


Member II
30139


Off-Road Ranger I
16968


Off-Road Ranger I
16968
Member III
20468


Traveler III
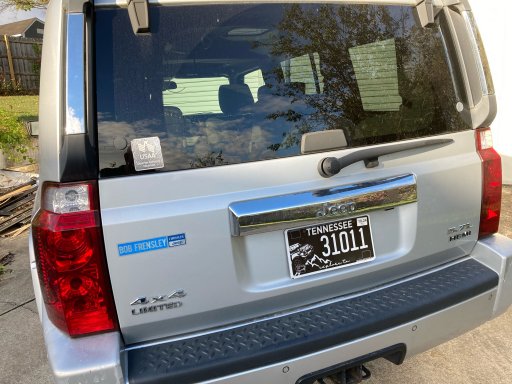
31011
Off-Road Ranger I
16968

Explorer I
23711
We did the same. Drove down to the Oregon/Nevada border Friday night, and we're lucky enough to have the clouds clear enough to see it on Saturday. My 7yo daughter loved it!Some friends and us drove to Kerrville on Friday afternoon so we could watch the eclipse Saturday. Then we took them on their first trip through the real Hill Country down to Medina.

Pathfinder III

Protector III
20111