Member II
- 4,129
- First Name
- Dave
- Last Name
- Zimmer
- Member #
30139
- Ham/GMRS Callsign
- WRXV870
- Service Branch
- USN Retired
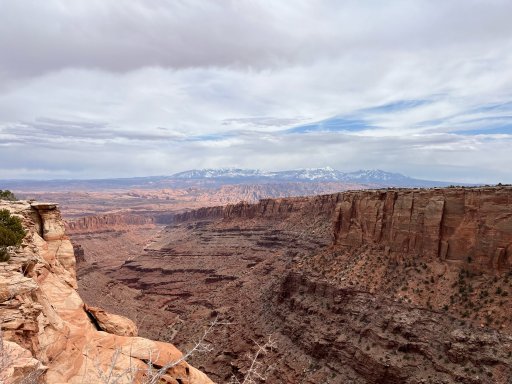
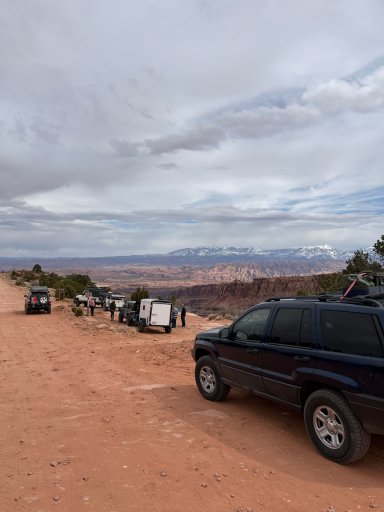
We did a scout trip this past weekend. During a winter storm, which made it a bit more fun haha.
View attachment 225580
View attachment 225581
View attachment 225583View attachment 225582View attachment 225586View attachment 225584
Boy Scouts? Outstanding.
Zim