Where are the 80/20 extrusion experts? Now with build pics

  • HTML tutorial

zgfiredude

Rank VI
Member

Steward I

3,953
Silt, CO, USA
First Name
Brian
Last Name
Nichols
Member #

28938

Service Branch
Firefighter
Just a surprising update.....I ordered yesterday afternoon. I just got an email that my order is being shipped today! Don't know delivery date just yet, but a shout out to TNUTZ ( the company I ordered from ). Excellent prices, clearly fast order processing, and my stuff was, more or less, cut to length!

I calculated my piece needs and slightly over estimated the length as I'll just trim to fit once it's here......saved me from myself being too anal about exact measurements!
 

Akicita

Rank IV
Member

Advocate I

1,045
Firestone, CO, USA
First Name
Akicita
Last Name
Lakota
Member #

42876

Just a surprising update.....I ordered yesterday afternoon. I just got an email that my order is being shipped today! Don't know delivery date just yet, but a shout out to TNUTZ ( the company I ordered from ). Excellent prices, clearly fast order processing, and my stuff was, more or less, cut to length!

I calculated my piece needs and slightly over estimated the length as I'll just trim to fit once it's here......saved me from myself being too anal about exact measurements!
Looking forward to following your build.
 
  • Like
Reactions: zgfiredude

zgfiredude

Rank VI
Member

Steward I

3,953
Silt, CO, USA
First Name
Brian
Last Name
Nichols
Member #

28938

Service Branch
Firefighter
Ok, sorry for the delay....Holidays and all that. Post #1 of several.

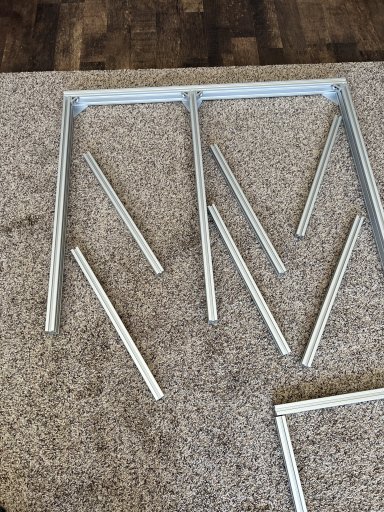
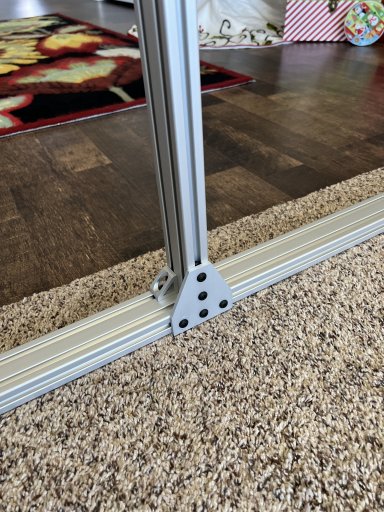
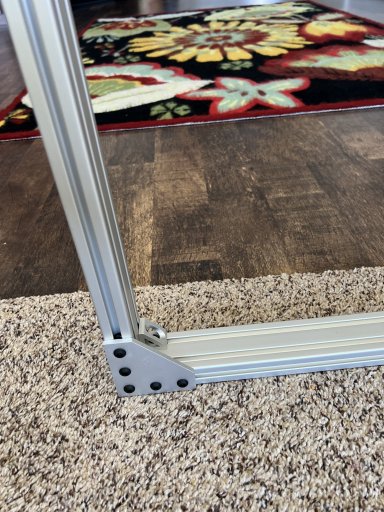
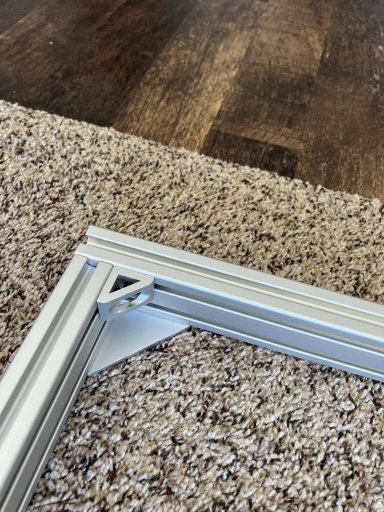
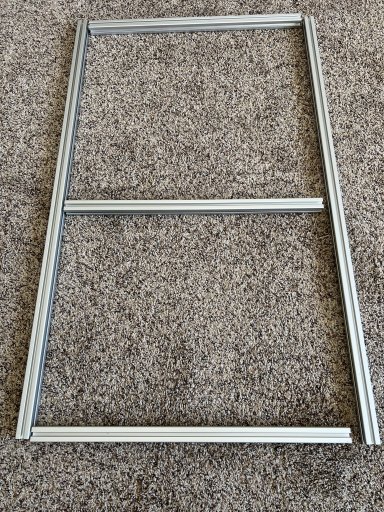
So, the stuff came quickly, was packaged really well and fun to build and play with. I had watched several YouTube videos prior, and one in particular was full of good tips on working with 80/20 or aluminum extrusion stuff. It is under the channel name of HumbleRoad on YouTube, and the particular video is this one: Video Link. The tools he suggests are worth it, and I ordered the two primary "screw driver/allen wrenches" he suggested as well as some clamp-able squares for squaring up each section as I got it complete. I found that video VERY helpful at avoiding some struggles using this stuff.

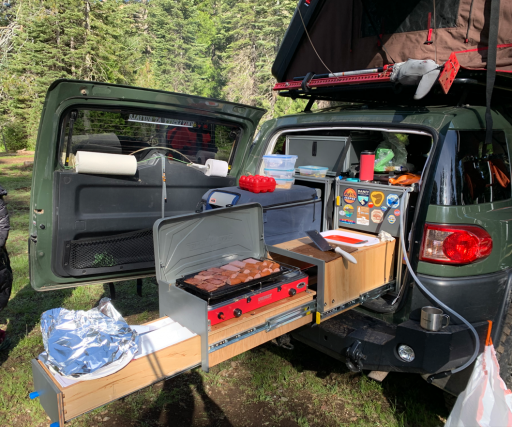
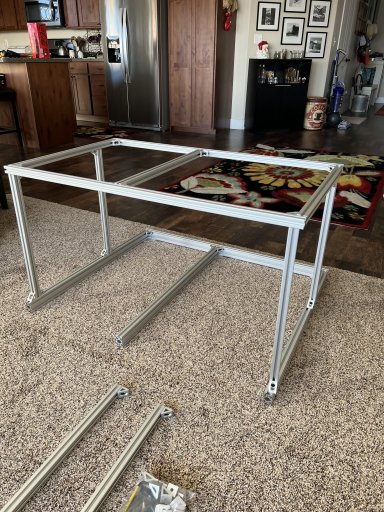
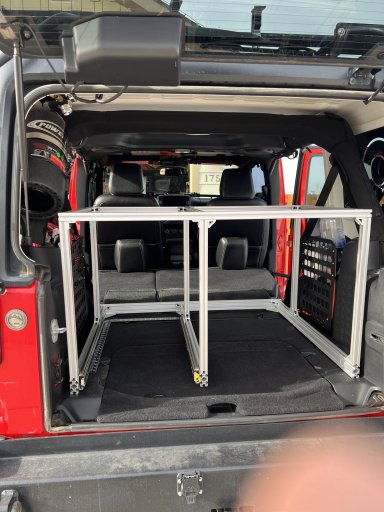
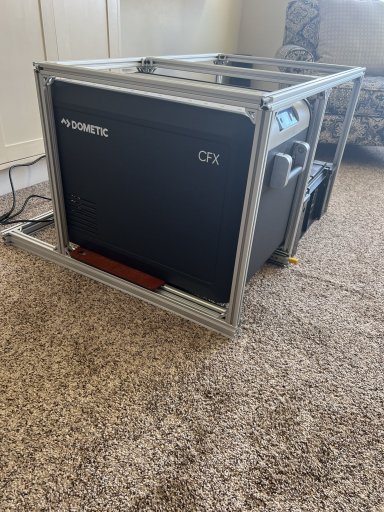
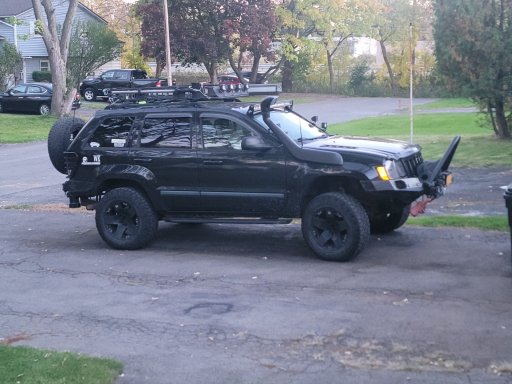
Next, I want to explain a bit of MY design criteria in the back of MY Jeep JKU. I'd love to remove the rear seat and be able to do a Goose Gear style platform in the whole back, but I can't. We go camping a fair amount, and tow our teardrop trailer most of the time. We also meet up with our adult children a fair amount and enjoy loading up and going exploring in the Jeep with 4 adults......I need and use the back seat. ** An aside here, the stock back seat in a Jeep JK is super vertical and uncomfortable for real sized humans. There are "seat recline" kits of spacers that you install under the mounts to lift the front and rear (the front more than the rear) that help immensely with comfort, but the hidden effect that they create with the folded seat position is sometimes a pain!**

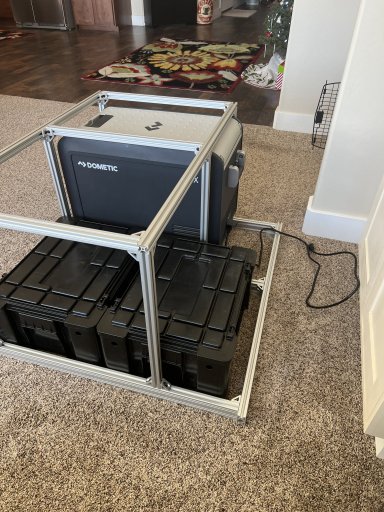
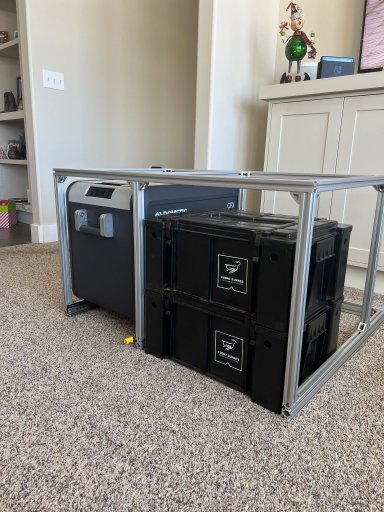
Needing the backseat to be accessible is one big issue, and the other I think I mentioned previously was my hope that there would be room for the fridge to slide, and fit the FrontRunner Wolfpack storage boxes that we use and really like. The rear floor area of the JKU has some silly shapes on the sides that you have to dodge around, and the shape of the inside of the tailgate is also "odd", so dancing around these space eating warts and blobs was a bit challenging while still trying desperately to fit my stuff like I hoped!

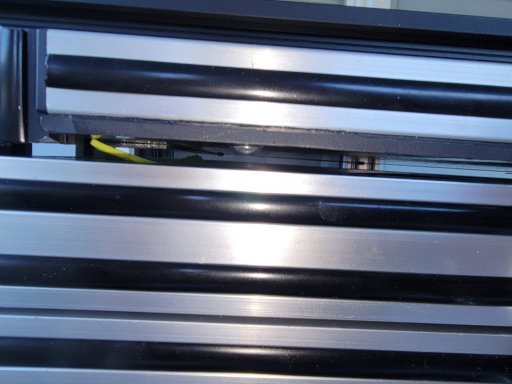
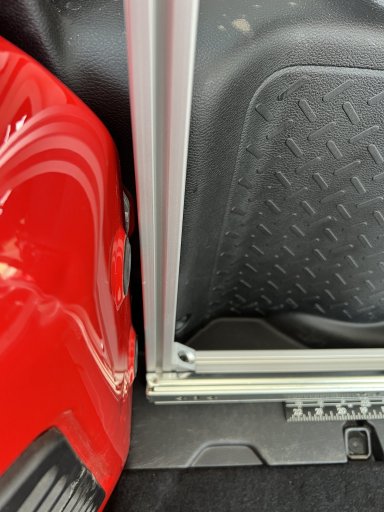
This is looking down at the latching side of the tailgate from the rear of the Jeep and shows the "latch bulge"....

IMG_0468.JPG

And this is looking down at the silly shape of the side plastic panels...
IMG_0469.JPG

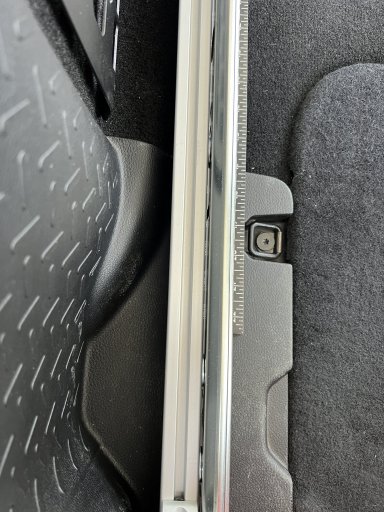
Both of these things caused some minor adjustments and I kept my hopes up for my dream!!
 

zgfiredude

Rank VI
Member

Steward I

3,953
Silt, CO, USA
First Name
Brian
Last Name
Nichols
Member #

28938

Service Branch
Firefighter
So, I laid out pieces and started by building the base. This is the finished layout of the base, with the fridge spot on the left and the storage area on the right.

IMG_0451.JPG

These next two show how I elected to build the corners, with a flat plate on the bottom and corner gussets in the upper slot of the 2" tall lower bars. I wanted these to be strong as they are open on the tailgate side, ie it's not fully "boxed" on the base. You'll see why I went with the two inch tall extrusion a bit later.

IMG_0458.JPG

IMG_0459.JPG


And this closeup with it laid down flat. I chose to gusset the upper channel to eliminate any "twisting" that could occur with the taller extrusion.

IMG_0457.JPG
 
  • Like
Reactions: ramblinChet

zgfiredude

Rank VI
Member

Steward I

3,953
Silt, CO, USA
First Name
Brian
Last Name
Nichols
Member #

28938

Service Branch
Firefighter
Next was to build the second story of the system if you will; the upright supports and what will be the "shelf" over the top of all this. It mimics the size of the bottom width wise, and is shallower in depth to account for the rake of the rear seat back.

IMG_0453.JPG

IMG_0460.JPG
 
Last edited:
  • Like
Reactions: ramblinChet

zgfiredude

Rank VI
Member

Steward I

3,953
Silt, CO, USA
First Name
Brian
Last Name
Nichols
Member #

28938

Service Branch
Firefighter
So, the "final" product.....mostly looks like this in the Jeep. If you look closely here, you can see that I mounted the drawer slides in the upper channel of the 2" bottom rails and everything clears when extended and closed. I thought that the double stacked extrusion would offer more rigidity here, and I think I was right.

IMG_0467.JPG

Now you can see that the fridge will live here (once I get the aluminum "tray" for it to sit on which will be mounted to the slides).

IMG_0464.JPG

And the two vertically stacked and two deep boxes also fit!!

IMG_0463.JPG

IMG_0461.JPG


So, I'm pretty darn happy with it thus far! I will order some aluminum sheet for the fridge tray, and to cover the entire top to create a shelf. I ordered some additional bits to cover the open ends of the exposed extrusions and a couple of reinforcement pieces for the spots I wanted to make a little "beefier". I'll highlight those once I get it all done with the aluminum sheets in place.

Thoughts on this so far, is that it's fairly easy to work with and having the proper tools helps a bunch. You can get trapped with needing to get the nuts into a captive spot if you don't think it out in advance, but that really only happened to me twice, which isn't too bad. The end result is much cleaner and square and professional looking that I could have done with using wood, and it weighs a fraction of what wood would weigh. At the conclusion of all this I'll list the weight of the full thing and compare that with the shelf that I had previously that was made of steel. I feel like this whole thing will weigh less than that old shelf did, and weigh a hell of a lot less than the real fridge slide I bought in the beginning!!
 
Last edited:

Vincent Keith

Rank V
Launch Member

Off-Road Ranger I

1,415
Poulsbo, Washington, United States
First Name
Vince
Last Name
Binder
Member #

4328

Ham/GMRS Callsign
Kg7cli
I think your ideas on using "80/20" are good ones. I have used the 1" aluminum extrusion ( 10 series) from Tnutz on many builds and have found it both light weight and more durable than plywood builds for off-road use. I would recommend you plan your design using the smaller 10 series size than the 20 series. A design with the smaller 10 series frame will definitely come in lighter and will hold up to more abuse than a plywood box design.

View attachment 245989
View attachment 245990View attachment 245991View attachment 245992View attachment 245995
Where would one find those drawer latches?
 

cug

Rank II

Enthusiast III

473
San Jose, CA, USA
First Name
Guido
Last Name
GNE
For those interested in building with 80/20, in my build thread (link to the first post of 80/20 brain dumps, currently there are only two, but there will be more coming) I've started writing up experiences and tips & tricks using the system. It will be an ongoing effort to add information when I have time to do so and/or gain experiences I feel are worth sharing.

I do agree with Reaver – it is lighter and cheaper to build with wood. There is no way around it. But there are many ways to safe weight and cost when using extrusion this will also be a focus of my "80/20 brain dumps". So, if you're interested in a specific aspect of using 80/20 give me a shout – if I have knowledge/experience about the topic, I will include it.