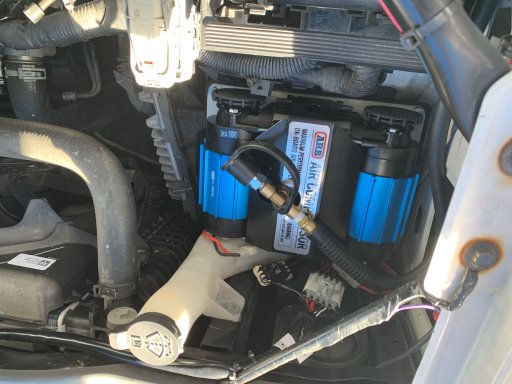
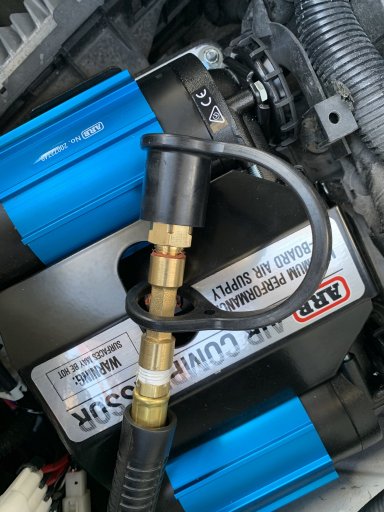
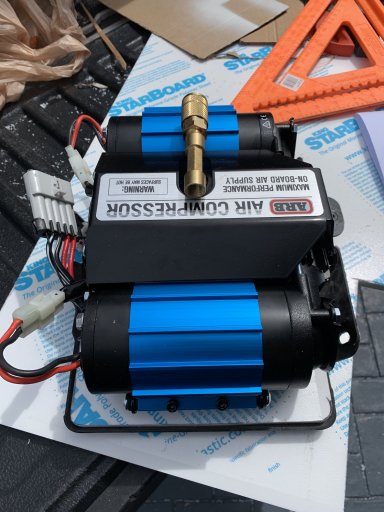
Decided to install an ARB dual compressor with my dad on his 2018 Silverado Z71 1500 Full.
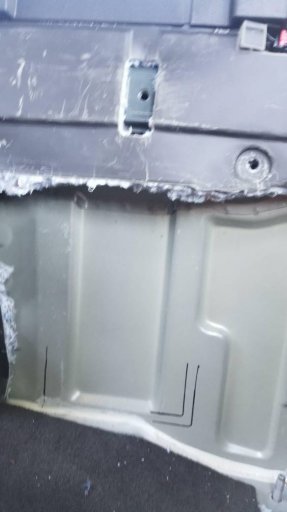
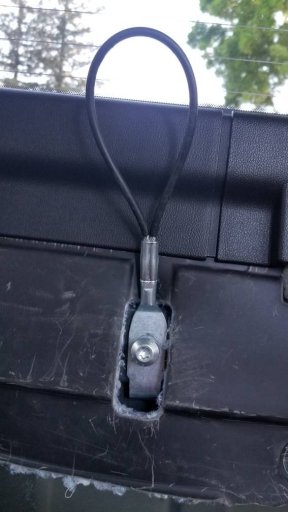
Started out with removing the rear seats and cutting away the material around the desired area. Also removed the childs cable loop for the car seat.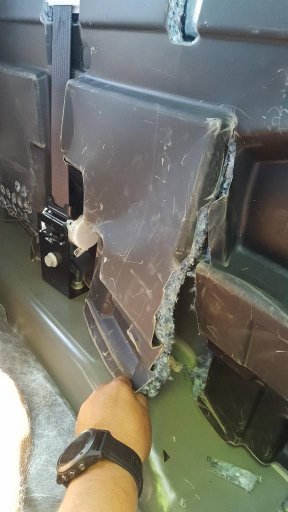

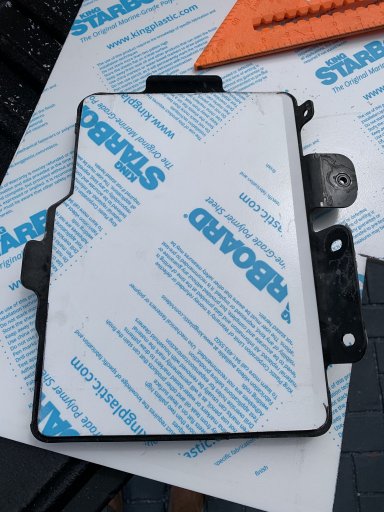
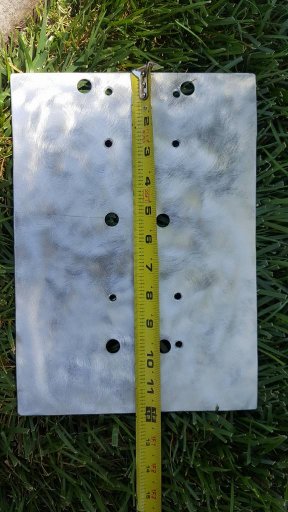
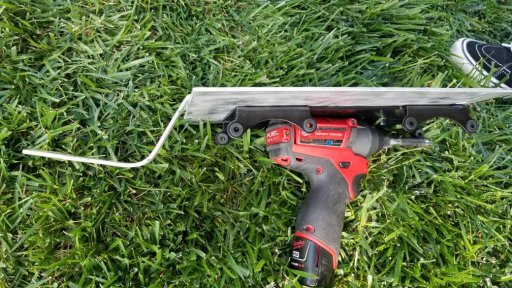
Found a sheet of aluminum i had from a previous project and cleaned it up with a round wire brush on a drill.
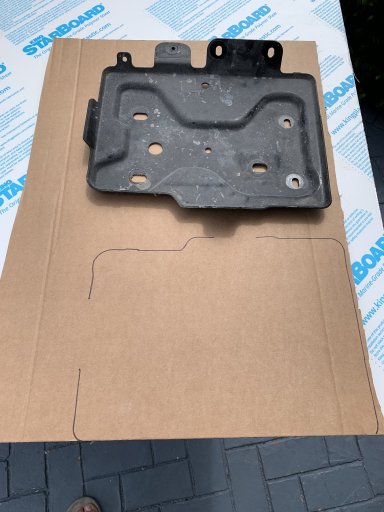
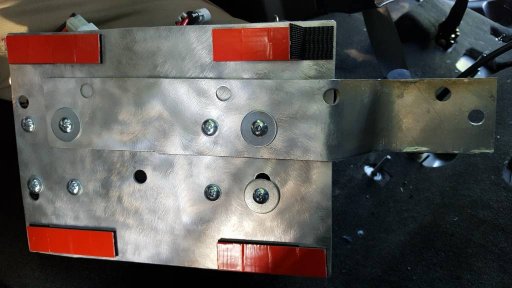
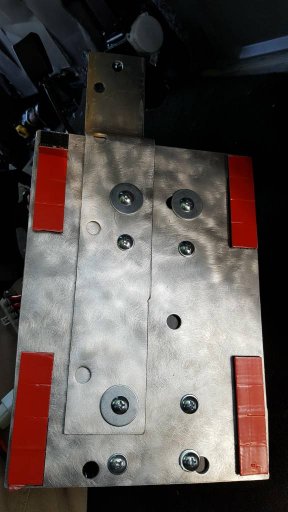
Cut it to our desired size to fit the ARB compressor bracket (black) and wide enough to fit on each rib of the back cab. The screws fit inside the Valleys of the back cab. Measured and then drilled my holes. Wishkng i had a paper template instead of a metal bracket.
Later found the paper template in the owners manual. DOH! [emoji38]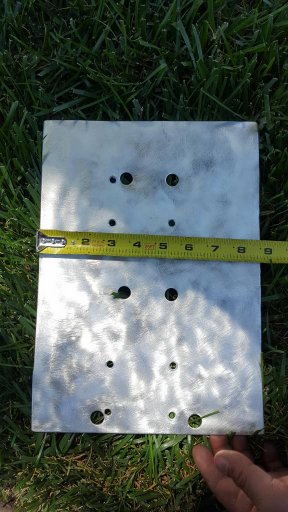
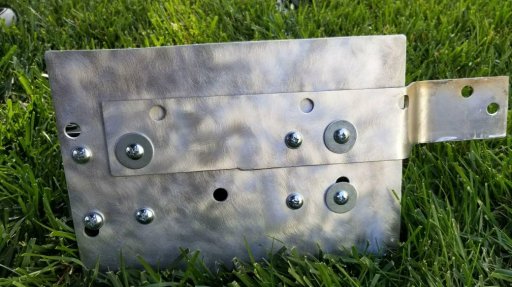
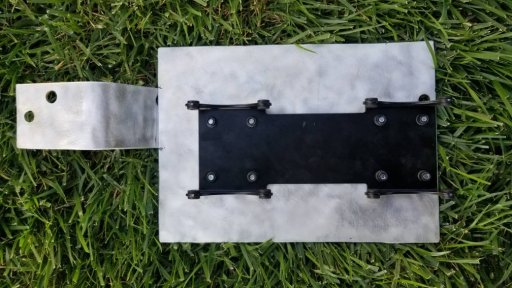
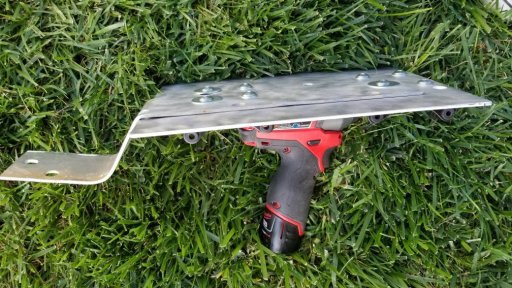
We then used a scrap piece of aluminum from the previous cuts, to bend a bracket that would contour from the childs seat loop to the base aluminum plate.
After countless test fits and measuring we attached it to the base plate. With some rounded phillips screws we got at our local hardware store.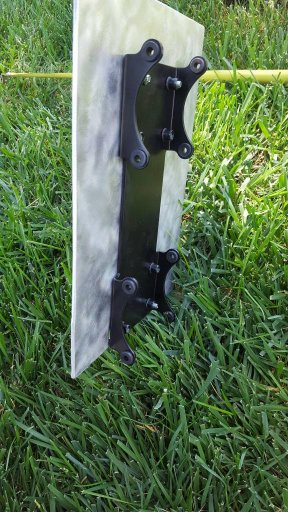
After we installed the bracket, base plate, and the compressor we decided that it would rattle a bit and needed some more support.
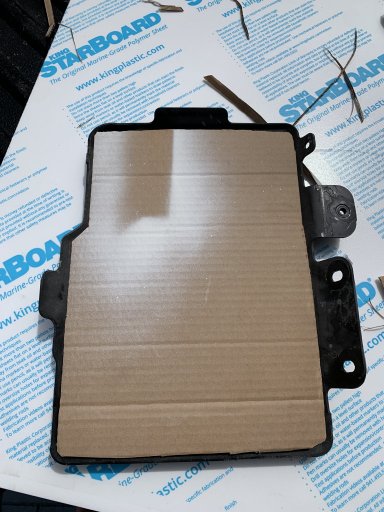
We then tested out some 3M Dual Lock (velcro) and gave it a shot. We attached 4 of the pre cut squares to each corner and then 4 more for the backside.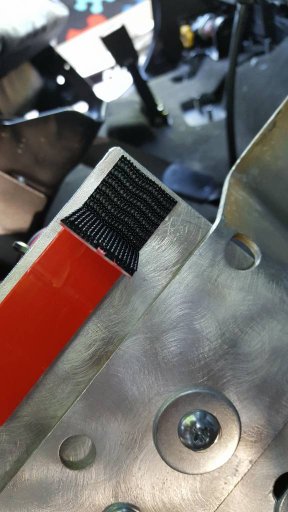
After countless test fits we decided to peel of the back side and expose the sticky tape and install.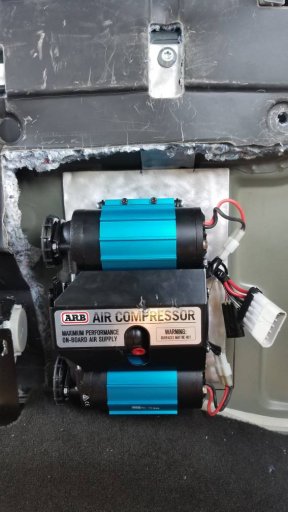
The base plate fit perfectly with the Velcro and it also acted as a vibration absorber.
The final touches where applying some sound deadening material to the inside of the rear cab area. To help with any outside heat and vibration that the compressor could cause since we removed the stock material.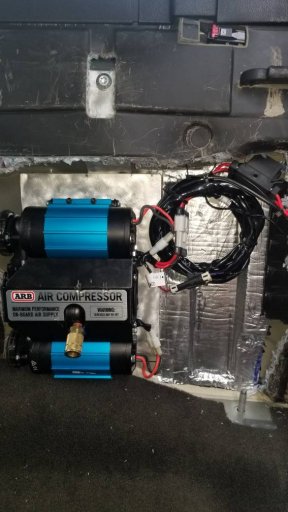
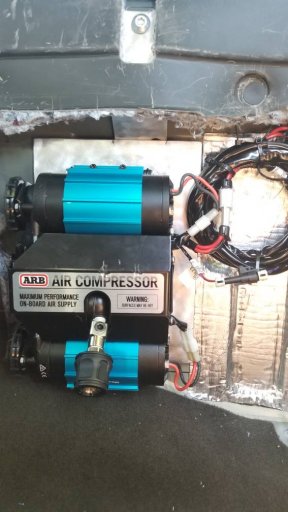
We then reinstalled the seats and triple checked everything.
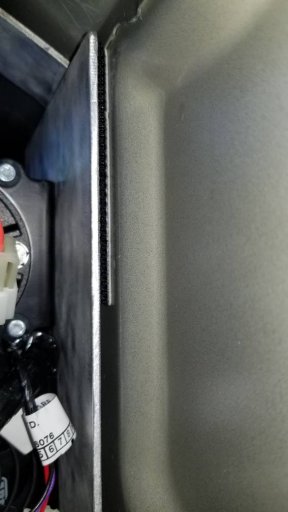
With the seat bench fully down there is tons of room. But with the seat fully up the backing of the seat touches slightly.
But nothing that would damage the compressor or smash anything.
DOWN: UP:
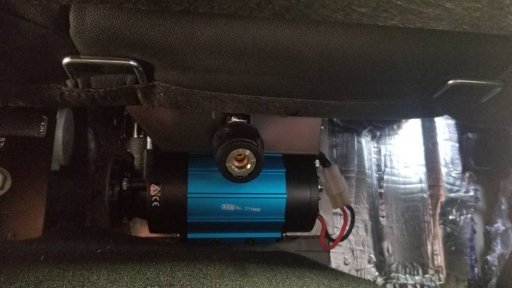
UP: 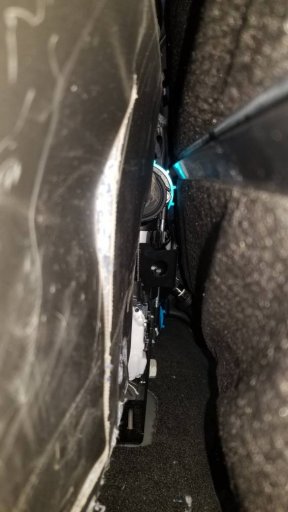

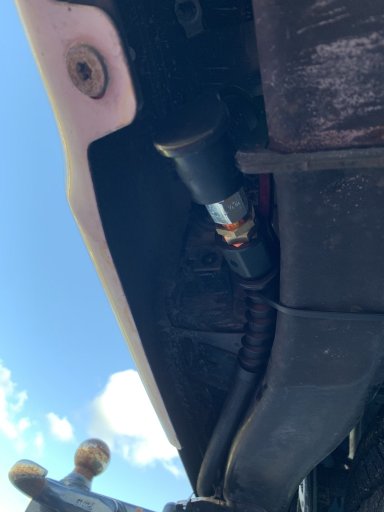
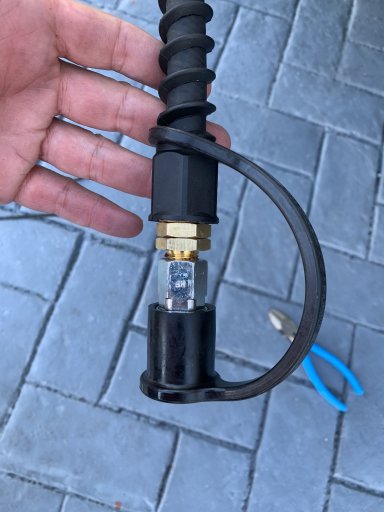
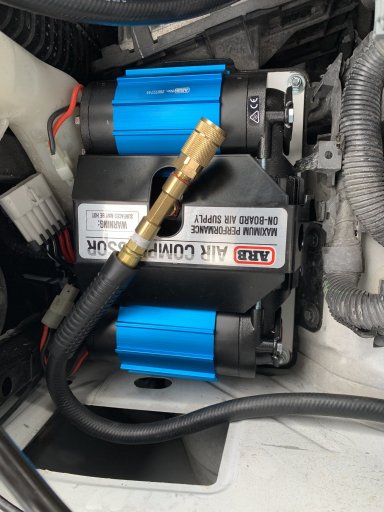
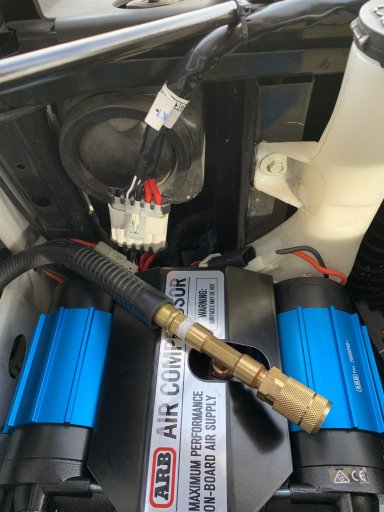
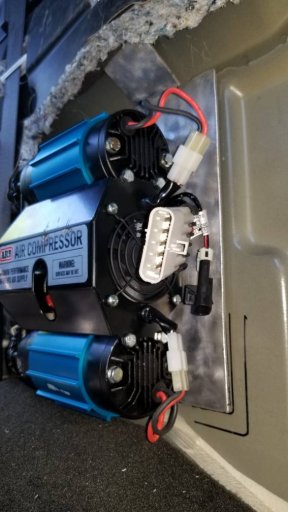
Here is the bottom of the compressor with the seat bench fully up. This gives us the room we need to connect and disconnect our air hose.
This will be my first write up on ANY forum. But im glad me and my dad could build something that will help us in the future while also bonding and learning at the same time.
Let me know if i left anything out or if you have any questions.
Thanks
Sent from my SM-G950U using OB Talk mobile app
Started out with removing the rear seats and cutting away the material around the desired area. Also removed the childs cable loop for the car seat.
Found a sheet of aluminum i had from a previous project and cleaned it up with a round wire brush on a drill.
Cut it to our desired size to fit the ARB compressor bracket (black) and wide enough to fit on each rib of the back cab. The screws fit inside the Valleys of the back cab. Measured and then drilled my holes. Wishkng i had a paper template instead of a metal bracket.
Later found the paper template in the owners manual. DOH! [emoji38]
We then used a scrap piece of aluminum from the previous cuts, to bend a bracket that would contour from the childs seat loop to the base aluminum plate.
After countless test fits and measuring we attached it to the base plate. With some rounded phillips screws we got at our local hardware store.
After we installed the bracket, base plate, and the compressor we decided that it would rattle a bit and needed some more support.
We then tested out some 3M Dual Lock (velcro) and gave it a shot. We attached 4 of the pre cut squares to each corner and then 4 more for the backside.
After countless test fits we decided to peel of the back side and expose the sticky tape and install.
The base plate fit perfectly with the Velcro and it also acted as a vibration absorber.
The final touches where applying some sound deadening material to the inside of the rear cab area. To help with any outside heat and vibration that the compressor could cause since we removed the stock material.
We then reinstalled the seats and triple checked everything.
With the seat bench fully down there is tons of room. But with the seat fully up the backing of the seat touches slightly.
But nothing that would damage the compressor or smash anything.
DOWN:
UP: Here is the bottom of the compressor with the seat bench fully up. This gives us the room we need to connect and disconnect our air hose.
This will be my first write up on ANY forum. But im glad me and my dad could build something that will help us in the future while also bonding and learning at the same time.
Let me know if i left anything out or if you have any questions.
Thanks
Sent from my SM-G950U using OB Talk mobile app