The wife bought a fridge for our wandering. And since my bronco is still in the building stage I decided to add an auxiliary battery to the bed of my truck. I wanted it to be simple and quickly removable in case I needed it out of the way. Also I stole the battery and box from our camper so it may need to be put back from time to time.
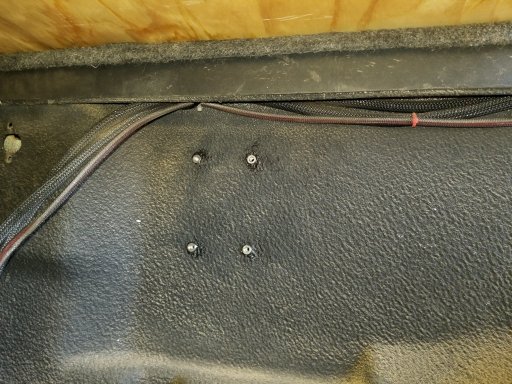
First I chose mounting locations close to the battery for the circuit breaker and the isolater.
View attachment 195423
Then it was time to make some cables.
View attachment 195424
A ring terminal and solder slug ready to go together.
View attachment 195425
Some heat and we have a connection.
View attachment 195426
Then some protection.
View attachment 195427
View attachment 195428
And you have a nice clean cable.
View attachment 195429
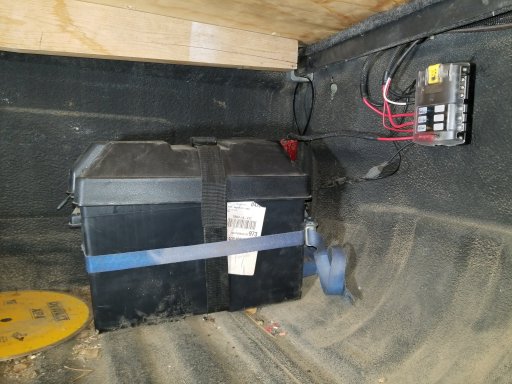
After making a few more. It was time to add the battery.
View attachment 195430
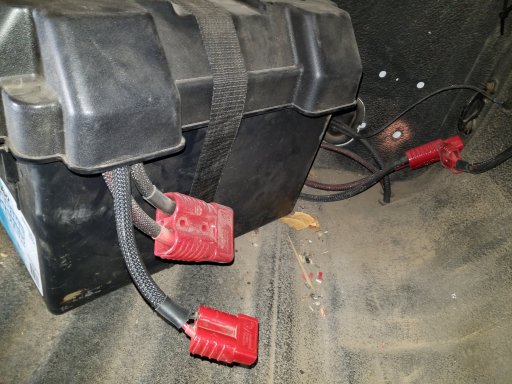
May not be the fanciest but it's simple and will work.
View attachment 195431
I used Anderson plugs to make it quick to remove and install. There is the big red connection for the power and ground to main batteries. Then the Gray goes to the fridge. The smaller red is for solar input. And the 2 tiny wires go into the cab for battery monitoring.
View attachment 195432
View attachment 195433
I ran the wires for the solar and fridge connector up under the bed rail to the back of the truck bed.
View attachment 195434
I want to make a panel to mount them to and maybe a charge port too. But not today.
View attachment 195435
Worked out pretty good. I can plug the portable solar panel in right at the back of the truck along with the fridge.
View attachment 195436
Inside I mounted a duel battery gauge. There was already a spot here for the option adjustable pedals. Since I don't have those in went the cheepy batter voltmeter.
View attachment 195437
We've used it on 2 short weekend trips now and it has worked out great. The wife is very happy with her fridge/freezer.
First I chose mounting locations close to the battery for the circuit breaker and the isolater.
View attachment 195423
Then it was time to make some cables.
View attachment 195424
A ring terminal and solder slug ready to go together.
View attachment 195425
Some heat and we have a connection.
View attachment 195426
Then some protection.
View attachment 195427
View attachment 195428
And you have a nice clean cable.
View attachment 195429
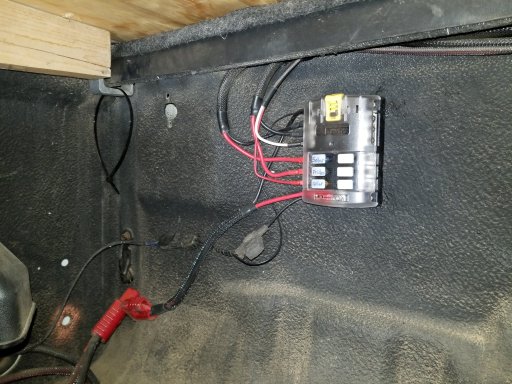
After making a few more. It was time to add the battery.
View attachment 195430
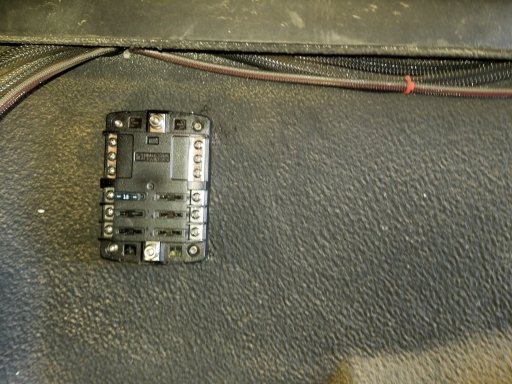
May not be the fanciest but it's simple and will work.
View attachment 195431
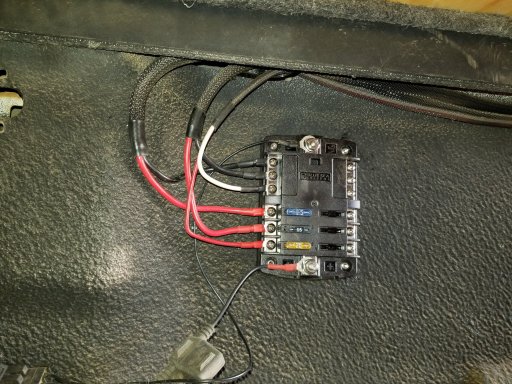
I used Anderson plugs to make it quick to remove and install. There is the big red connection for the power and ground to main batteries. Then the Gray goes to the fridge. The smaller red is for solar input. And the 2 tiny wires go into the cab for battery monitoring.
View attachment 195432
View attachment 195433
I ran the wires for the solar and fridge connector up under the bed rail to the back of the truck bed.
View attachment 195434
I want to make a panel to mount them to and maybe a charge port too. But not today.
View attachment 195435
Worked out pretty good. I can plug the portable solar panel in right at the back of the truck along with the fridge.
View attachment 195436
Inside I mounted a duel battery gauge. There was already a spot here for the option adjustable pedals. Since I don't have those in went the cheepy batter voltmeter.
View attachment 195437
We've used it on 2 short weekend trips now and it has worked out great. The wife is very happy with her fridge/freezer.