What better way to introduce myself to the group than by introducing my vehicle and build to date. It's a 2017 Ford Ranger Dual Cab Ute. 3.2ltr I5 Turbo auto diesel, 3500kg GVM.
I needed an off-road capable vehicle for work and also wanted something that I could turn into a suitable overland vehicle for short and long breaks around Australia. I picked it up new nearly a year ago. The dual cab ute's in Australia are all very similar but I decided on the Ford due to the nicer interior, standard rear lockers and 800mm wading depth. I also found that Ford aftermarket parts are cheaper than the Toyota or Holden counterparts.
My overland trips can be for a single night or several weeks and cover desert, forest or beach. With this in mind, I have tried to set the vehicle up pretty general. I've not done any really long hard trips yet but they are coming.
I like to think I'm pretty handy with a spanner so try to do all the work myself, sometimes though its just been easier to pay somebody else to do it.
What do I want to get out of this build thread?
I've had the vehicle for nearly a year and have done a ton of work to it. This thread will a good place to document some of this and also get feedback on better ways to do something.
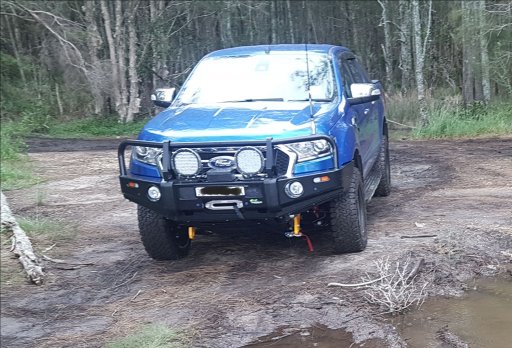
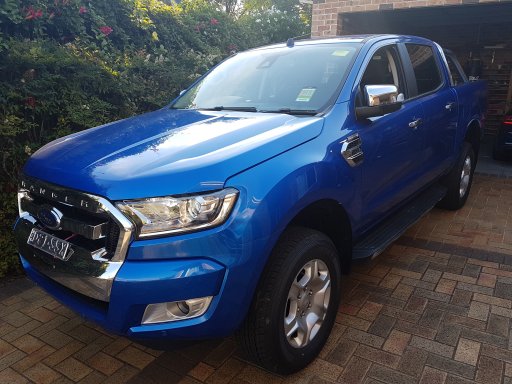
Firstly, the vehicle on day 2 (November 2017 -after fitting new suspension)
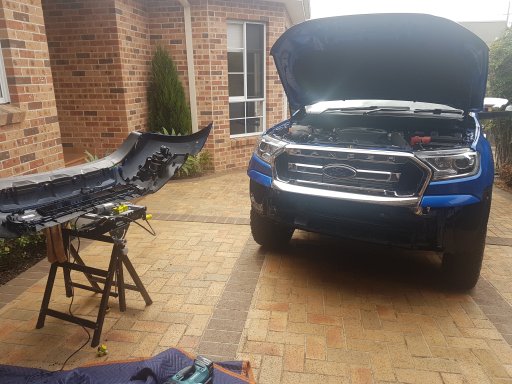
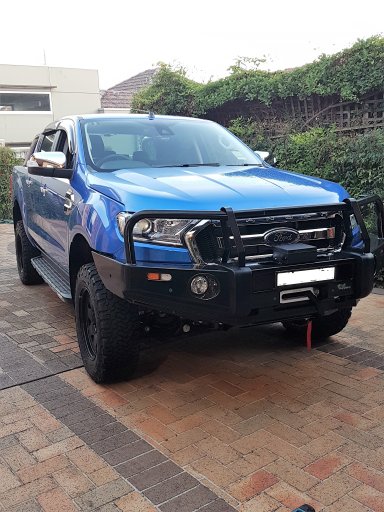
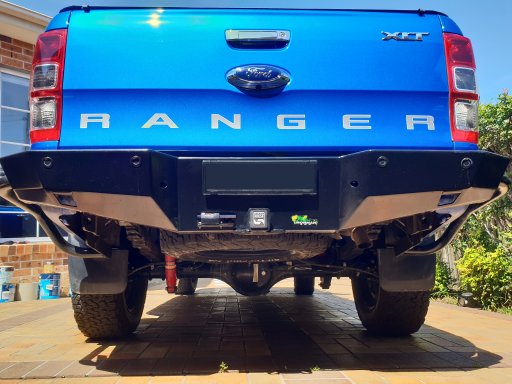
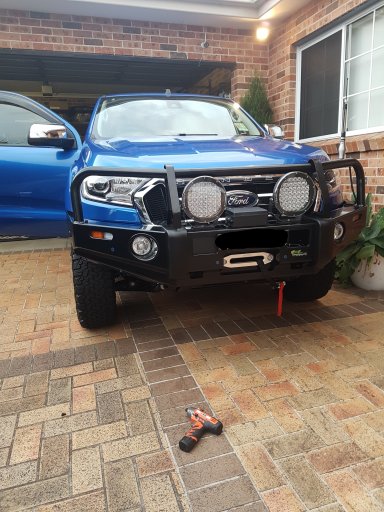
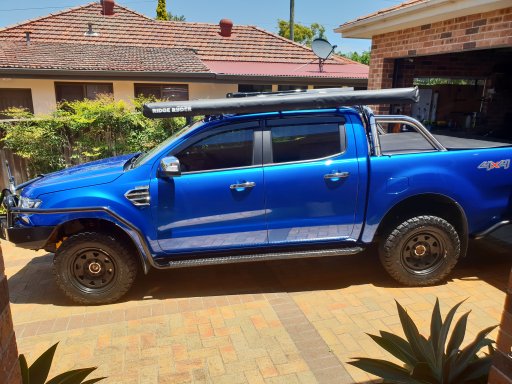
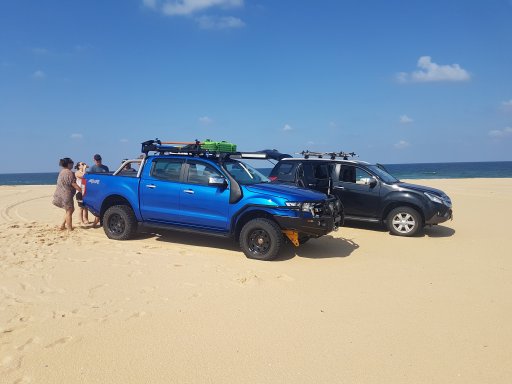
and the vehicle as it currently looks
I'll add photos detailing some of the mods below progressively.
Current Mods List:
06/2019
Armor:
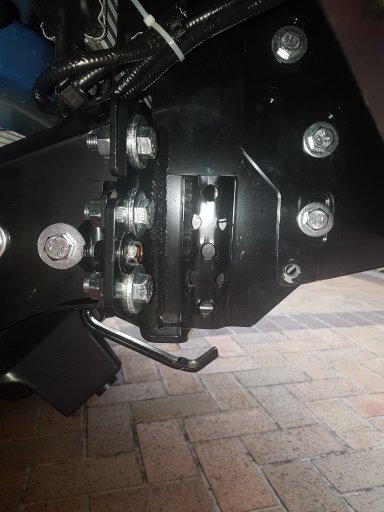
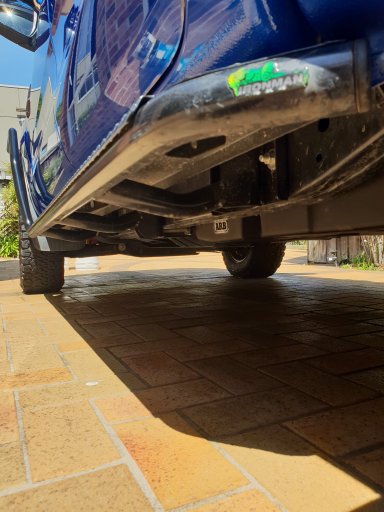
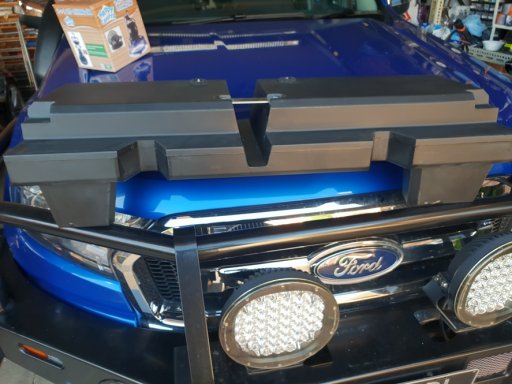
Ironman steel front bumper
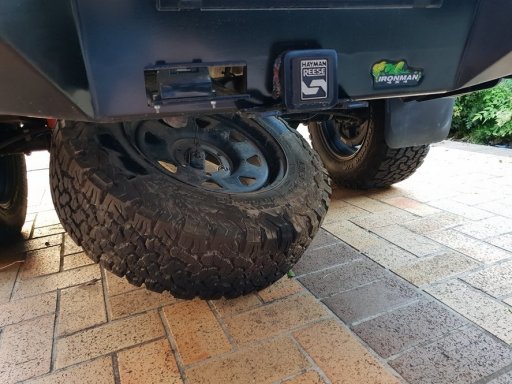
Ironman steel rear bumper
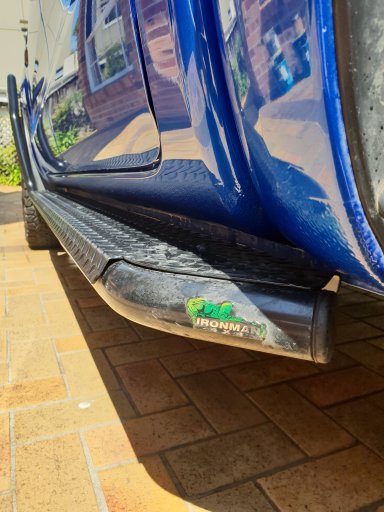
Ironman steel brush bars and side steps
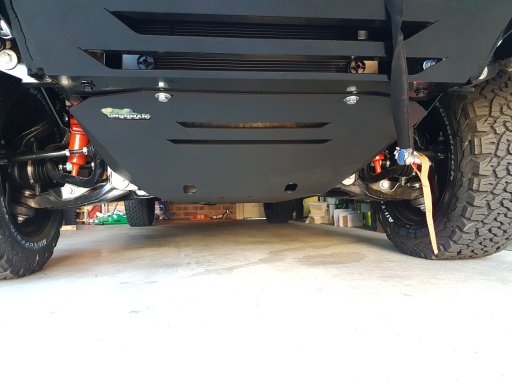
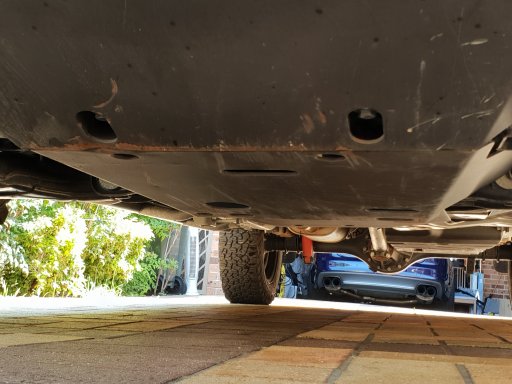
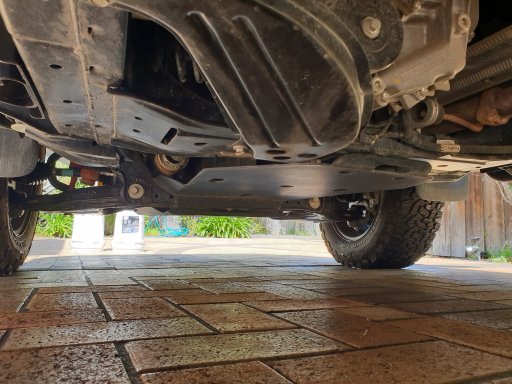
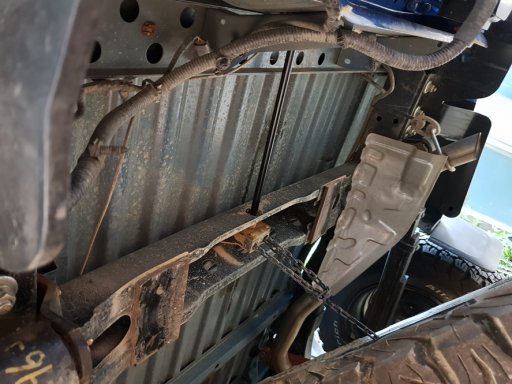
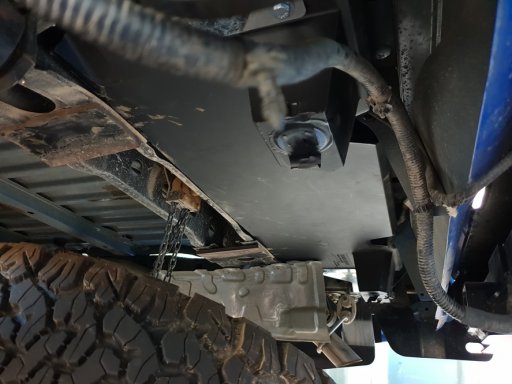
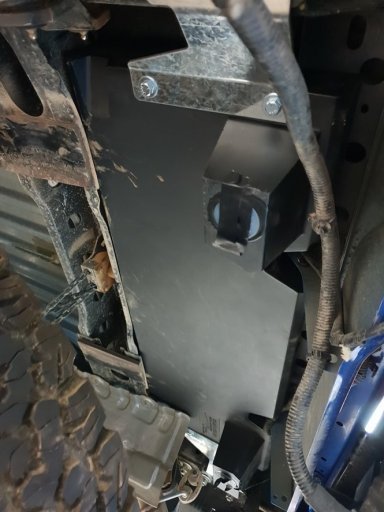
Ironman steel underbody protection (engine/transmission)
door panels wrapped in paint protection film
Wheels and Tires:
BF Goodrich All terrain KO2 285/70r17 tyres
ROH Octagon wheels (17x8")
Suspension:
Pedders 300kg GVM Upgrade suspension kit (3200kg GVM to 3500kg GVM).
Drivetrain/Power:
3.2ltr turbo diesel with auto
Ironman Snorkel
HDi GT2 Intercooler
Dynod ECU Tune (125kw ATW / 500Nm ATW - pre intercooler)
Secondary fuel filter
Oil catch can
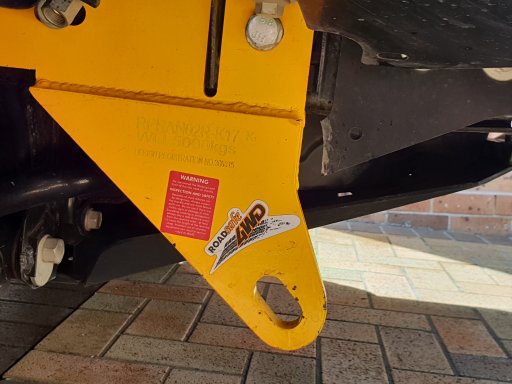
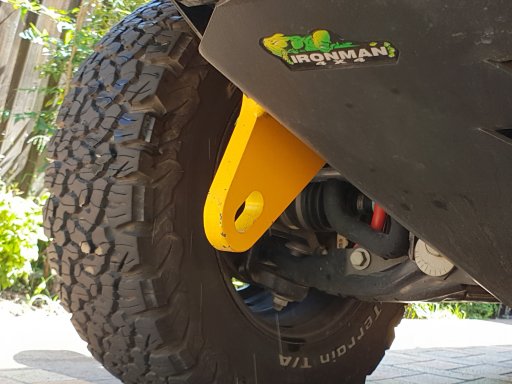
Recovery:
Twin heavy duty recovery points on front and rear
12,000lb front winch
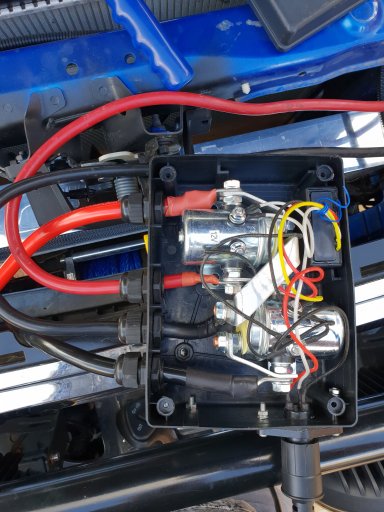
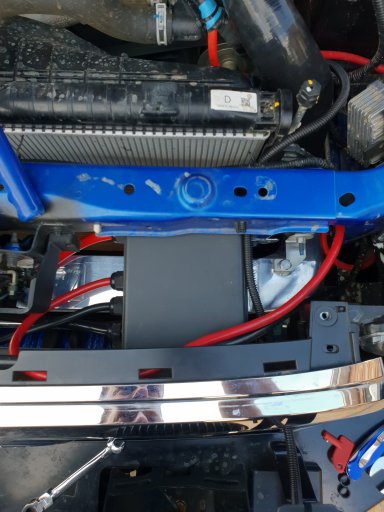
Lighting/Electrical:
170ah second battery
200w roof mounted solar panel
250w folding solar panel
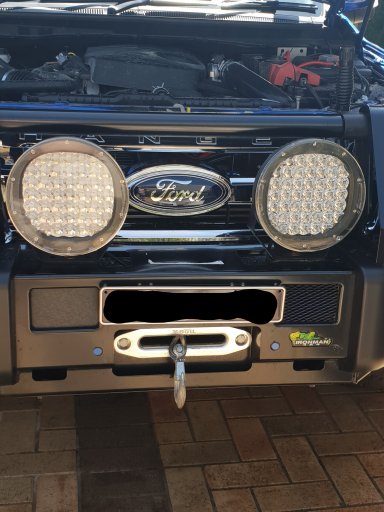
9" front LED spot lights (bumper mounted)
40" front LED light bar (roof mounted)
rear working LED lights
LED Reverse light upgrade
Navigation/Comms:
Bumper mounted UHF antenna (600mm and 1200mm antennas)
Bumper mounted 4G antenna
hand held radio (UHF & VHF) - can utilise car antennas
UHF CB radio
Hema offroad maps
Couple of paper maps
Exterior:
Tail gate central locking
Interior:
Utility:
Air Compressor
40ltr Fridge
150kg capacity roof rack
2.5m x 2.5m awning
Camping/Storage:
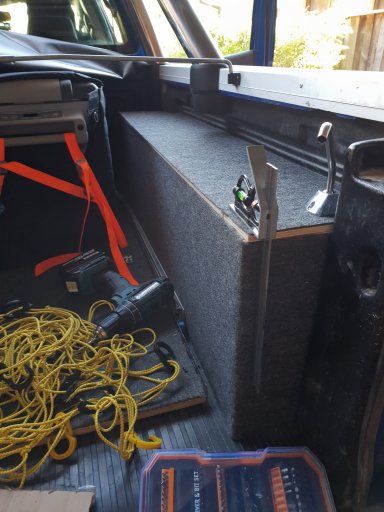
custom built rear tub drawers
Upcoming Mods:
camping equipment related mainly.
I needed an off-road capable vehicle for work and also wanted something that I could turn into a suitable overland vehicle for short and long breaks around Australia. I picked it up new nearly a year ago. The dual cab ute's in Australia are all very similar but I decided on the Ford due to the nicer interior, standard rear lockers and 800mm wading depth. I also found that Ford aftermarket parts are cheaper than the Toyota or Holden counterparts.
My overland trips can be for a single night or several weeks and cover desert, forest or beach. With this in mind, I have tried to set the vehicle up pretty general. I've not done any really long hard trips yet but they are coming.
I like to think I'm pretty handy with a spanner so try to do all the work myself, sometimes though its just been easier to pay somebody else to do it.
What do I want to get out of this build thread?
I've had the vehicle for nearly a year and have done a ton of work to it. This thread will a good place to document some of this and also get feedback on better ways to do something.
Firstly, the vehicle on day 2 (November 2017 -after fitting new suspension)
and the vehicle as it currently looks
I'll add photos detailing some of the mods below progressively.
Current Mods List:
06/2019
Armor:
Ironman steel front bumper
Ironman steel rear bumper
Ironman steel brush bars and side steps
Ironman steel underbody protection (engine/transmission)
door panels wrapped in paint protection film
Wheels and Tires:
BF Goodrich All terrain KO2 285/70r17 tyres
ROH Octagon wheels (17x8")
Suspension:
Pedders 300kg GVM Upgrade suspension kit (3200kg GVM to 3500kg GVM).
Drivetrain/Power:
3.2ltr turbo diesel with auto
Ironman Snorkel
HDi GT2 Intercooler
Dynod ECU Tune (125kw ATW / 500Nm ATW - pre intercooler)
Secondary fuel filter
Oil catch can
Recovery:
Twin heavy duty recovery points on front and rear
12,000lb front winch
Lighting/Electrical:
170ah second battery
200w roof mounted solar panel
250w folding solar panel
9" front LED spot lights (bumper mounted)
40" front LED light bar (roof mounted)
rear working LED lights
LED Reverse light upgrade
Navigation/Comms:
Bumper mounted UHF antenna (600mm and 1200mm antennas)
Bumper mounted 4G antenna
hand held radio (UHF & VHF) - can utilise car antennas
UHF CB radio
Hema offroad maps
Couple of paper maps
Exterior:
Tail gate central locking
Interior:
Utility:
Air Compressor
40ltr Fridge
150kg capacity roof rack
2.5m x 2.5m awning
Camping/Storage:
custom built rear tub drawers
Upcoming Mods:
camping equipment related mainly.
Last edited: