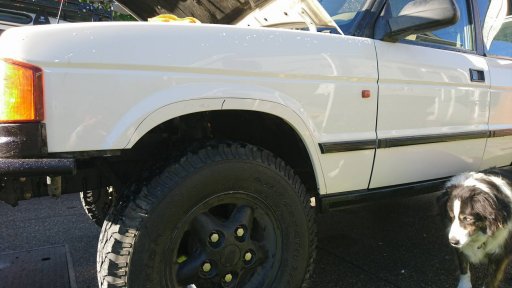
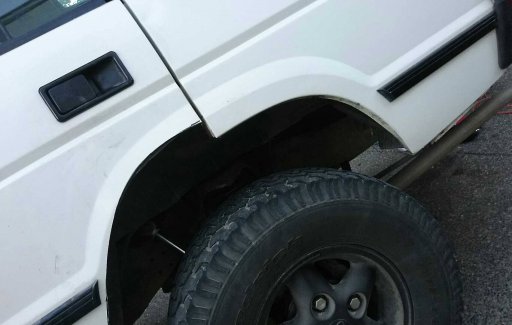
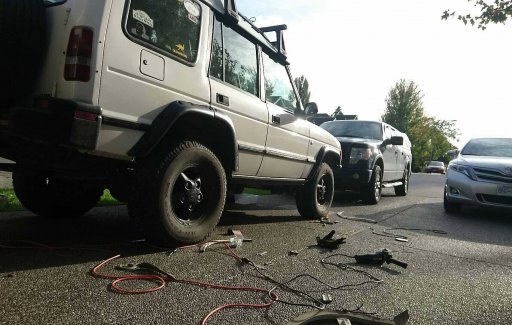
It was not as difficult as I thought it would be to be honest. A second person to help is crucial though. They hold the flare in place, and you trace the inside of the line. Once you've got the line you cut a few cm above that, and keep cutting until it sits where you want. Lots of forgiveness in the cut, and everything is hidden so it does not have to be perfect. Then just finish off the edges with some paint to stop the rust!
It was not as difficult as I thought it would be to be honest. A second person to help is crucial though. They hold the flare in place, and you trace the inside of the line. Once you've got the line you cut a few cm above that, and keep cutting until it sits where you want. Lots of forgiveness in the cut, and everything is hidden so it does not have to be perfect. Then just finish off the edges with some paint to stop the rust! View attachment 16702View attachment 16703View attachment 16704
Awesome dude, fitting my arches soon theyve been sat in my garage for 2 months now! Just too busy, arches and spacers ready to go on. I'm running 235/85/16, but seeing your tyre size fitted makes me think when I replace them I'll make the change for wider..
I just did the camel cut to 255/85/16 on 3" lift with a terrafirma long travel lift kit. I'd like to go to 35" or possibly 37" next time and a 1" spacer and do a full trim on the arch. I've looked at the arches and been trying to decide on the 50mm or 75mm flares.
Hi Guest, Become a Member to gain access to the Member Forums, Member Map, Member Calendar of Events, and Rally Point overland trip planner! Click this link Learn More for more information!
This site uses cookies to help personalise content, tailor your experience and to keep you logged in if you register.
By continuing to use this site, you are consenting to our use of cookies.