Traveler III
- 1,922
- First Name
- David and Dayna
- Last Name
- Coston
- Member #
-
6520
- Ham/GMRS Callsign
- KI5NXU GMRS:WROE726
- Service Branch
- USMC
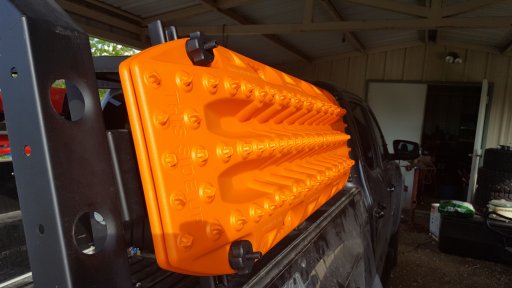
I needed a solution to mount my new MaxTrax onto my AllPro Offroad Apex modular rack on my 2017 Tacoma. The holes on the rack do not match up with the ones on the MaxTrax so like with the Rotopax I previously installed, I was going to have to come up with a creative solution. After a trip to Lowe’s, I came home with two pieces of “B-channel”, a pack (5 per pack) of the 3/8” b-channel screw deals, four 1 ½ inch 3/8” bolts with lock nuts, four 4-inch 3/8” hex head bolts, four end caps for the b-channel, and four 3/8” plastic knobs.
Step 1: Cut the b-channel to the length you prefer. In my case I cut it to about 14 1/8”. The holes on the MaxTrax are 10 ½” apart so it must be wider than that.
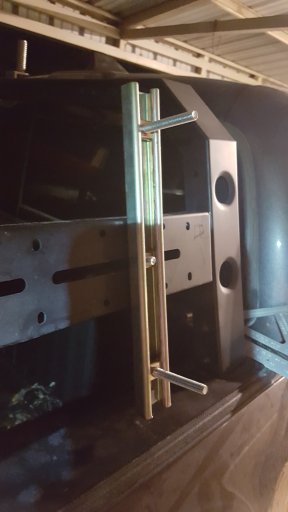
Step 2: Cut the head and about one inch of thread from each bolt. I left extra length so I could potentially add two additional MaxTrax in the future.
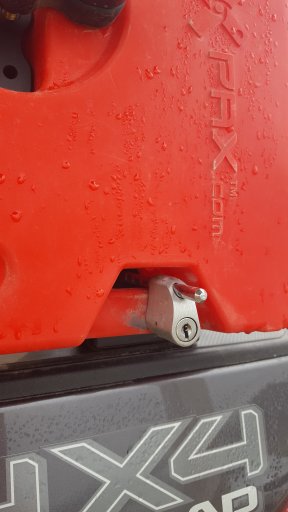
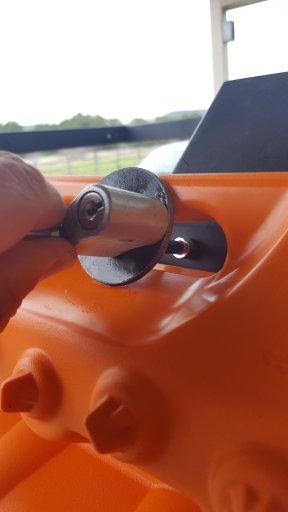
Step 3: This is multiple steps in one. Put the long bolts and b-channel nut deals together and place the MaxTrax on them to get the spacing correct. Tighten the bolts with channel lock pliers or whatever works for you. (I put red lock-tight on them.)
Step 4: This is the hardest part. Line everything up on the rack and mount the b-channels up in the long slot on the rack. I left it slightly loose while I lined everything up and centered it. After marking where they need to be permanently mounted take the whole thing apart and paint it. I used flat black to match the rack.
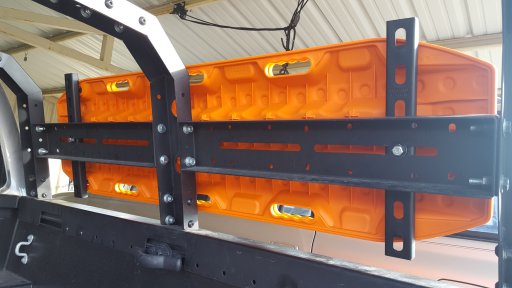
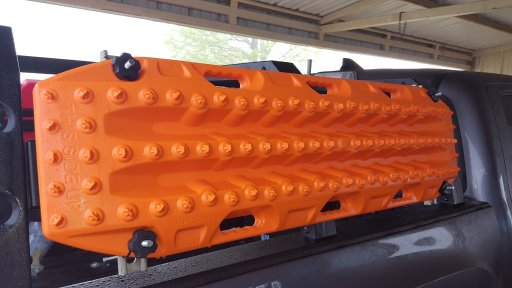
Step 5: Mount it back up and do any final adjustments before tightening everything down.
Step 6: Stand back and admire your awesomeness.
Step 1: Cut the b-channel to the length you prefer. In my case I cut it to about 14 1/8”. The holes on the MaxTrax are 10 ½” apart so it must be wider than that.
Step 2: Cut the head and about one inch of thread from each bolt. I left extra length so I could potentially add two additional MaxTrax in the future.
Step 3: This is multiple steps in one. Put the long bolts and b-channel nut deals together and place the MaxTrax on them to get the spacing correct. Tighten the bolts with channel lock pliers or whatever works for you. (I put red lock-tight on them.)
Step 4: This is the hardest part. Line everything up on the rack and mount the b-channels up in the long slot on the rack. I left it slightly loose while I lined everything up and centered it. After marking where they need to be permanently mounted take the whole thing apart and paint it. I used flat black to match the rack.
Step 5: Mount it back up and do any final adjustments before tightening everything down.
Step 6: Stand back and admire your awesomeness.