

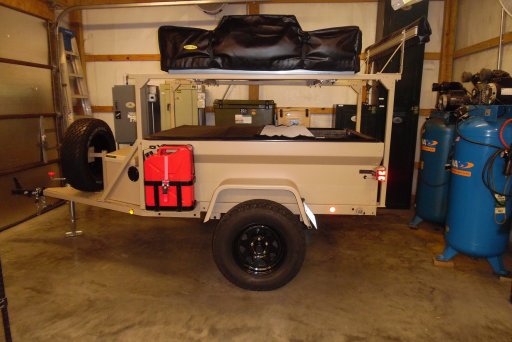
Nothing super special here. My old pop up that I drag down a lot of back roads is really starting to fall apart, so I picked up an M416 on my last trip down to Vegas. I looked at a couple, and landed on this one It was 100% ready to roll, with 2 year old tires, the original rims and tires included as spares, LED lights, 2 year old bearings and a brand new set of replacement bearings, and it even included a pintle hitch. Aside from the LED lights, it's 100% stock which is what I wanted.
No visible rust, some flaking paint and a little surface crust underneath, a couple dings and dents in the tub, and it had been very sloppily painted. I had intended to paint it without doing a complete tear down and refinish, but there were so many runs and drips in the paint I figured I'd do it right.
The only odd thing I have noticed is that it sits a little low in one corner. I've seen a number of other trailers that in pics at least LOOK like they sit a little off camber, so many its from a hard life of use, or 1960's government contract manufacturing, who knows. I've decided to simply shim the tub in that corner to get things a little more level. about 1/2" shim should take care of it. the frame sits level across the axle, so its just one of the corners.
 Untitled by Marn, on Flickr
 Untitled by Marn, on Flickr
Anyway, drug it home with my lil' truck. 500 mile trip and I didn't even know it was there.
 Untitled by Marn, on Flickr
 trailer1 by Marn, on Flickr
Hooked it up behind the wag to see how it'll sit, looks pretty decent. SLIGHTLY low in the front.
 trailer3 by Marn, on Flickr
 trailer2 by Marn, on Flickr
So, as mentioned, decided to do a full repaint. So, threw on my respirator and went to work with some grinding wheels.
 Untitled by Marn, on Flickr
 Untitled by Marn, on Flickr
 Untitled by Marn, on Flickr
Presently, the whole tub is primed on the outside sides. For the underside, I'm going to hit it with a wire wheel and bed line the bottom. I will also be bed lining the interior up to the top rail. Just going to use black Monstaliner. I've wired wheeled the interior and removed any of the flaking stuff in there, but I'm not intending to strip it down to bare metal.
I need to finish be stripping the fenders, then I will move onto the bottom of the tub. The frame has been wire wheeled, and will be getting shot with a coat of summit racing's chassis paint. Then the tub will get shot with whatever color I choose, and plopped back on the frame. At this point, the actual "build" will begin as time and money allow.
Likely planning to use an adjustable rack system like a Thule XSporter, so I can raise and lower the RTT for travel. I want to have about 6' under the tent, but want to keep the COG as low as possible while driving.
We'll see what I come up with. :-)
No visible rust, some flaking paint and a little surface crust underneath, a couple dings and dents in the tub, and it had been very sloppily painted. I had intended to paint it without doing a complete tear down and refinish, but there were so many runs and drips in the paint I figured I'd do it right.
The only odd thing I have noticed is that it sits a little low in one corner. I've seen a number of other trailers that in pics at least LOOK like they sit a little off camber, so many its from a hard life of use, or 1960's government contract manufacturing, who knows. I've decided to simply shim the tub in that corner to get things a little more level. about 1/2" shim should take care of it. the frame sits level across the axle, so its just one of the corners.
Untitled by Marn, on FlickrUntitled by Marn, on FlickrAnyway, drug it home with my lil' truck. 500 mile trip and I didn't even know it was there.
Untitled by Marn, on Flickrtrailer1 by Marn, on FlickrHooked it up behind the wag to see how it'll sit, looks pretty decent. SLIGHTLY low in the front.
trailer3 by Marn, on Flickrtrailer2 by Marn, on FlickrSo, as mentioned, decided to do a full repaint. So, threw on my respirator and went to work with some grinding wheels.
Untitled by Marn, on FlickrUntitled by Marn, on FlickrUntitled by Marn, on FlickrPresently, the whole tub is primed on the outside sides. For the underside, I'm going to hit it with a wire wheel and bed line the bottom. I will also be bed lining the interior up to the top rail. Just going to use black Monstaliner. I've wired wheeled the interior and removed any of the flaking stuff in there, but I'm not intending to strip it down to bare metal.
I need to finish be stripping the fenders, then I will move onto the bottom of the tub. The frame has been wire wheeled, and will be getting shot with a coat of summit racing's chassis paint. Then the tub will get shot with whatever color I choose, and plopped back on the frame. At this point, the actual "build" will begin as time and money allow.
Likely planning to use an adjustable rack system like a Thule XSporter, so I can raise and lower the RTT for travel. I want to have about 6' under the tent, but want to keep the COG as low as possible while driving.
We'll see what I come up with. :-)
Last edited:


 Untitled
 Untitled
 Untitled
 Untitled
 Untitled
 Untitled
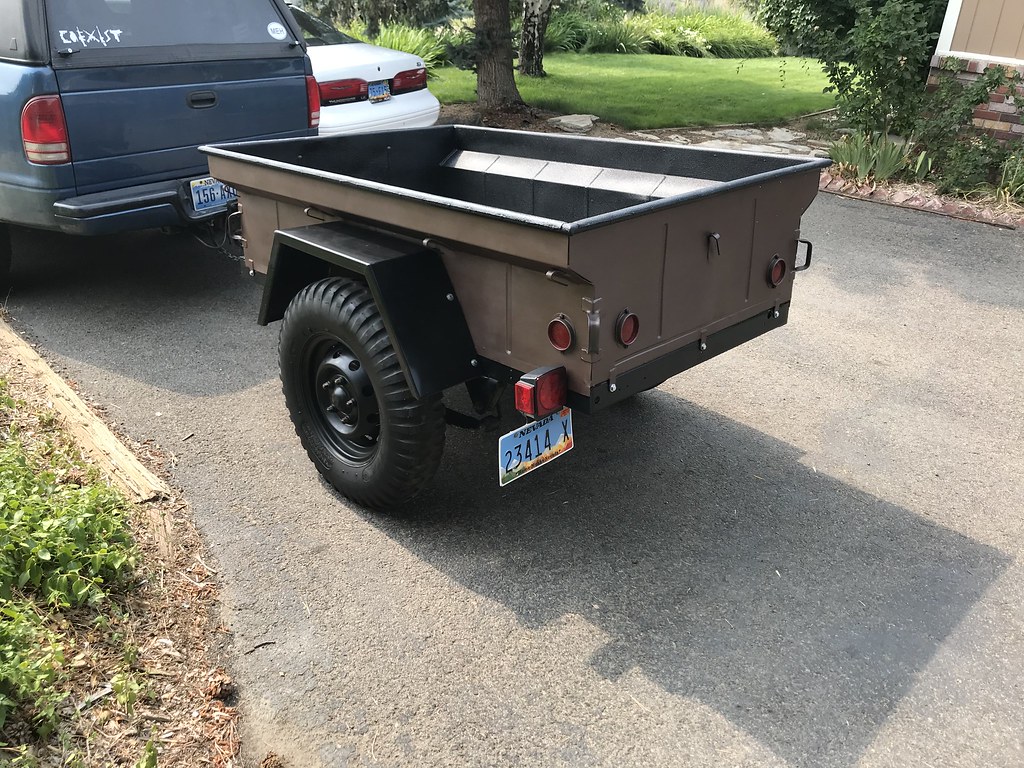 Untitled
 Untitled
 Untitled
 Untitled
 Untitled
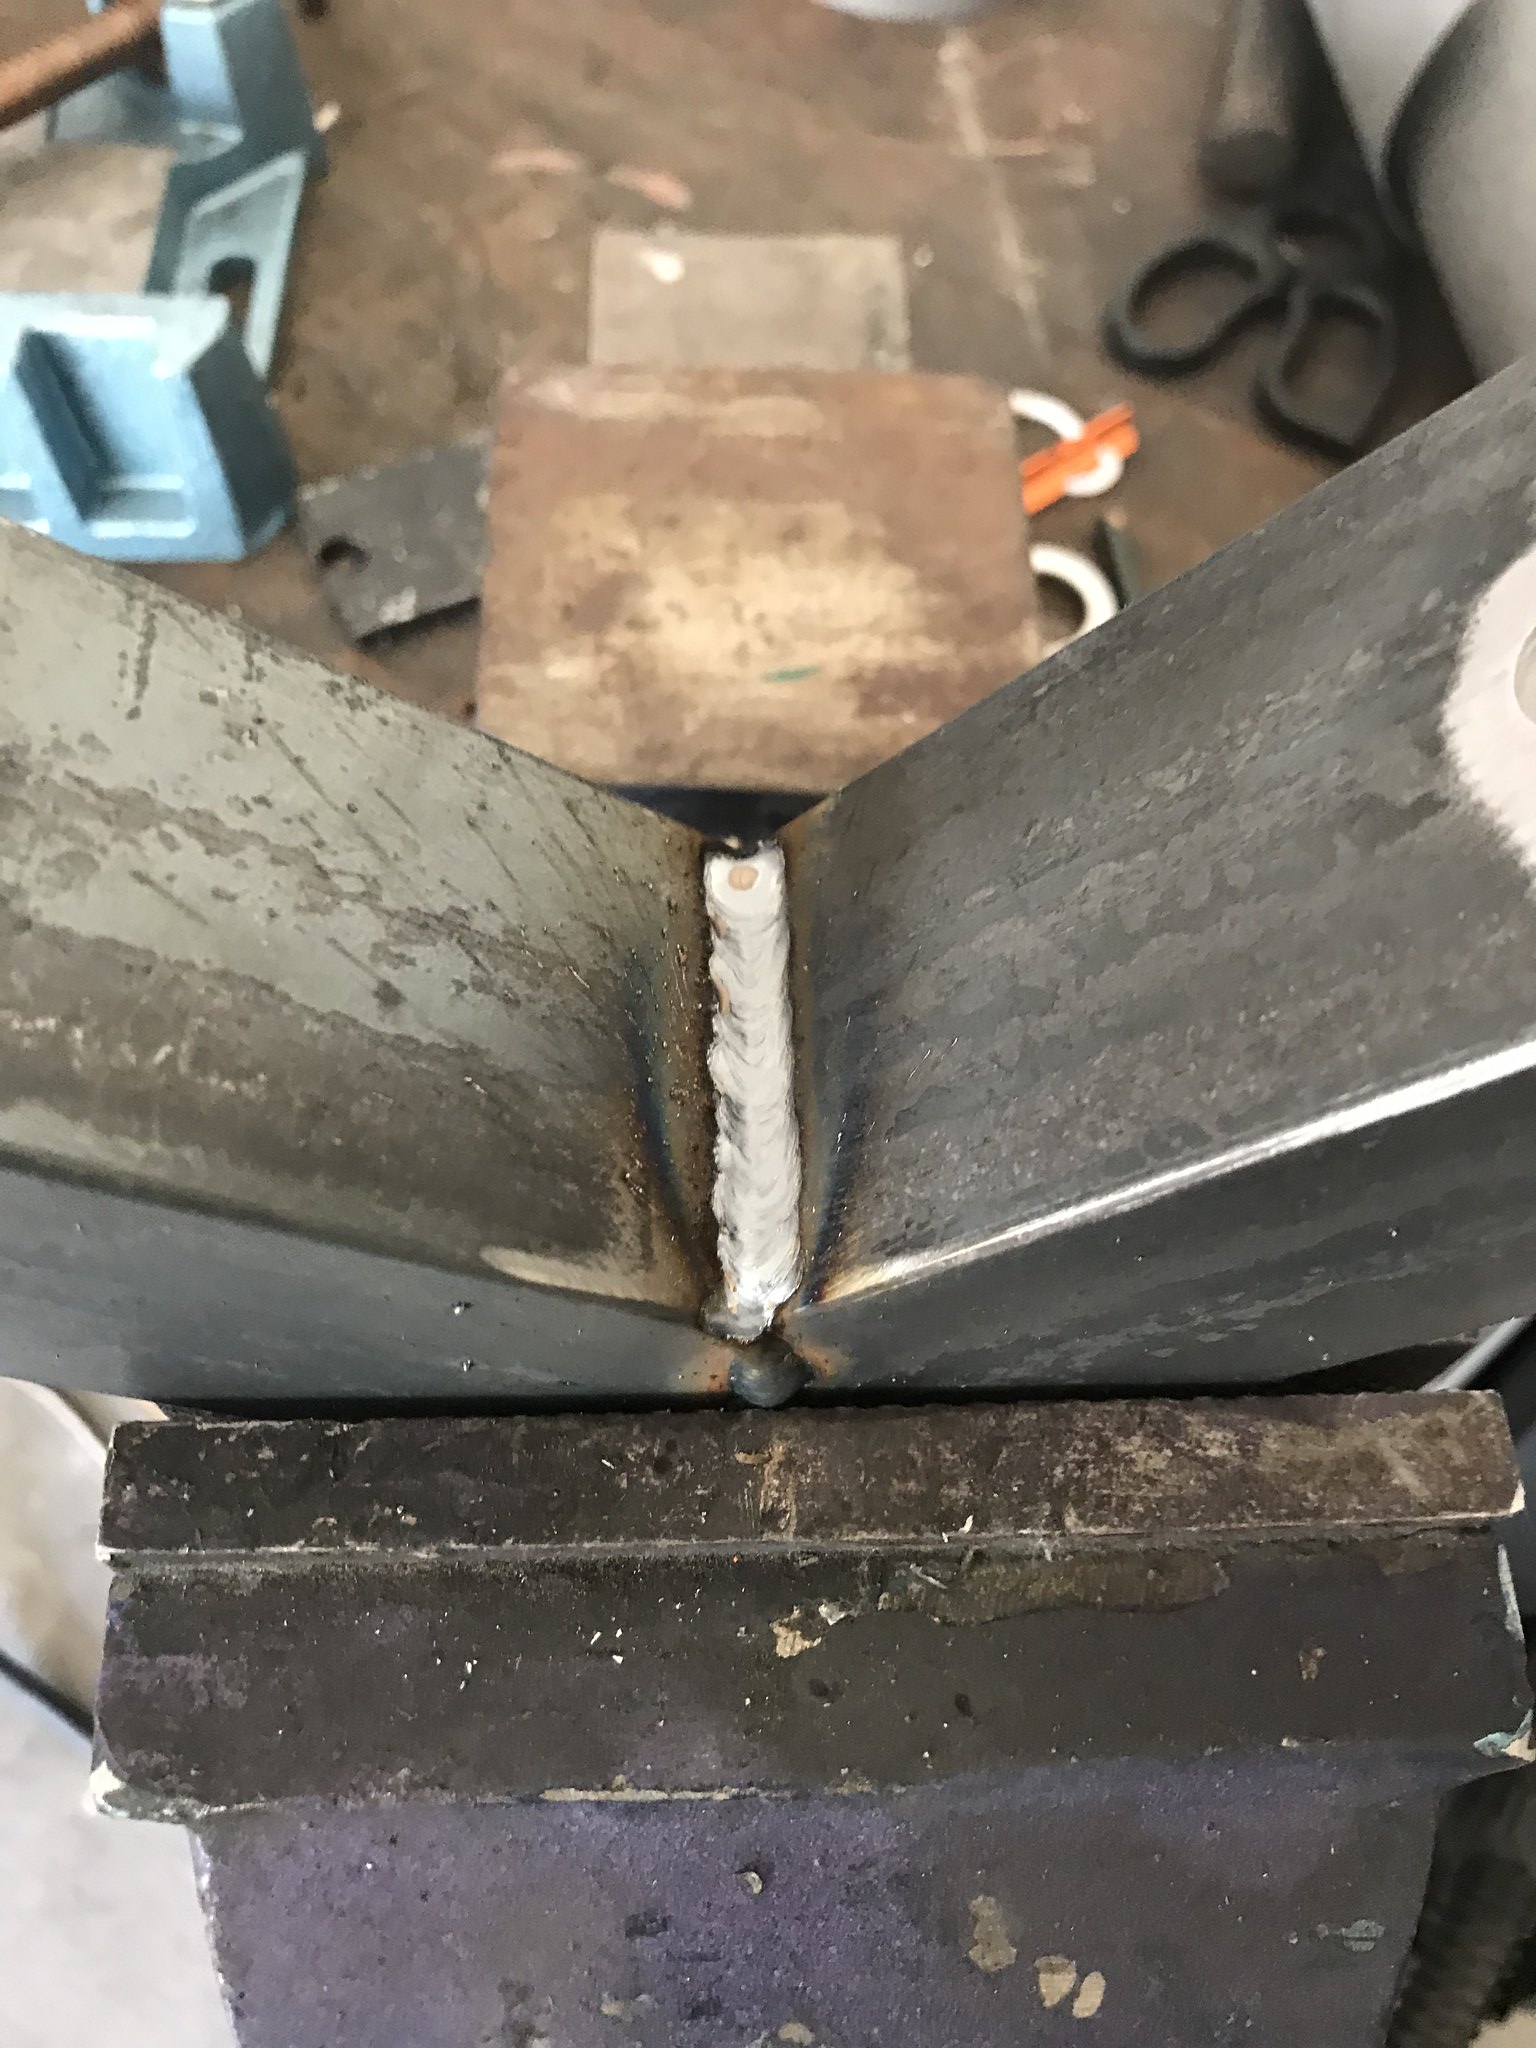 Untitled
 Untitled
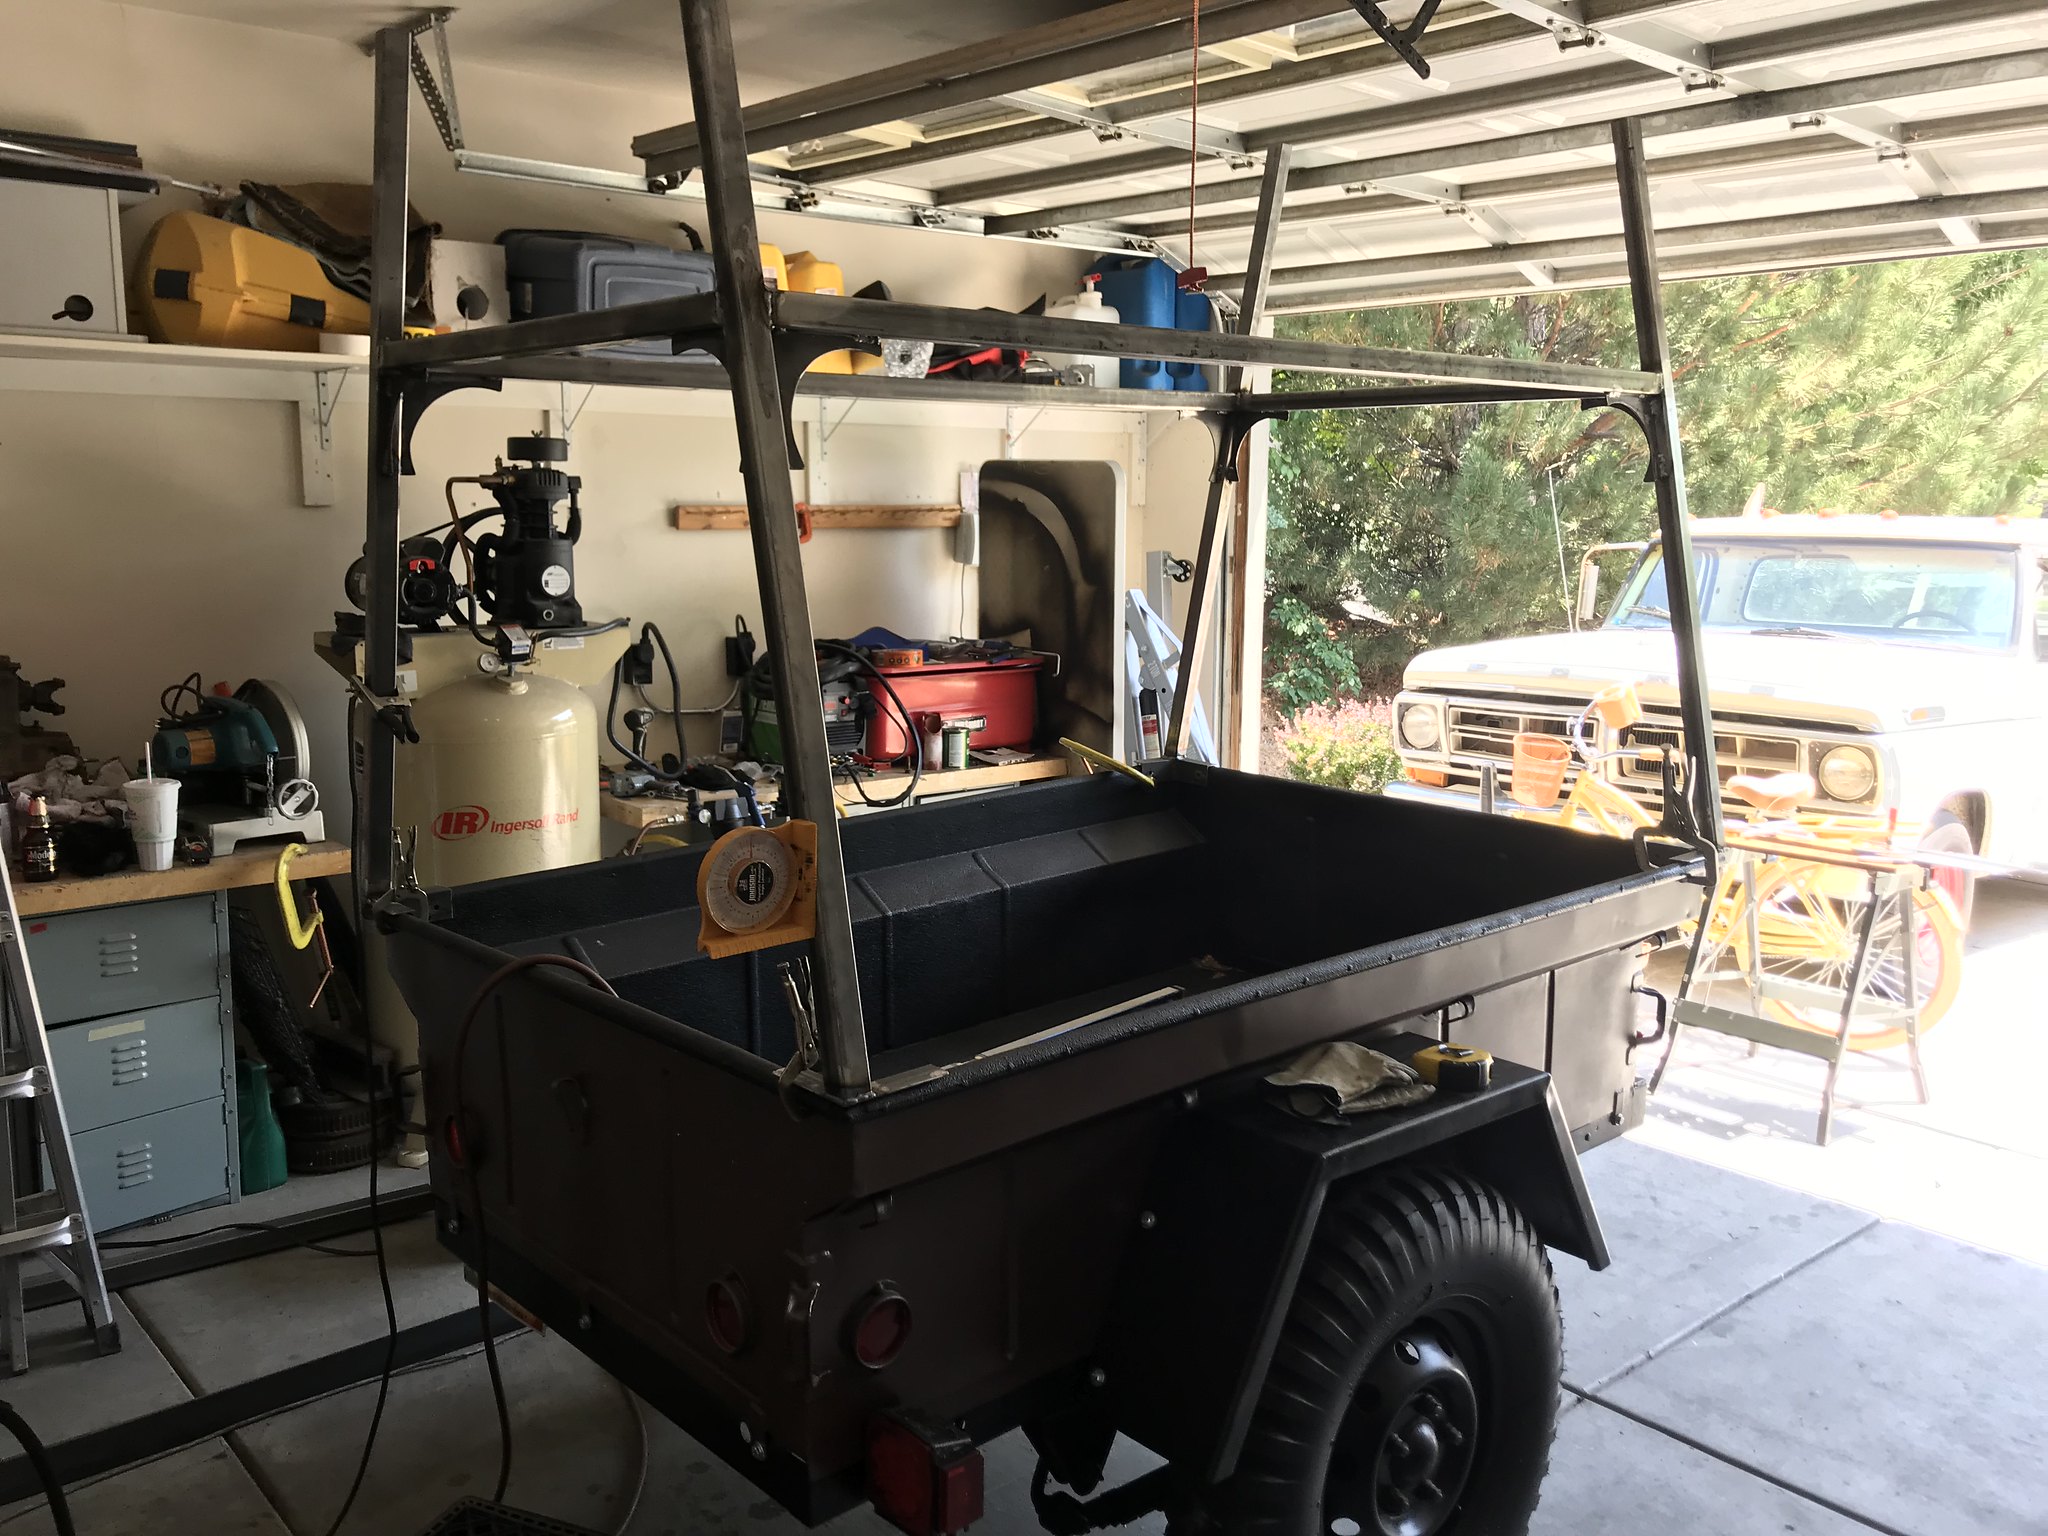 Untitled
 Untitled
 Untitled
 Untitled
 Untitled
 Untitled
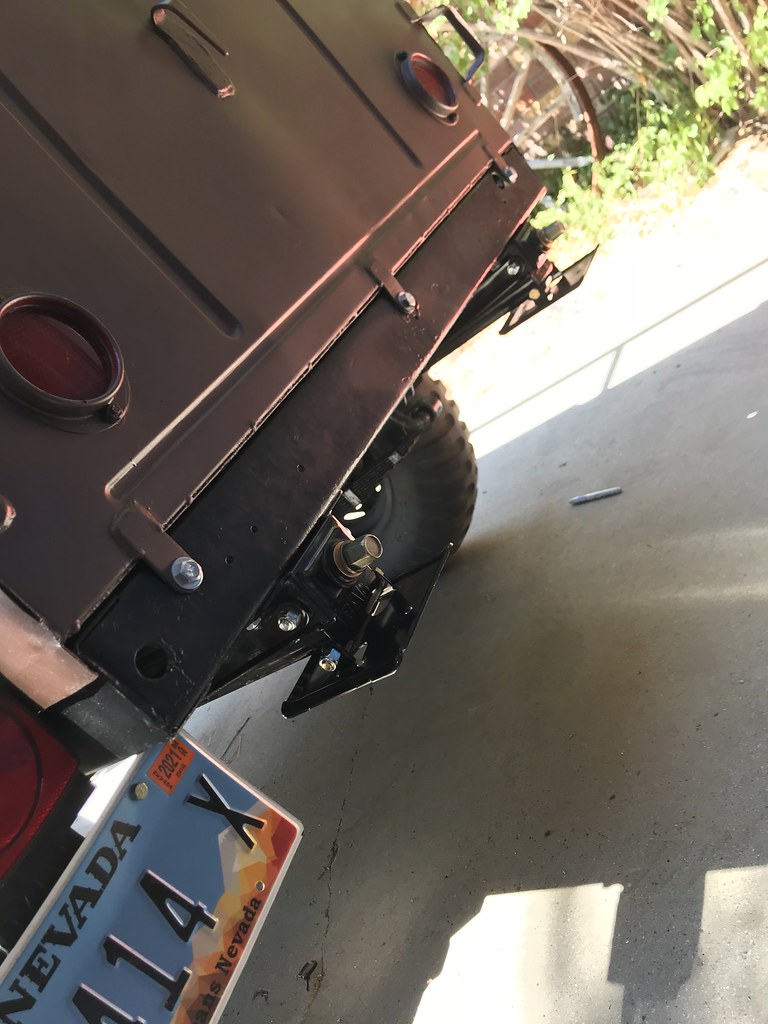 Untitled
 Untitled
 Untitled
 Untitled
 Untitled
 Untitled
 Untitled
 Untitled
 Untitled