Enthusiast III
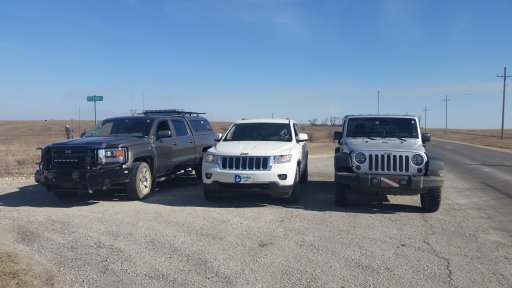
Hey all! Noobie to OB here, excited to get moving. I'll post continued updates to my thread as my build progresses. I like to call my truck my Swiss Army Knife. I'm fortunate to not drive this as a daily due to my job, though away from work this is my DD, it also serves as a registered emergency vehicle in my county for fire/rescue incidents and last but not least, it's taking new shape as what I hope to be a capable overland rig.
I will say this, due to some responses I've had in the past - the emergency equipment you see on my vehicle is 100% legal at my agencies, in my county and in Kansas. Some comments I've received from YouTube viewers abroad is that I can't have red/blue lights and sirens, that is simply false. Just bear in mind for your location it very well may be illegal, or perhaps you are involved in fire/rescue/EMS/LE and colors I use are not used in your area - also possible. Rest assured my vehicle is in fact legal and all equipment installed is legal, approved by my Fire Chief's, Sheriff, Emergency Manager and County Commission.
Vehicle:
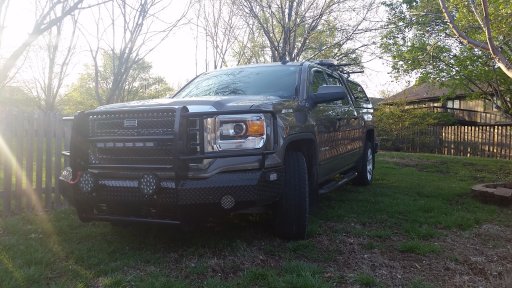
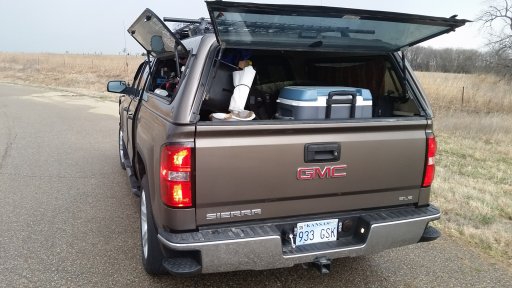
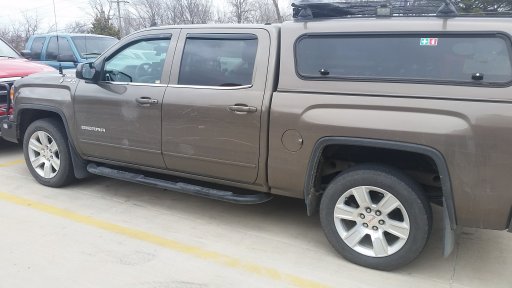
2015 GMC Sierra Z71 4x4 SLE, Quad Cab - Short bed
Current Equipment Additions/Mods:
Ranch Hand Full Bumper Replacement
Front 32" LED bar (triggered by high beams)
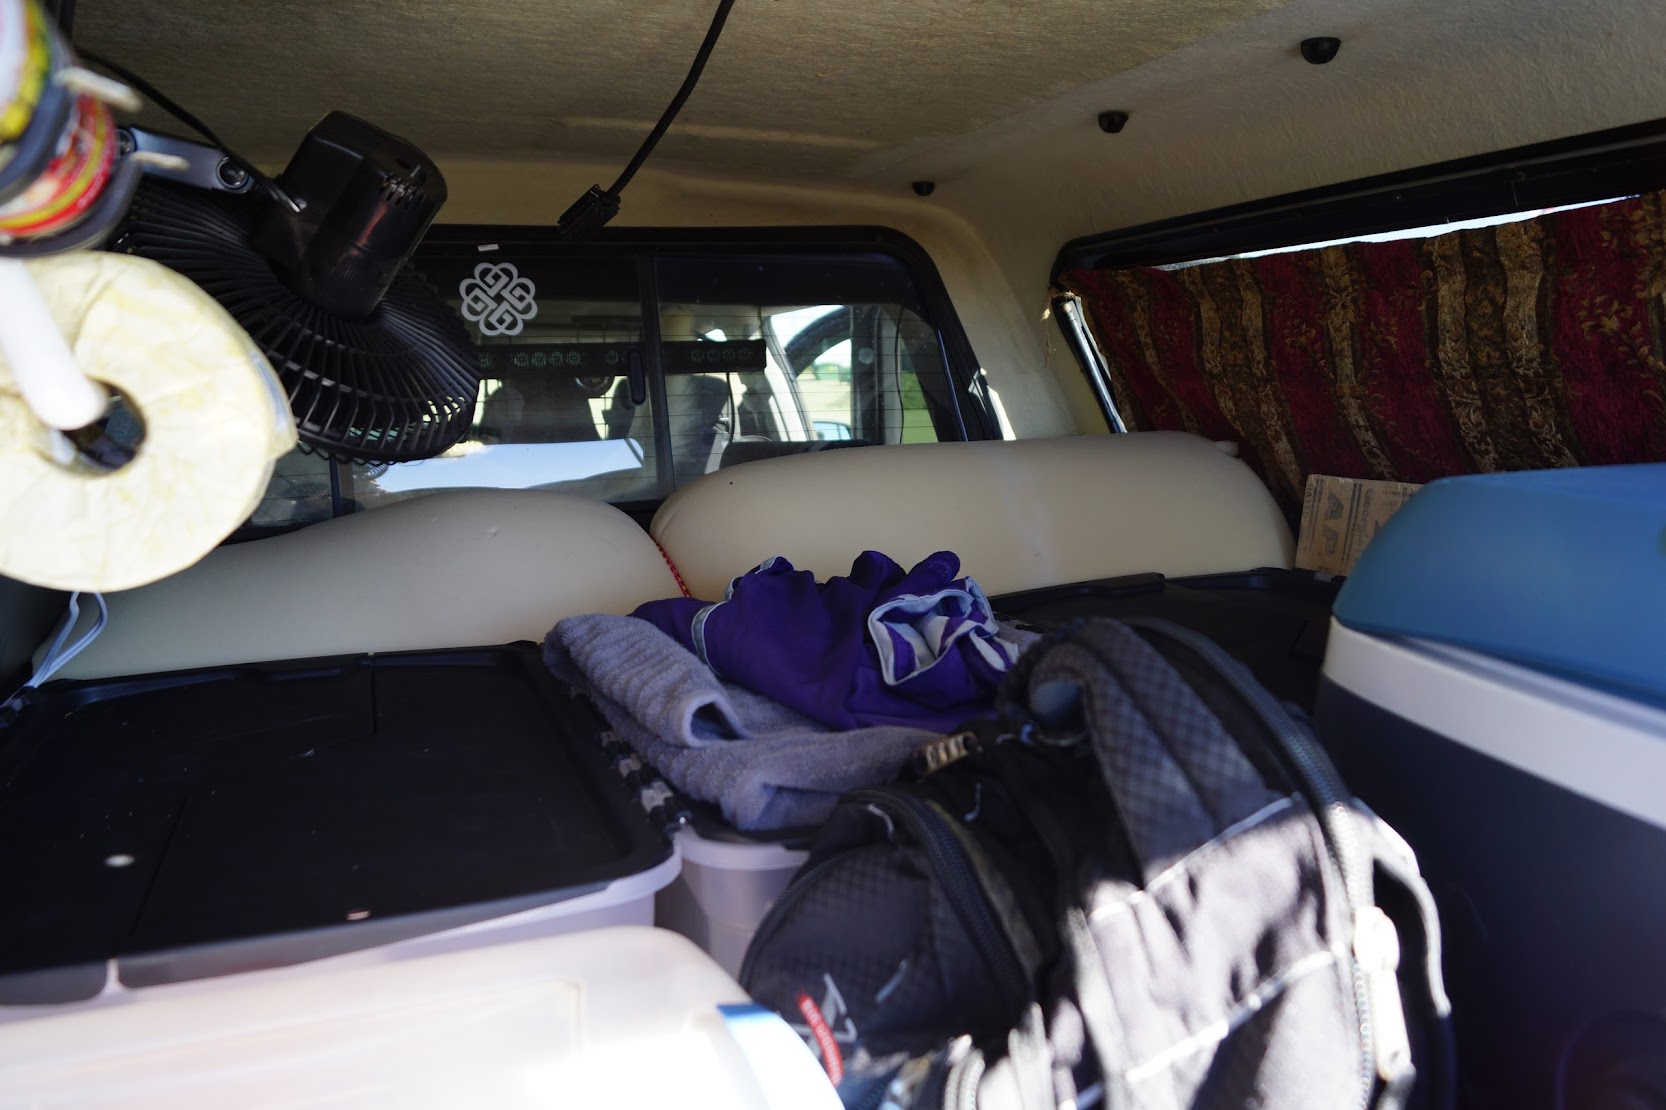
ATC Camper Shell with cargo rack
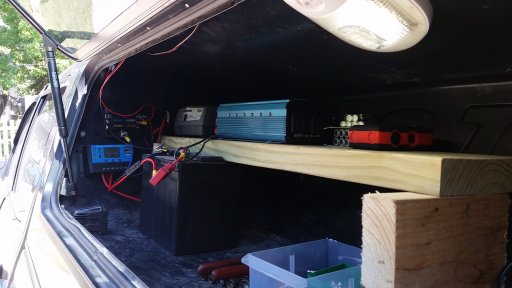
House Battery in Camper Shell
LED Interior lights in Camper Shell
12v Fan in Camper Shell
12v > 120v Inverter in Camper Shell
12v Charge Controller for House Battery
48" LED Bar on Camper Shell (triggered by high beams)
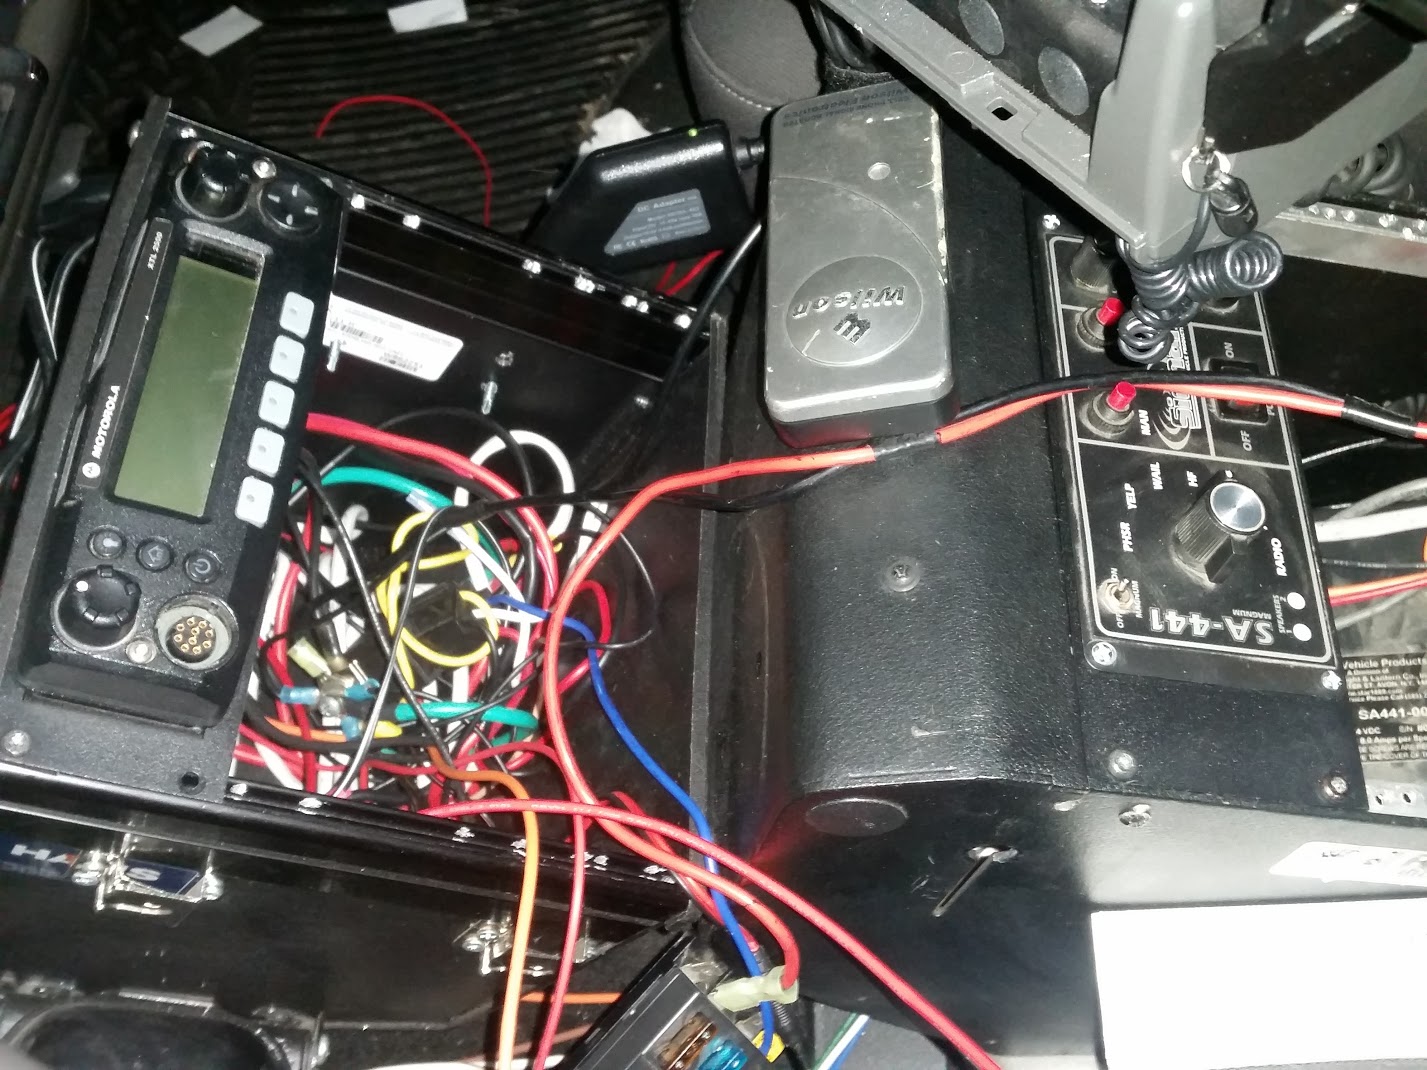
Motorola XTL 2500 P25 mobile (public safety comms)
Yeasu FT-7800 2m/440 mobile HAM
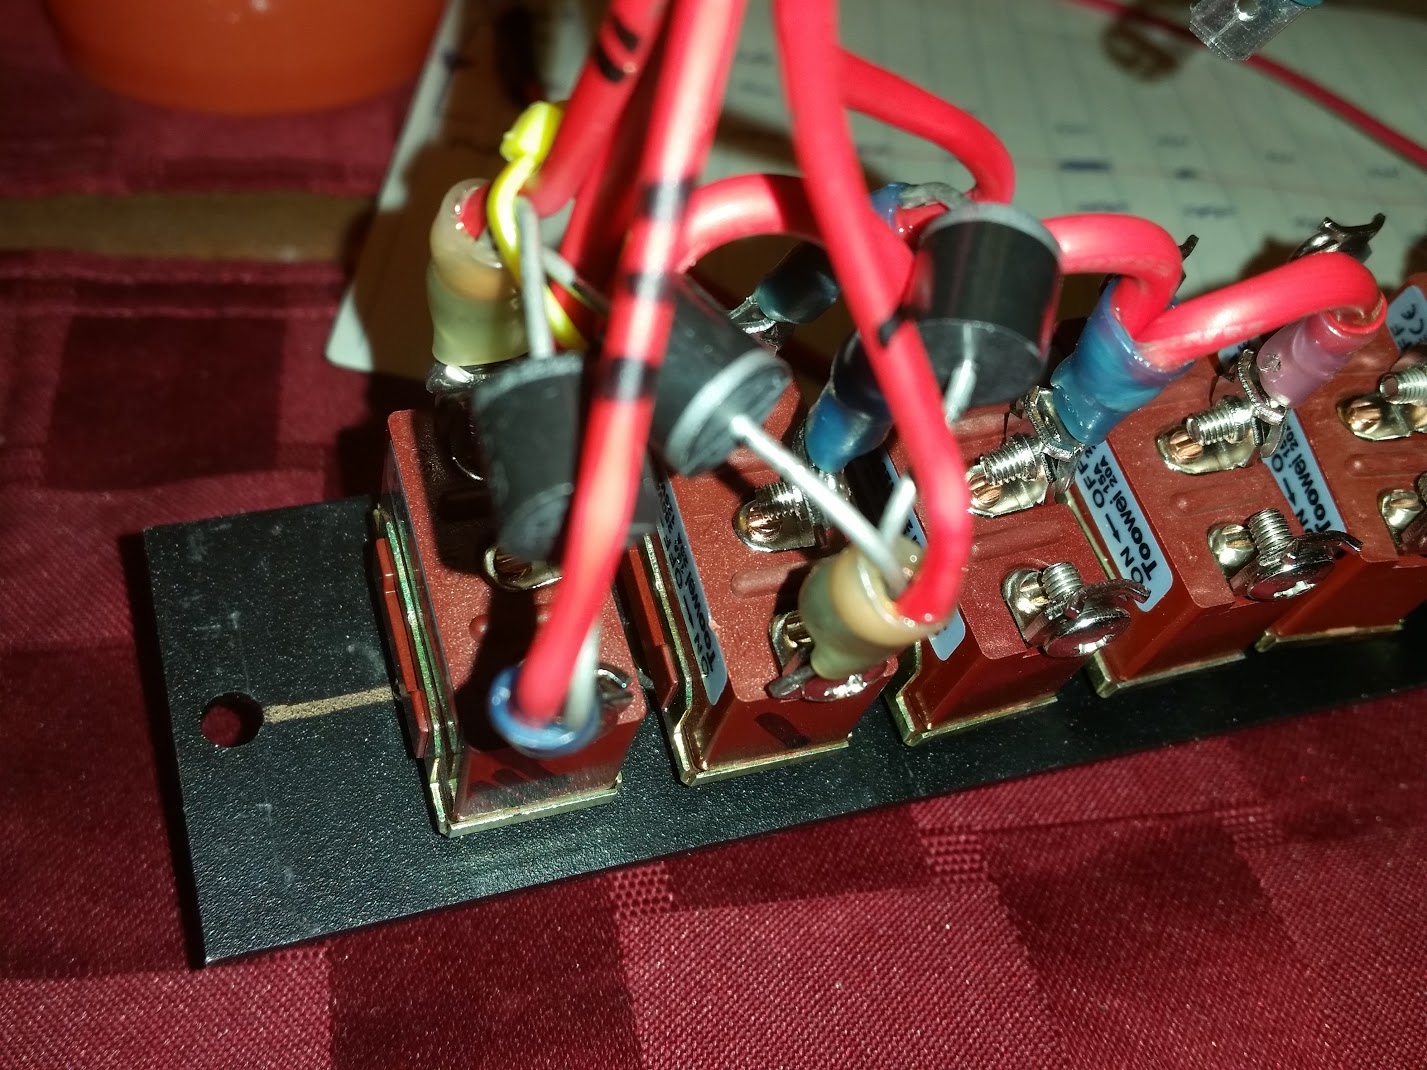
Federal Signal Interceptor Siren/Light Controller
Whelen Liberty Lightbar
Whelen Dominator
Garmin NUVI GPS
Dell XFR XT2 Rugged Laptop (navigation, radar, HAZMAT, fire pre-plans, etc.)
HD Dashcam
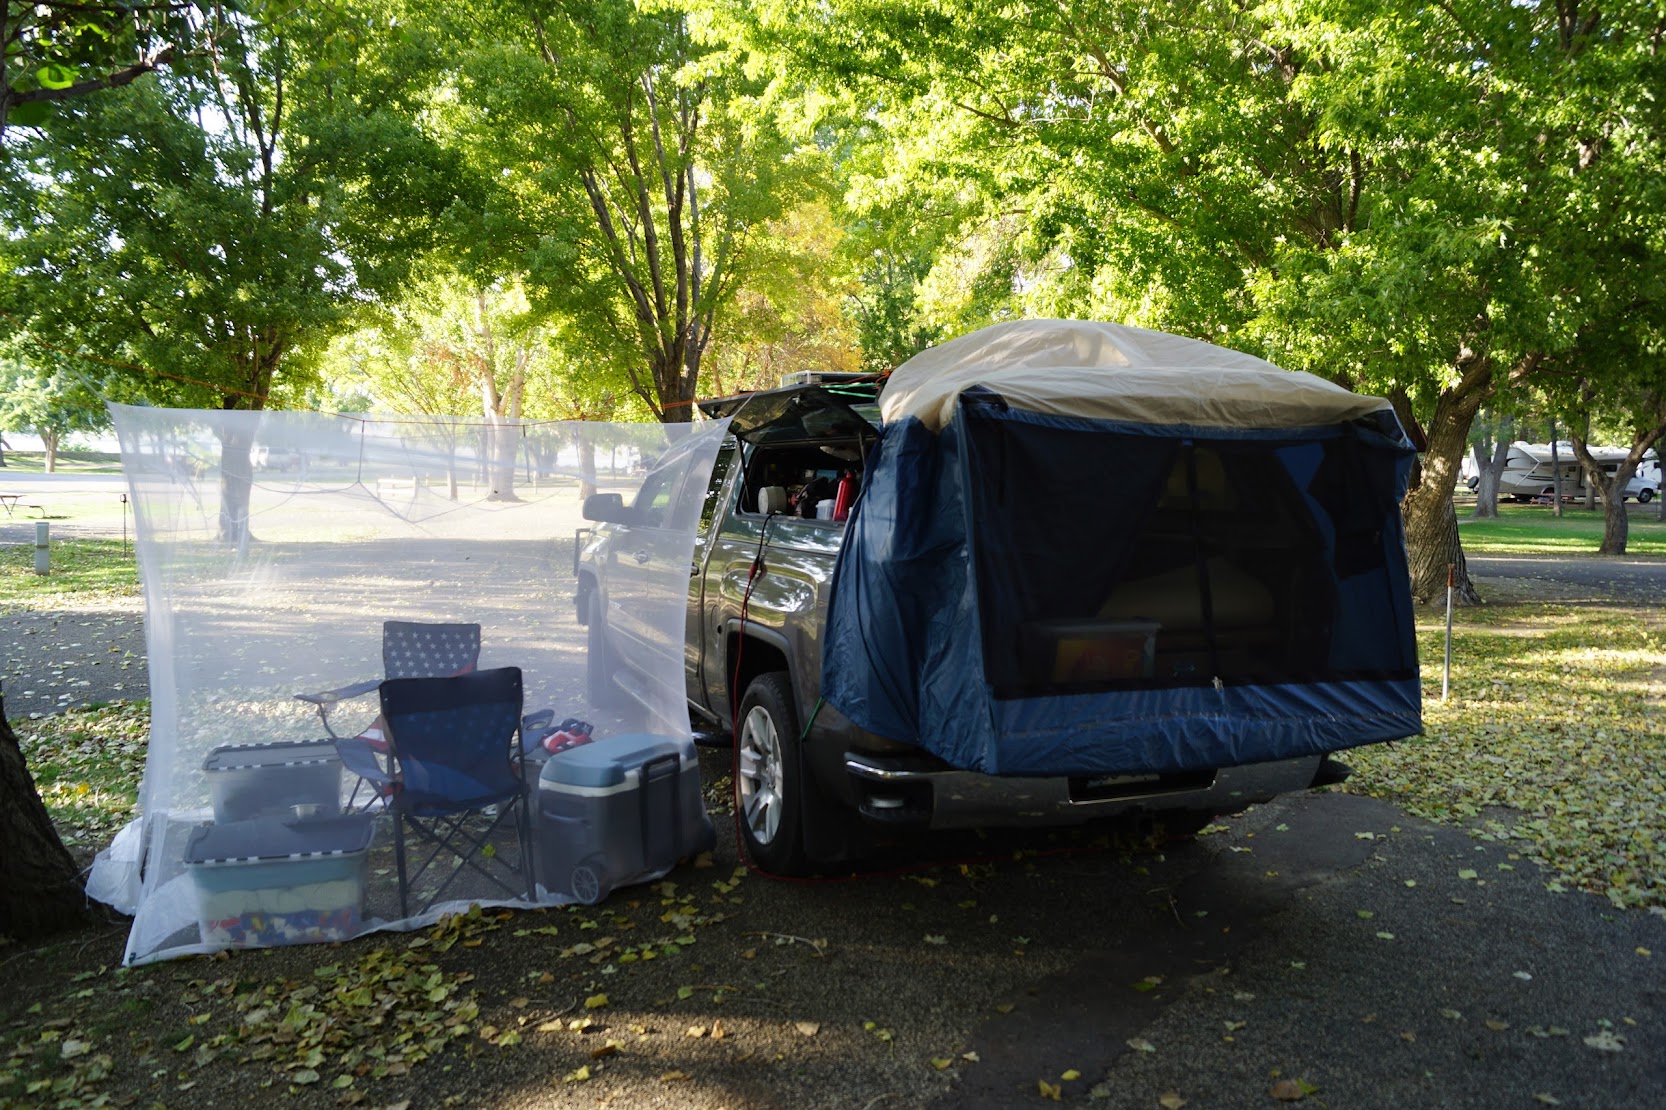
Camper Shell Tent (extends 'interior' space for camping)
Planned Items:
Paint Match ATC Camper Shell - DONE
Cobra CB Radio - DONE
Uniden P25 Scanner
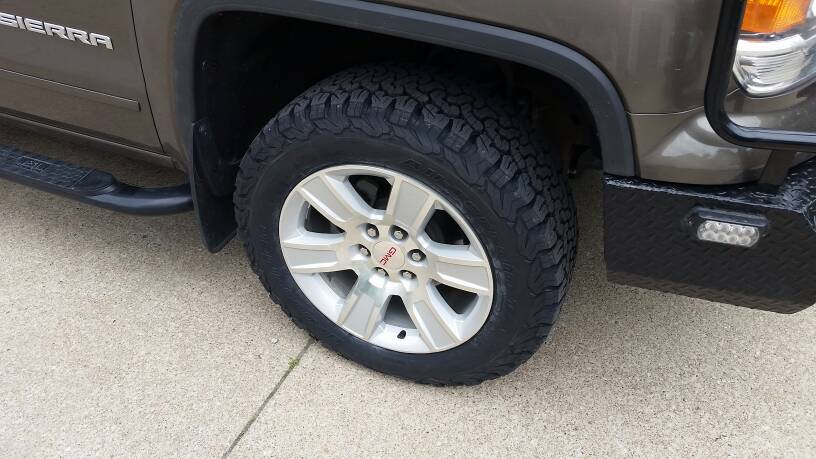
LT 10 ply tires
Fender Flares
Skid protection (in addition to OEM)
Front 2" Level
Rear Bumper Replacement
Front Bumper Hitch
Front Bumper Shackles - DONE (shackle)
LED Flood Lights on Camper Shell - DONE'ish
Secondary vehicle battery (third total)
Solar Panels on Camper Shell
Truck Roof Rack
As of today 12/1, my truck is in transition to add additional communications and a bit of revamping for lights/siren controls. I'm waiting on the camper shell to be painted to match the rest of the truck and I'll update my vehicle overview video. The one posted below is out of date and doesn't show any overland equipment, just an overview of emergency equipment. I'll post some still pictures from our first trip to South Dakota in September with the truck as well.
I will say this, due to some responses I've had in the past - the emergency equipment you see on my vehicle is 100% legal at my agencies, in my county and in Kansas. Some comments I've received from YouTube viewers abroad is that I can't have red/blue lights and sirens, that is simply false. Just bear in mind for your location it very well may be illegal, or perhaps you are involved in fire/rescue/EMS/LE and colors I use are not used in your area - also possible. Rest assured my vehicle is in fact legal and all equipment installed is legal, approved by my Fire Chief's, Sheriff, Emergency Manager and County Commission.
Vehicle:
2015 GMC Sierra Z71 4x4 SLE, Quad Cab - Short bed
Current Equipment Additions/Mods:
Ranch Hand Full Bumper Replacement
Front 32" LED bar (triggered by high beams)
ATC Camper Shell with cargo rack
House Battery in Camper Shell
LED Interior lights in Camper Shell
12v Fan in Camper Shell
12v > 120v Inverter in Camper Shell
12v Charge Controller for House Battery
48" LED Bar on Camper Shell (triggered by high beams)
Motorola XTL 2500 P25 mobile (public safety comms)
Yeasu FT-7800 2m/440 mobile HAM
Federal Signal Interceptor Siren/Light Controller
Whelen Liberty Lightbar
Whelen Dominator
Garmin NUVI GPS
Dell XFR XT2 Rugged Laptop (navigation, radar, HAZMAT, fire pre-plans, etc.)
HD Dashcam
Camper Shell Tent (extends 'interior' space for camping)
Planned Items:
Paint Match ATC Camper Shell - DONE
Cobra CB Radio - DONE
Uniden P25 Scanner
LT 10 ply tires
Fender Flares
Skid protection (in addition to OEM)
Front 2" Level
Rear Bumper Replacement
Front Bumper Hitch
Front Bumper Shackles - DONE (shackle)
LED Flood Lights on Camper Shell - DONE'ish
Secondary vehicle battery (third total)
Solar Panels on Camper Shell
Truck Roof Rack
As of today 12/1, my truck is in transition to add additional communications and a bit of revamping for lights/siren controls. I'm waiting on the camper shell to be painted to match the rest of the truck and I'll update my vehicle overview video. The one posted below is out of date and doesn't show any overland equipment, just an overview of emergency equipment. I'll post some still pictures from our first trip to South Dakota in September with the truck as well.
Last edited: