I finally broke down and bought a Jeep. Not that I have anything against Jeeps per se, I just love my Tundra to bits.
I’d spent a few years working on building my 2013 Toyota Tundra (See Clifford build thread in signature) but now I’m starting to want to do some more off-roading than just overlanding. I find that I love the truck for long distances and camping. Especially with the family. When we all go, I need the space. But for just me to explore some trails the truck can be a little… Large.
I bit the bullet and started planning on something smaller. Something a little older that I won’t feel too bad dragging through the trees. Something with a shorter, narrower wheel base that can get me through tough spots and is as off-road capable as I can get without sacrificing the on road too much. In this country, it takes a few hours of driving just to get close to where I want to explore.
In my research, I looked at 4runners, Land Cruisers, and even land cruisers but the price or availability was prohibitive. Finally, I looked for Jeeps. I love a Jeep Cherokee XJ, but the options around here appeared limited. I watched ads for a while without a suitable one popping up. My interests were in the sub 200,000km market and as stock as possible.
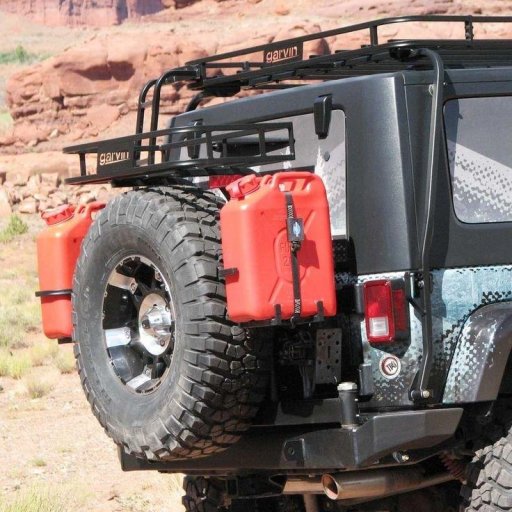
I also wanted the aftermarket support that the Wranglers have. I think the XJ has good support, but the Wrangler has far more. After watching the ads for a few months figuring out what I wanted, the unicorn I was after was a 04 to 06 TJ Unlimited Rubicon (LJ)… As I saw the odd Rubicon come and go, the pricing was to me anyways, high and none of them were an LJ…
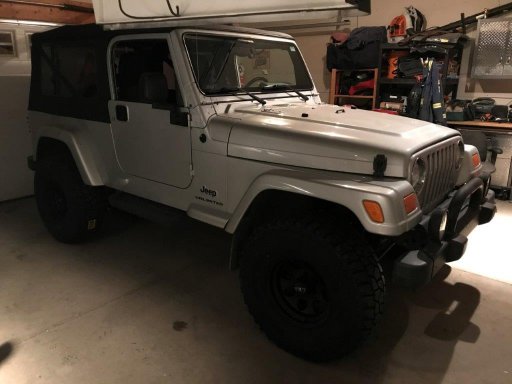
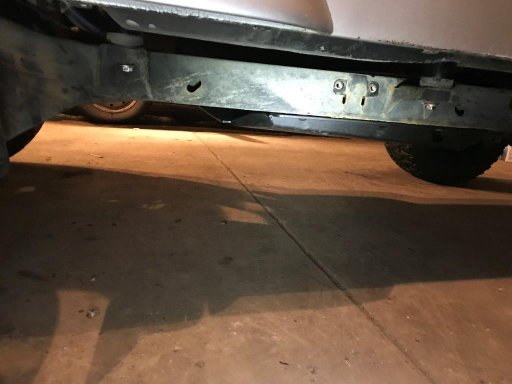
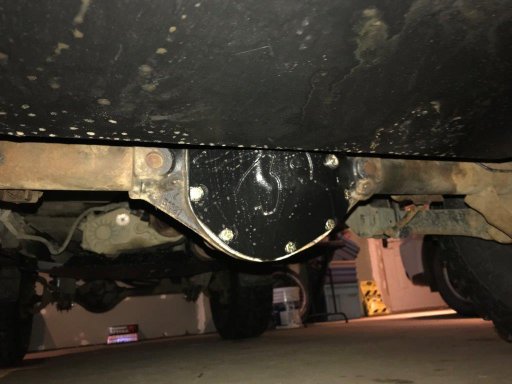
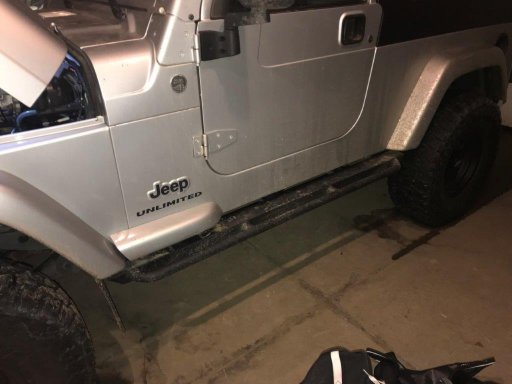
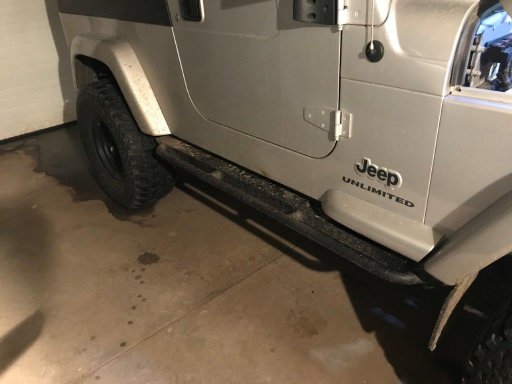
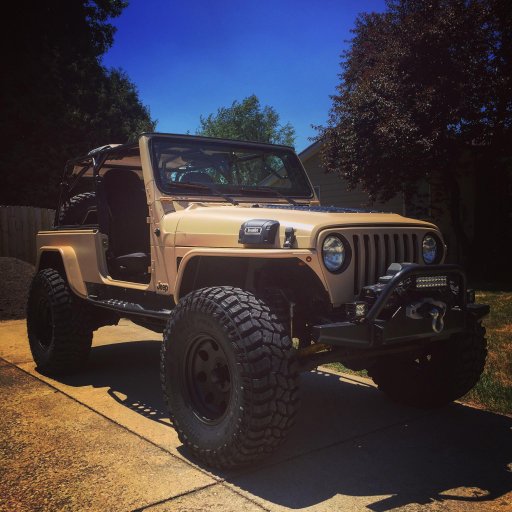
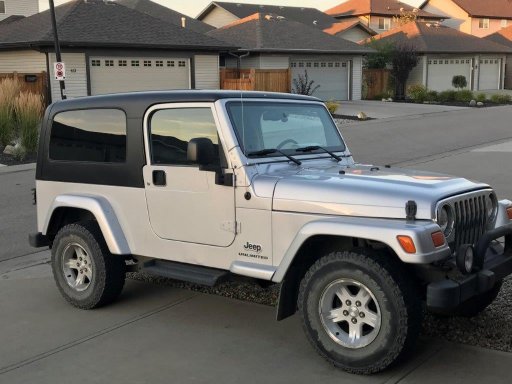
To make a long story short (if that boat hasn’t sailed). Eventually this baby came up. A 2005 Jeep TJ Unlimited. Not a Rubicon, but at 165,000km (102,000 miles give or take), 6spd manual, good condition, stock (mostly), it checked the most boxes so I jumped on it.
[
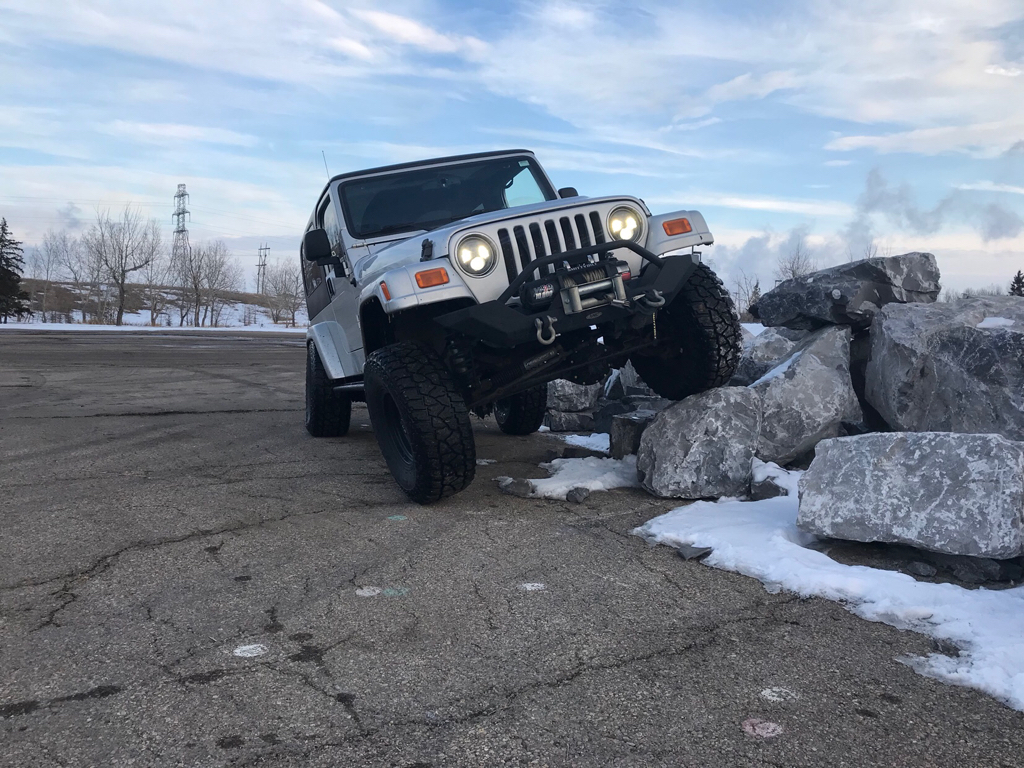
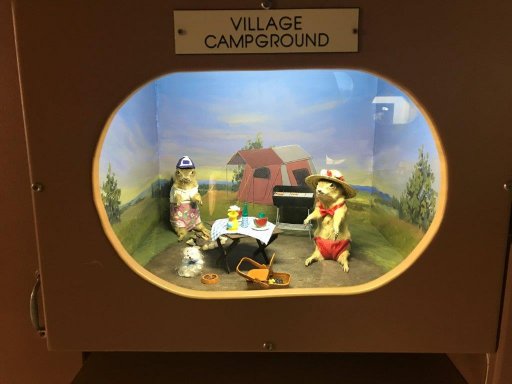
Quick trip south to Torrington, AB to wheel a private deal… Also, if you’ve never been to Torrington, they have a world famous museum. The Torrington Gopher Museum. It’s worth the trip for sure. Lol
I’d spent a few years working on building my 2013 Toyota Tundra (See Clifford build thread in signature) but now I’m starting to want to do some more off-roading than just overlanding. I find that I love the truck for long distances and camping. Especially with the family. When we all go, I need the space. But for just me to explore some trails the truck can be a little… Large.
I bit the bullet and started planning on something smaller. Something a little older that I won’t feel too bad dragging through the trees. Something with a shorter, narrower wheel base that can get me through tough spots and is as off-road capable as I can get without sacrificing the on road too much. In this country, it takes a few hours of driving just to get close to where I want to explore.
In my research, I looked at 4runners, Land Cruisers, and even land cruisers but the price or availability was prohibitive. Finally, I looked for Jeeps. I love a Jeep Cherokee XJ, but the options around here appeared limited. I watched ads for a while without a suitable one popping up. My interests were in the sub 200,000km market and as stock as possible.
I also wanted the aftermarket support that the Wranglers have. I think the XJ has good support, but the Wrangler has far more. After watching the ads for a few months figuring out what I wanted, the unicorn I was after was a 04 to 06 TJ Unlimited Rubicon (LJ)… As I saw the odd Rubicon come and go, the pricing was to me anyways, high and none of them were an LJ…
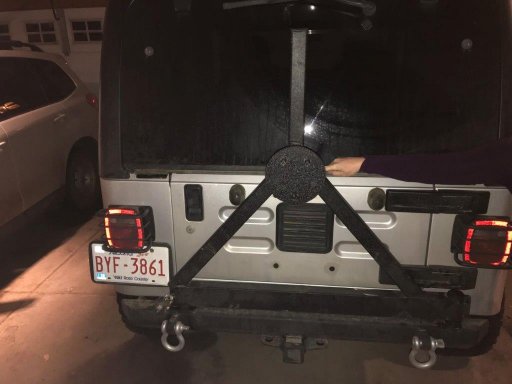
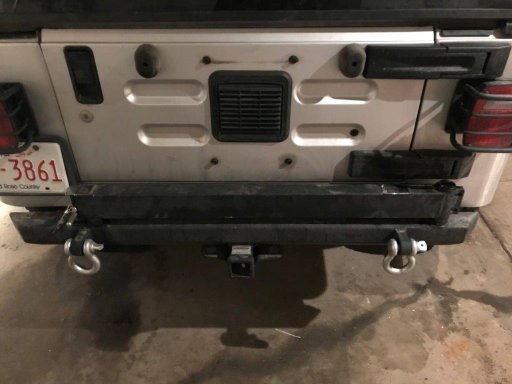
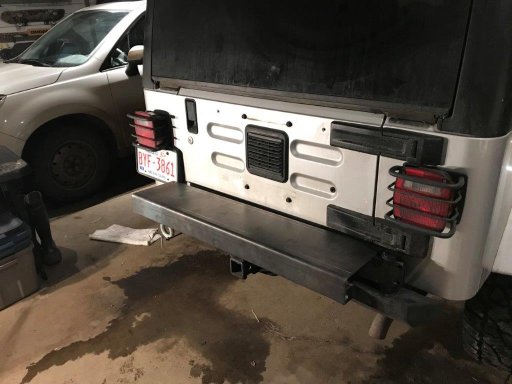
To make a long story short (if that boat hasn’t sailed). Eventually this baby came up. A 2005 Jeep TJ Unlimited. Not a Rubicon, but at 165,000km (102,000 miles give or take), 6spd manual, good condition, stock (mostly), it checked the most boxes so I jumped on it.
[
Quick trip south to Torrington, AB to wheel a private deal… Also, if you’ve never been to Torrington, they have a world famous museum. The Torrington Gopher Museum. It’s worth the trip for sure. Lol
Last edited: