2003 LandRover Discovery 2 TD5 OverlandBuild

  • HTML tutorial

RondjeAarde

Rank IV
Launch Member

Advocate III

1,059
Usquert, Netherlands
First Name
Merijn
Last Name
Boers
Member #

18539

Hey everyone!!
We are two guys from The Netherlands.
After having been busy with our rig for a while, we opened a forum for this build.
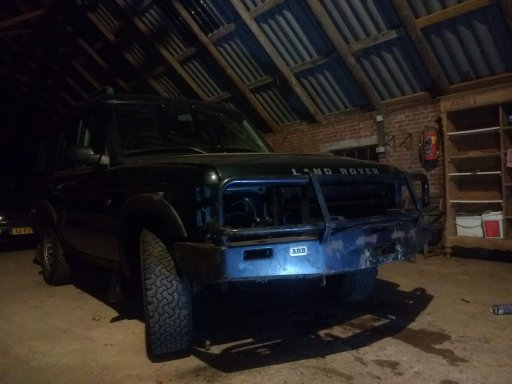
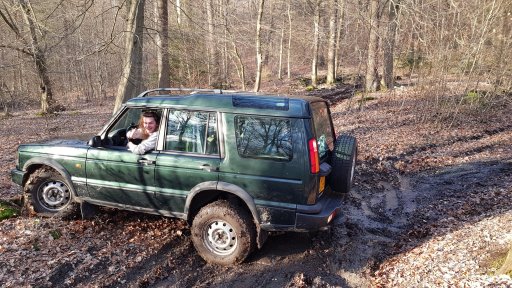
We bought a LandRover Discovery 2, 6 months ago to make a big trip from The Netherlands to Mongolia (are going to start a separate forum here)
In short, we plan to make a round trip for 6 months.
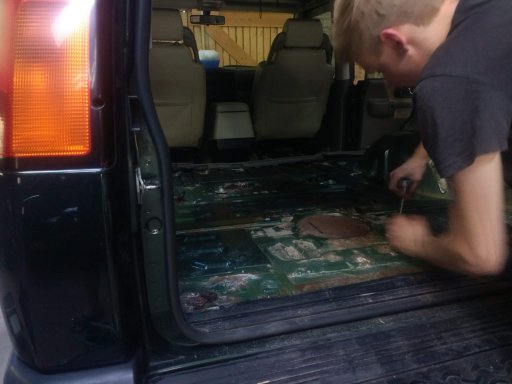
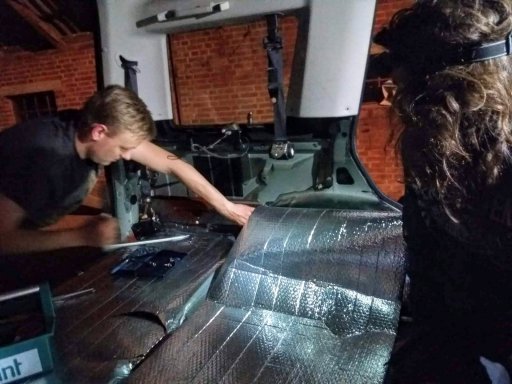
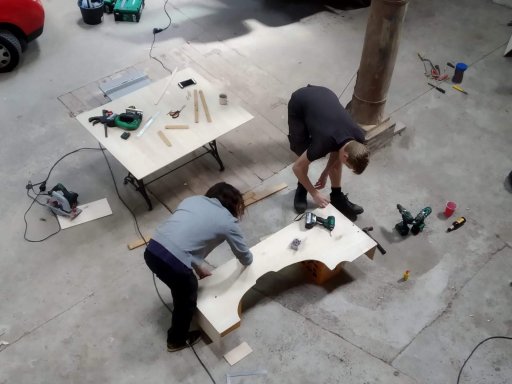
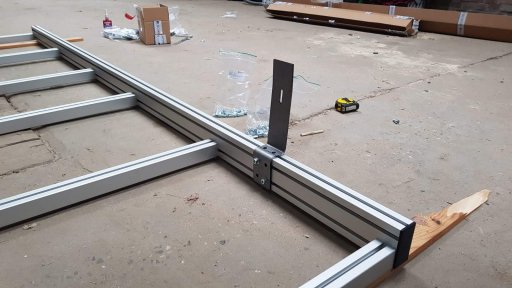
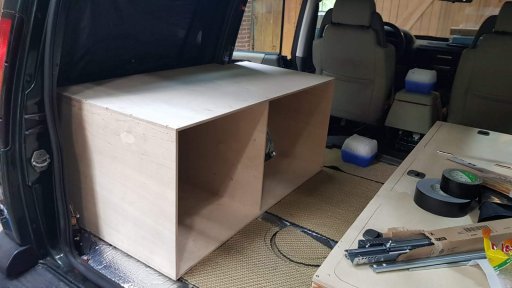
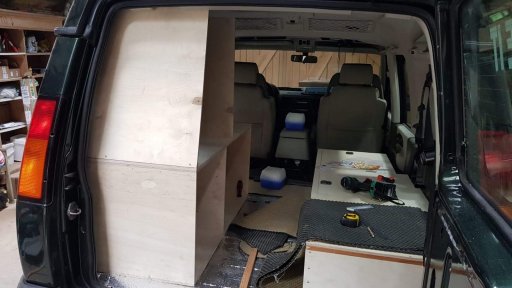
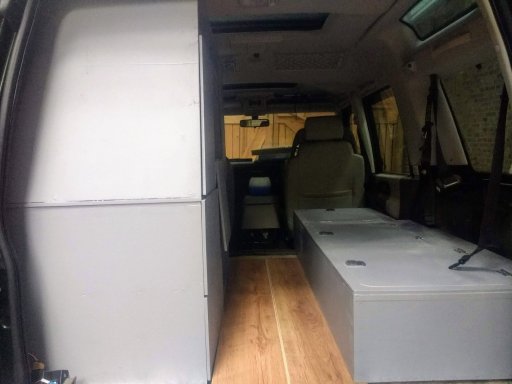
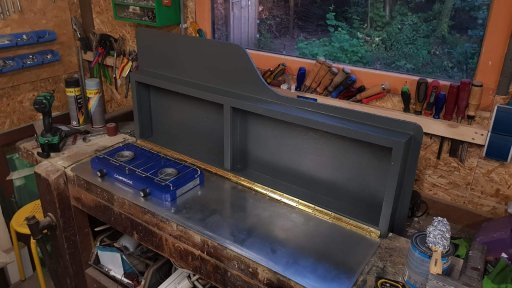
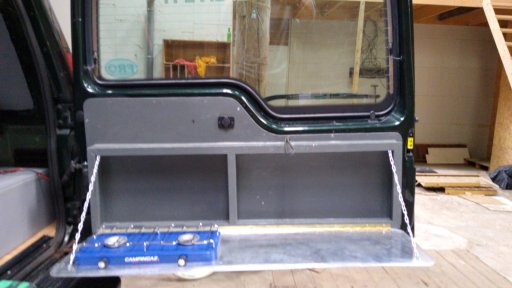
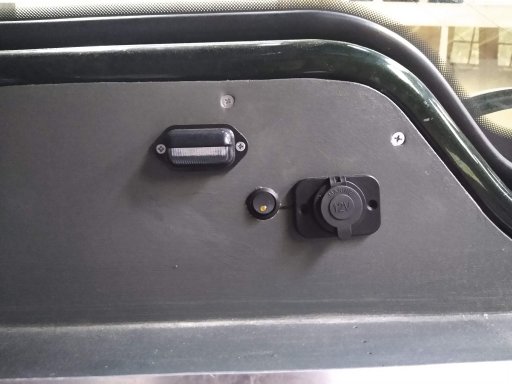
Because we have been working for some time on making the rig a good reliable overland rig, I will slowly add some things to this forum.
Questions and comments are always welcome.

The day after we bought the Land Rover, we drove to Germany. To make a small trip. And to test the car.

20190319_172535.jpg

Leon & Merijn
RondjeAarde
 

RondjeAarde

Rank IV
Launch Member

Advocate III

1,059
Usquert, Netherlands
First Name
Merijn
Last Name
Boers
Member #

18539

We removed everything in it. And have insulated everything. We have also treated all the rust. And have removed the rust spots and painted it.

IMG_20190419_175730692.jpgIMG-20190427-WA0016.jpgIMG-20190507-WA0000.jpeg
 
  • Like
Reactions: Laurensvh

RondjeAarde

Rank IV
Launch Member

Advocate III

1,059
Usquert, Netherlands
First Name
Merijn
Last Name
Boers
Member #

18539

We have started building the interior. We would like to have a bench and sufficient storage space. That is why we ultimately opted for this design.
The evenings that we were building together were often accompanied by a tasty snack as you can see.

We finished the bench.IMG_20190510_152922326.jpgIMG-20190511-WA0007.jpgIMG-20190526-WA0000.jpg
 
  • Like
Reactions: Laurensvh

RondjeAarde

Rank IV
Launch Member

Advocate III

1,059
Usquert, Netherlands
First Name
Merijn
Last Name
Boers
Member #

18539

Removed both windows. On the left side we want to build an hatch. Behind that hatch we want our recovery gear, tools and we are going to fit our compressor.
We want to attach two fuel tanks on the right.
IMG-20190608-WA0014.jpg
 
Last edited:

RondjeAarde

Rank IV
Launch Member

Advocate III

1,059
Usquert, Netherlands
First Name
Merijn
Last Name
Boers
Member #

18539

Build the second box. Had to be measured a lot. But in the end it all fit. We can fix the interior through the bolt holes that were already in the body of the car.IMG-20190621-WA0036.jpgIMG-20190622-WA0011.jpgIMG-20190622-WA0016.jpg
 
  • Like
Reactions: Laurensvh

RondjeAarde

Rank IV
Launch Member

Advocate III

1,059
Usquert, Netherlands
First Name
Merijn
Last Name
Boers
Member #

18539

Everything given a gray color.

We also tested the floor. We have decided to go for this. (not yet neatly finished here)
And that looks like this:IMG_20190713_171007143.jpg
IMG_20190709_212502160.jpg
 
  • Like
Reactions: Laurensvh

RondjeAarde

Rank IV
Launch Member

Advocate III

1,059
Usquert, Netherlands
First Name
Merijn
Last Name
Boers
Member #

18539

Started to make the hatch. This will be at the place where we (earlier on a photo) have taken out the side window.
On the other hand, a steel plate will be placed on which our jerry cans will hang.


IMG-20190706-WA0002.jpg


We are still looking for a way to make it waterproof and burglar proof.

The edges are already waterproof. Only the hatch itself. We already have a rubber between them. But we do not know if this would be sufficient.

IMG_20190915_155950303.jpg
 

systemdelete

Rank V
Launch Member

Pathfinder I

1,798
Nashville, TN
First Name
Erik
Last Name
Rumbaugh
Member #

13761

Jerry cans look good, mind posting a shot of the mounts without the cans? Trying to see how they hold the weight actual weight.
 

RondjeAarde

Rank IV
Launch Member

Advocate III

1,059
Usquert, Netherlands
First Name
Merijn
Last Name
Boers
Member #

18539

It soon became clear that we wanted to make the kitchen against the back door. After searching a lot of images on google came to this design. Wood against the door with a folding table. Our gas burner is attached to the table so that we do not have to remove it all the time.
We have also mounted a 12v socket and a small light.

IMG-20190721-WA0007.jpgIMG-20190725-WA0014.jpgWhatsApp Image 2019-09-03 at 14.06.30.jpegIMG_20190917_162647937.jpg