1988 ('06) E350 Van Build

  • HTML tutorial

Built By Fluffy

Rank IV
Launch Member

Builder II

1,221
California, USA
Member #

13163

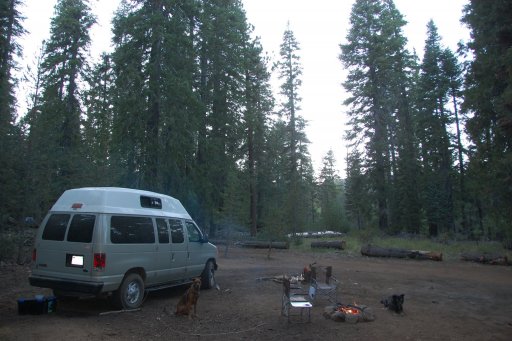
Ok, so starting the build thread!
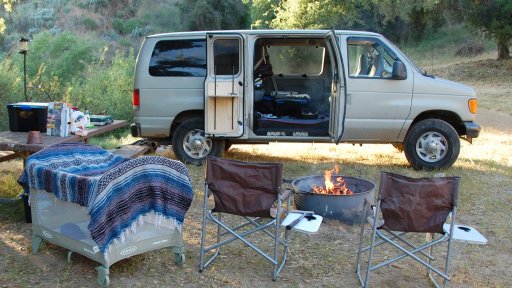
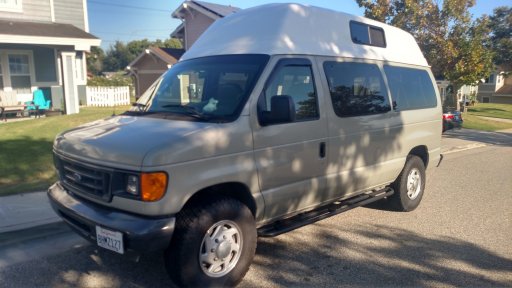
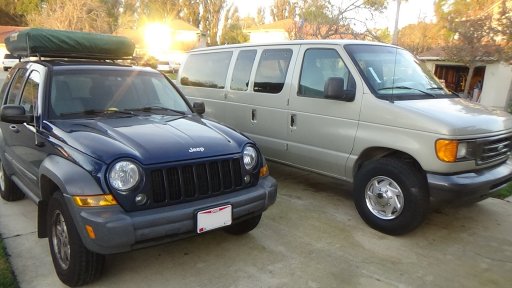
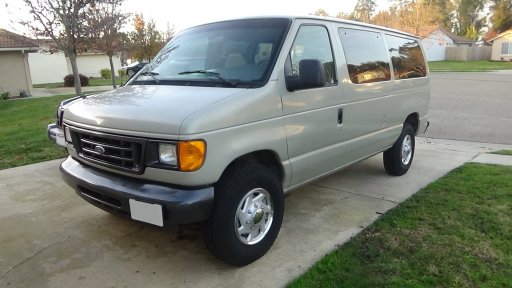
We have a ford van that is going to be our flagship family adventure wagon, replacing the late great Wagoneer.

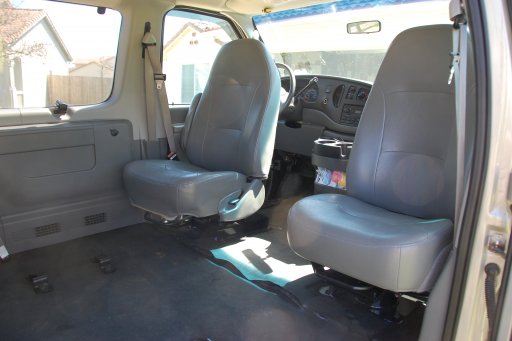
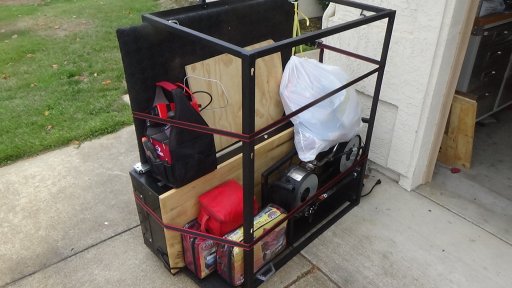
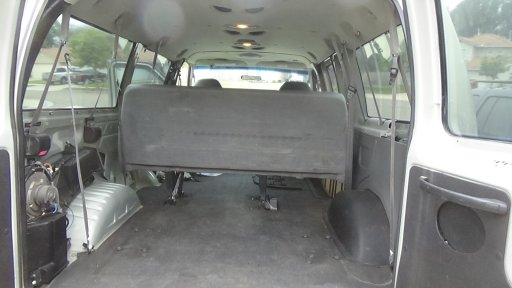
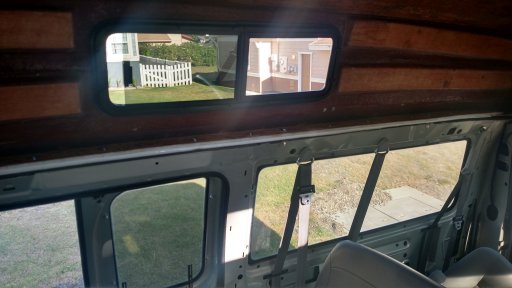
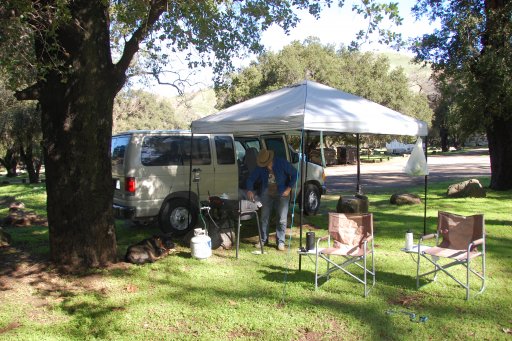
Essentially, it has a bed platform in the back and seating currently for 5. I'd like it to remain capable of carrying 4~5 passengers comfortably and still be a capable vehicle to camp out of.

Near term plans:
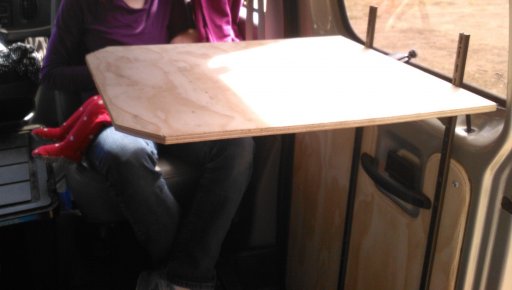
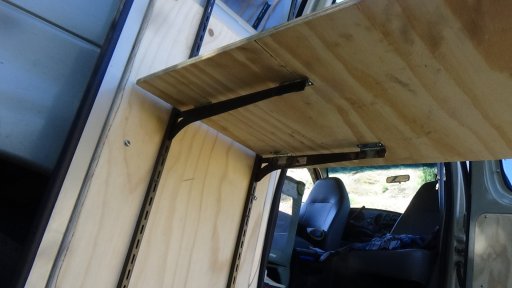
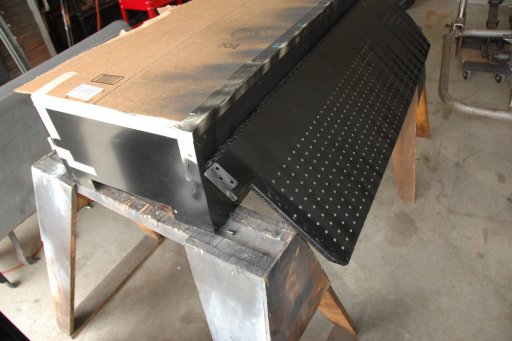
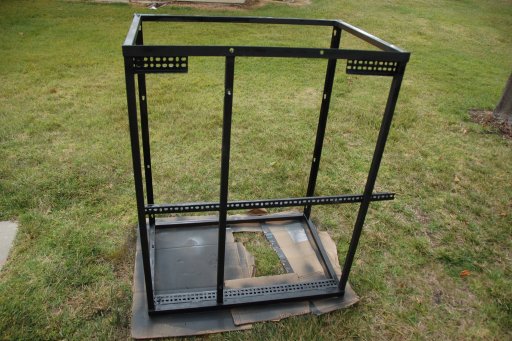
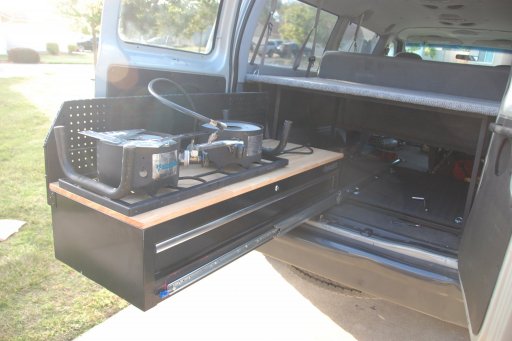
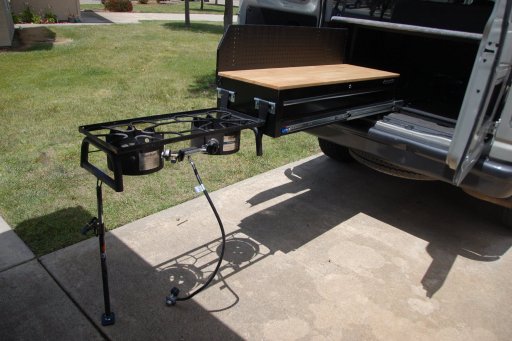
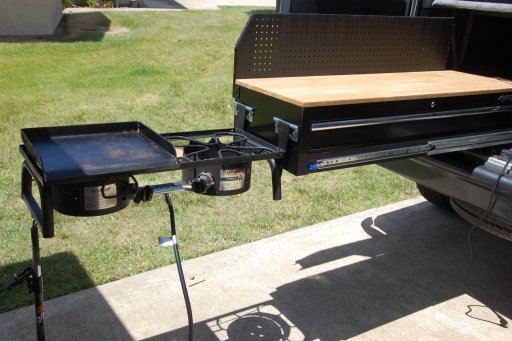
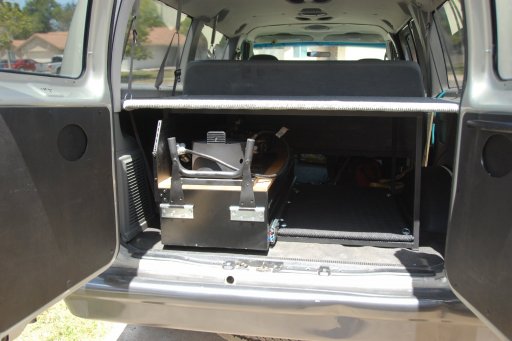
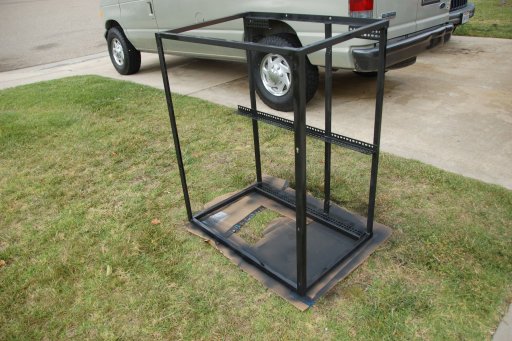
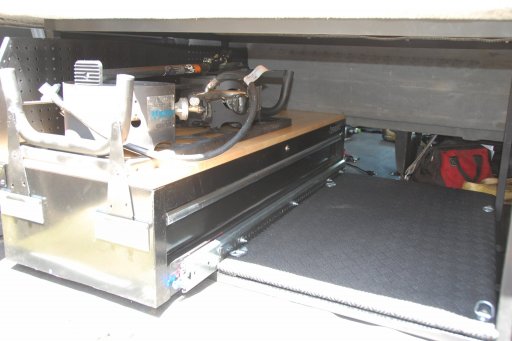
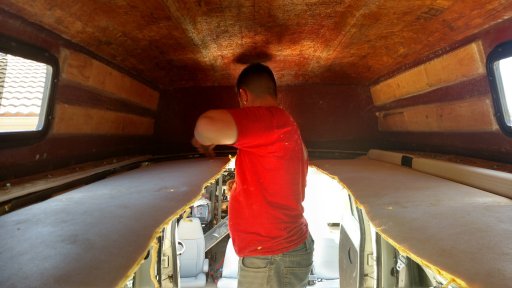
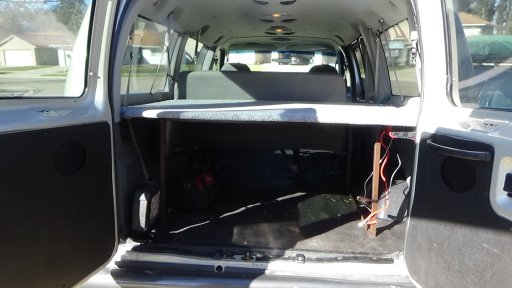
1) pull out kitchen and water storage in the rear
2) swivle front seats
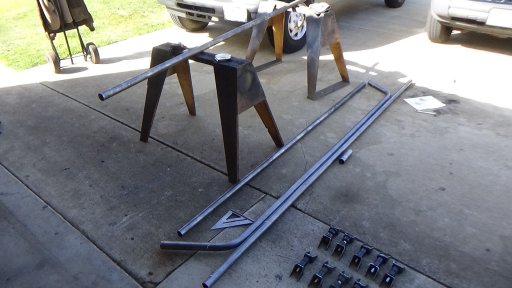
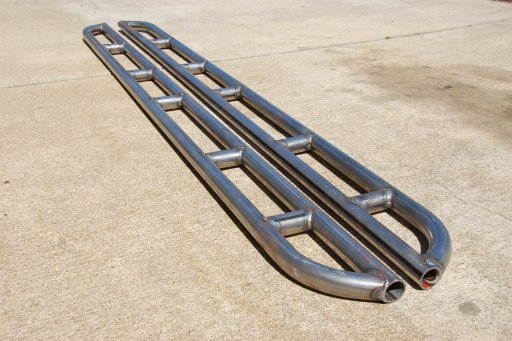
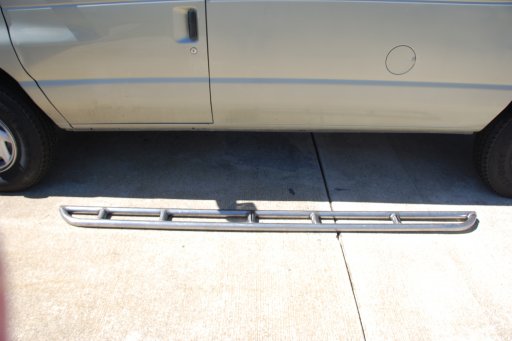
3) rock sliders and tube bumpers
4) general comfort and storage

Long term plans:
1) 4x4 conversion
2) some sort of bat-wing awning with walls
3) completely spray insulate under the plastic trim
4) integrated gasoline heater
5) house battery setup

I've seem plenty of these vans built into campers/small RVs before but they always seem to be built for two people. I'm excited to get cracking on a family van build!
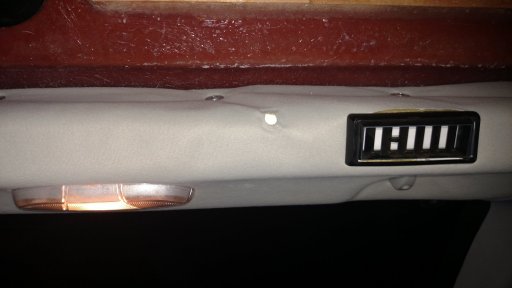
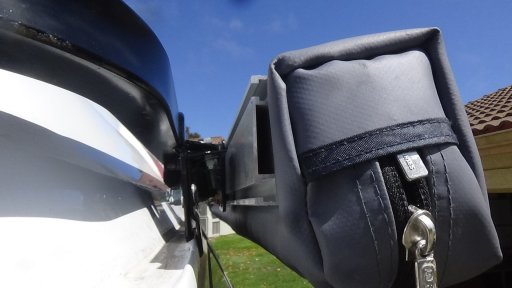
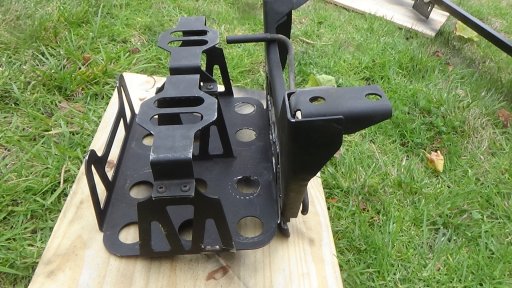
 

Attachments

S

SubeeBen

Guest
Nice looking van. Looks to be a fun project. Good luck with your build & keep us posted on your progress.
 
  • Like
Reactions: Built By Fluffy

Built By Fluffy

Rank IV
Launch Member

Builder II

1,221
California, USA
Member #

13163

Time permitting I'll have the rocksliders/sidesteps started this weekend, pics to come.

My Wife n I are still hashing out how best to build the galley. Right now I'm thinking a pullout/foldout kitchen in the rear under the platform. But on the flip side, when the weather is bad, it'd be nice to cook from inside the van.
 

Built By Fluffy

Rank IV
Launch Member

Builder II

1,221
California, USA
Member #

13163

The tubes are all bent and the brackets made, I just need to weld things together and the van will have bolt on rock sliders.

I'm using polyurethane bushings I had left over from a different build for the frame side connection points. I also have some diamond plate I'll use to make some side steps.
The dual battery box will also be be attached to these rock rails, just above them and between the body panel and the frame rail.
 

Attachments

Built By Fluffy

Rank IV
Launch Member

Builder II

1,221
California, USA
Member #

13163

Finally finished bending and welding the rock rails. Still need to attach them to the Van, hopefully I can get that done this weekend.
91408
As they are, I like them, but I might add some diamond grating to the top of them to make a proper stepping surface.

91409


We also installed the swivel seats, these things really opened up the interior!
91410
 

Built By Fluffy

Rank IV
Launch Member

Builder II

1,221
California, USA
Member #

13163

Door tables added, was very useful during our last camping trip

95888
Front position up high, when inside the van. Useful for meals, or anything else indoors.

95891
Here it's on the rear door, swung outward. It was great for outdoor cooking!
The adjustable shelf brackets are welded to simple cabinet hinges to allow them to fold flat to the table when not in use, makes it easier to store.

95893
Our van camp all set up. It worked out really nicely for this trip. Next we plan on making the pullout kitchen to simplify camp setup & storage as well as some fly netting for the door openings of the van
 

Built By Fluffy

Rank IV
Launch Member

Builder II

1,221
California, USA
Member #

13163

CAMP KITCHEN DONE!
It took two days longer than I had intended, but we got it done before our next big trip, so all's good.

Essentially my brother and I took a wood top tool cabinet, cut it in half and modified it to sit inside my already built bed platform in the back.
Here we are painting after we cut and re-welded the tool box
99270

Added the new bracketry to the bed frame and repainted it black
99272

Drawer slides bolted on and dual-burner stove mocked up
99273

Hinges and ratcheting pole welded to the stove, and... Final assembly!
99275
99278

Here is is, folded and stowed away
99280

Still some rough edged to iron out, but all in all the camp kitchen turned out exactly the way I wanted it. Should be really useful in setting up and packing up camp faster.
 

Attachments

dj_mccomas

Rank V
Launch Member

Member III

2,268
Louisville, KY
First Name
DJ
Last Name
McComas
Member #

4527

Awesome work man, going to follow along. My wife and I strongly considered a van build, but didn't feel a 3rd vehicle was ideal for the amount of time we would have to use it. I love a good campervan though!
 

Built By Fluffy

Rank IV
Launch Member

Builder II

1,221
California, USA
Member #

13163

Starting the interior tear down for a major mod:

DSC00240.JPG
Camp kitchen comes out in one nice package, almost like I designed it that way!

DSC00238.JPG
Driver's side plastic all removed, still have the passenger's side, roof lining, and AC unit to take out

DSC00237.JPG
My CJ-5 graciously acting as storage for the interior van parts...
I'm sure she doesn't take the new project as signs of her abandonment (I swear it's temporary)
 
  • Like
Reactions: 64Trvlr

Built By Fluffy

Rank IV
Launch Member

Builder II

1,221
California, USA
Member #

13163

AND ITS DONE!!!

Kinda... Still some rough edges to smooth but the biggest mod for a while is installed and awesome, a Fiberine24" top!
IMG_20190823_172014577_HDR.jpg

The glorious standing room
IMG_20190823_172106668_HDR.jpg

Modifying the former headliner to cover the edges and jerryrigging new A/C ducting using plastic rain gutter drains and an old license plate. Actually worked out rather well.
IMG_20190825_132851421_HDR.jpg

The finished product :D
IMG_20190827_195509509.jpg

IMG_20190827_195528538.jpg

These vents are actually from my old Wagoneer, I kept it's A/C unit
IMG_20190827_195540391.jpg

This will be the bulk of it for now, I want to focus on saving up and preparing for the rest of the 4x4 conversion.
I'll be re-gearing and adding a Trutrac to the Dana 60 we have, and collecting all I need to do a Sterling 10.5 swap in the rear (a later model with a factory E-locker)

I should be able to do the install of the UJOR kit and axles myself but I'll likely farm out the transmission and t-case work. Hopefully by January~February we'll have a working 4wd van.
 

Built By Fluffy

Rank IV
Launch Member

Builder II

1,221
California, USA
Member #

13163

Obligatory test camp-out immediately after installing the top:
DSC_0211.JPG

This test run was great in highlighting things I need to fix/modify about our current set-up, namely: water storage, bug netting, awning mounts, and possibly a fan. So those will be near-term updates while I get ready for the 4x4 conversion, which we discovered we really needed on this trip (got stuck further down this trail before we turned around and came back to this site)
 
  • Like
Reactions: MazeVX and 64Trvlr

Built By Fluffy

Rank IV
Launch Member

Builder II

1,221
California, USA
Member #

13163

Just got done with a high top attachment rack, and under-bench battery box over the weekend
DSC00246.JPG

Made it by bending 1" square tubing around the top, and welding generic gutter clamps to the outside. The bars that the gutter clamps came with also had a flat mounting surface that matched perfectly with the back of the ARB awning, so that worked out well
DSC00249.JPG

The battery box is just welded to the side of one of the bench legs, so it'll just sit right under the rear bench. We're using an AGM blue top and a 750W inverter, should be good enough for us at the moment.
DSC00243.JPG
 
  • Like
Reactions: 64Trvlr