This is my second build thread for this vehicle. The original is on jeepforum but I am going to copy the majority of it on over here. Feel free to message me with any questions you may have. Thanks!
03 Grand Cherokee Overland Build
- Thread starter tsteb112
- Start date
-
- Tags
- grand cherokee jeep overland
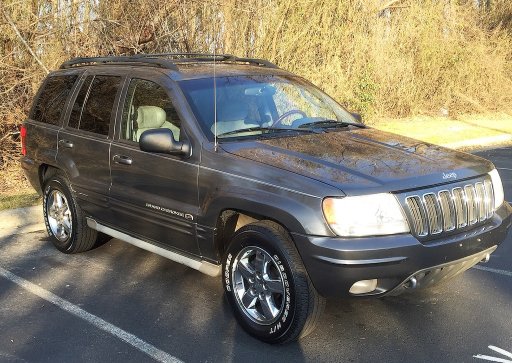
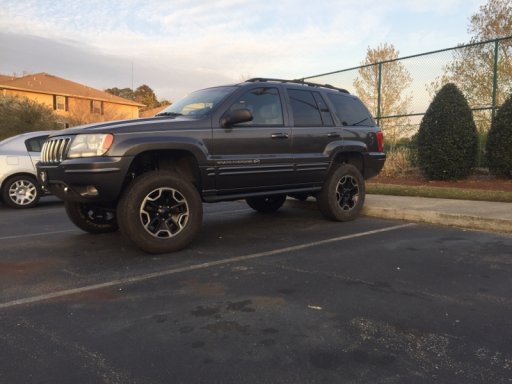
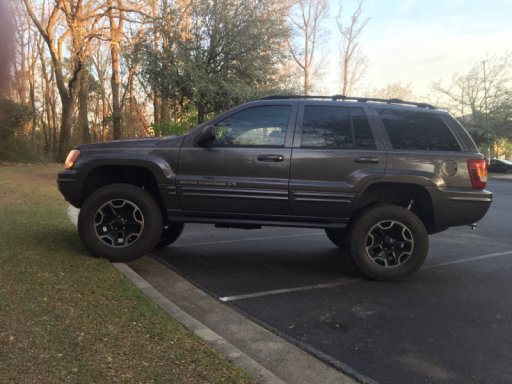
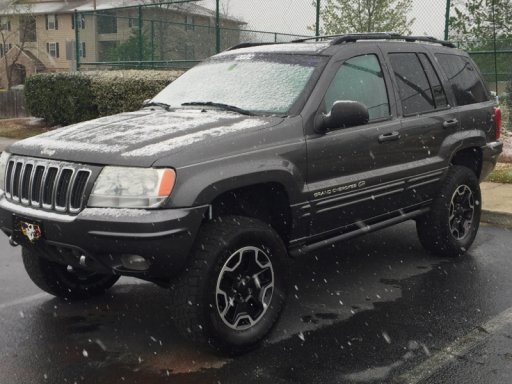
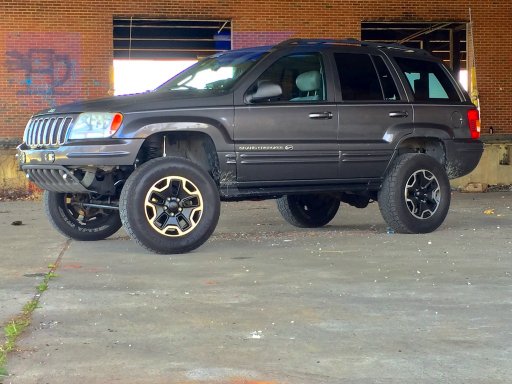
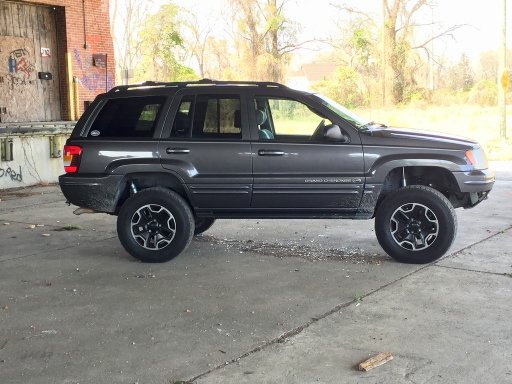
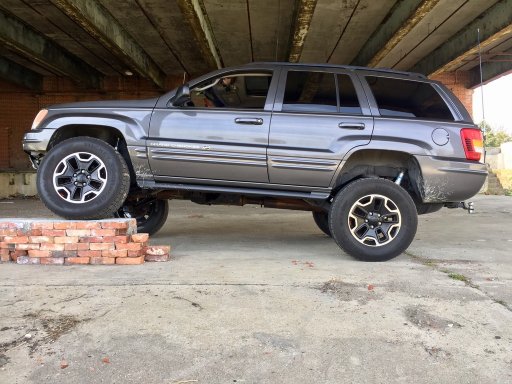
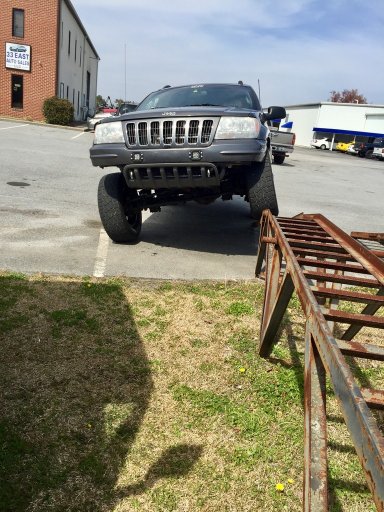
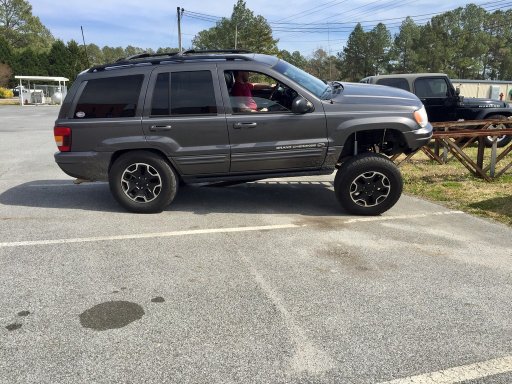
So this is my 2003 Grand Cherokee Overland v8 HO with 161577 miles on it. I bought it in February of 2016. It has every option from the factory just about according to the build sheet, leather, heated, powered seats, wood trim, power sunroof, quadradrive, Dana 30 front with varilok, Dana 44A with varilok both geared at 3:73. It has the skid plate group, towing package, and a few other things I'm sure I'm forgetting. My plan for this rig is going to be focused more on an overland type build. Progress will be slow because I'm in college. Once I graduate I'll buy a new car and keep this as a serious rig. That's when the real mods will come. For now though I'm planning a 3" lift with JK rubicon tires and wheels, roof rack, CB radio, a winch, OBA, rock rails and maybe a few other odds and ends. I like Theksmith's GC build and will be getting lots of ideas off his build thread. Without further ado, here it is.

Last edited:

Today I'm installing the cassette adapter I got for it which will allow me to play my iPhone music. I will also put the cig outlet dual USB charger in so I can charge my phone as well as someone else's. I've already added a few things from my old jeep that I took out to make it more mine. Under the 40 seat I put my socket set and a pair of gloves. Under the 60 seat I have the Jack stuff, an ice scraper and the factory amp for the infinity sound system. I put a screw driver set in the center console and added a sun visor organizer to hold pens, more tools such as torx bits, razor knife a regular knife and garage door opener. I also put the first aid kit behind the from seat and the jumper cables in the rear where the netting is. I'm also putting some air fresheners in and a new air filter.
Going home for spring break so I'm about to order a few parts. All new spring isolators and a .75" spacer for the front to level it out. I measured the other day and from center of the hub to bottom of fender was 17.75". It should be 19 with the factory up country suspension so in all I expect a total of around 2" from where it currently sits.
Replaced all my grab handle screws out for some #10-32x1 in Philllips head screws. Much easier to access with a drill bit than a 5.5 mm socket.
Picked a set of 5 JK Moab Rubicon wheels for $120!

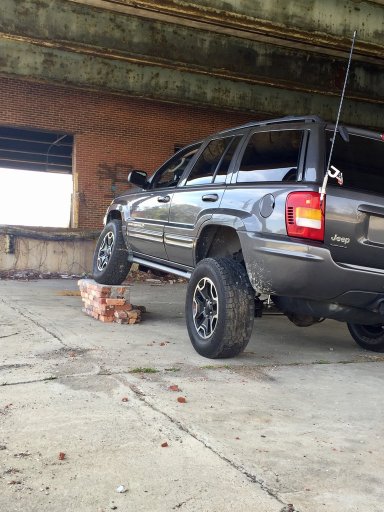
Installed a uniden 505xl CB radio with tunable 3' firestick antenna mounted to a HD spring and the tailgate mount.
I picked up a roof rack but will only be using it when necessary. Mpg drops by 2 with it on.
Second, I had the replace the alternator summer 2016 because it died on a trip to Raleigh.
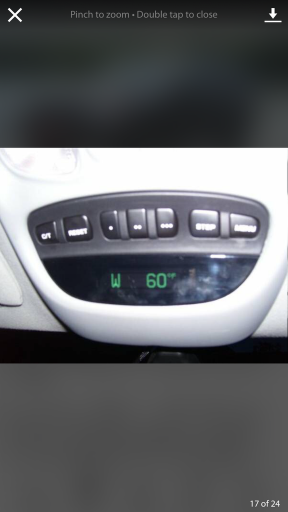
Third, blend doors died and cracked. Replaced with jgc full metal design. Never have to worry about that again. The rotating part on the actuator was cracked and falling apart too so I just replaced that today.
And finally, I ordered the last piece for my lift, an IRO adjustable trackbar.
Other parts going in:
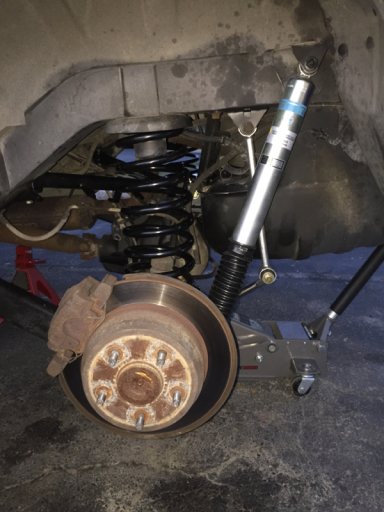
IRO 4" coils
Bilstein 5125 shocks
RC Front adjustable quick disco swaybar links (these died within a year. Now running jks quicker disconnects)
Zone extended rear sway bar links
RC fixed LCA (front)
Rear RC lower control long arms
RC adjustable y link
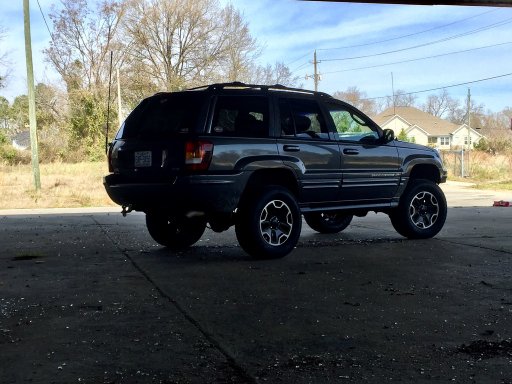
I also found a set of 10a willys edition wheels and mounted a set of 265/70/17 Mickey Thompson all terrains on them.
I think that's about it for right now. There will be lots of pics coming. I'm prepping for an off-road trip in April.
Second, I had the replace the alternator summer 2016 because it died on a trip to Raleigh.
Third, blend doors died and cracked. Replaced with jgc full metal design. Never have to worry about that again. The rotating part on the actuator was cracked and falling apart too so I just replaced that today.
And finally, I ordered the last piece for my lift, an IRO adjustable trackbar.
Other parts going in:
IRO 4" coils
Bilstein 5125 shocks
RC Front adjustable quick disco swaybar links (these died within a year. Now running jks quicker disconnects)
Zone extended rear sway bar links
RC fixed LCA (front)
Rear RC lower control long arms
RC adjustable y link
I also found a set of 10a willys edition wheels and mounted a set of 265/70/17 Mickey Thompson all terrains on them.
I think that's about it for right now. There will be lots of pics coming. I'm prepping for an off-road trip in April.
Last edited:
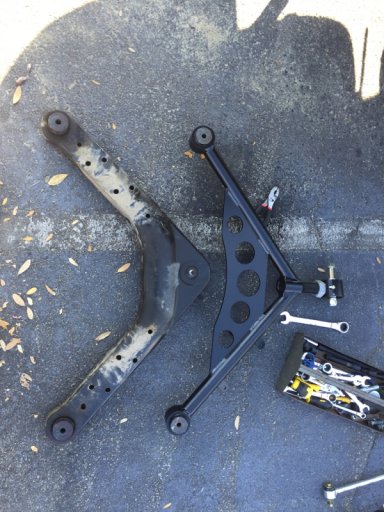
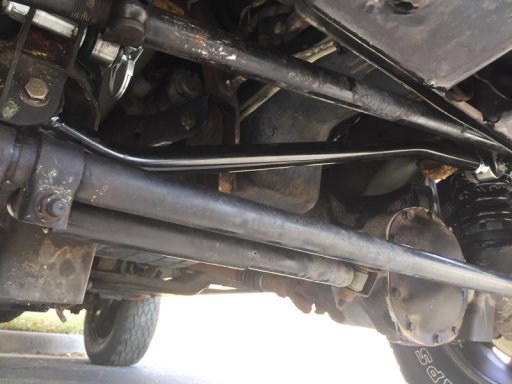
Did the rear part of the lift today. Pretty straight forward except for the upper control arm removal. Thankfully I had bought a 21mm ratcheting wrench. Ended up just removing the 3 diff bolts and the frame bolts and managed to pull it out after raising the axle. Tomorrow I'm going to grab some longer grade 8 hardware for the lower shock mounts which will allow me to relocate them further from the rear tires using the rough country relocation brackets.
I finished up the lift today. A couple of issues though. 1. The IRO adjustable trackbar hasn't made it here yet so the axle is a little off center. 2. I can't get the passenger side front sway bar link to come down to put the pin in. 3. I'm feeling some driveline vibes. I do have an adjustable rough country trackbar that I could use if I wanted.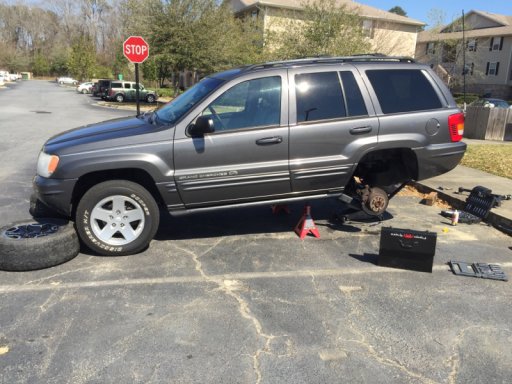
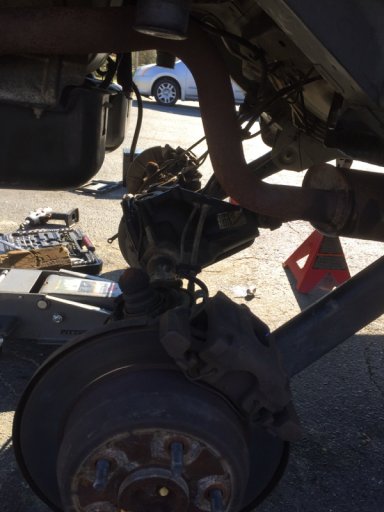
I finished up the lift today. A couple of issues though. 1. The IRO adjustable trackbar hasn't made it here yet so the axle is a little off center. 2. I can't get the passenger side front sway bar link to come down to put the pin in. 3. I'm feeling some driveline vibes. I do have an adjustable rough country trackbar that I could use if I wanted.
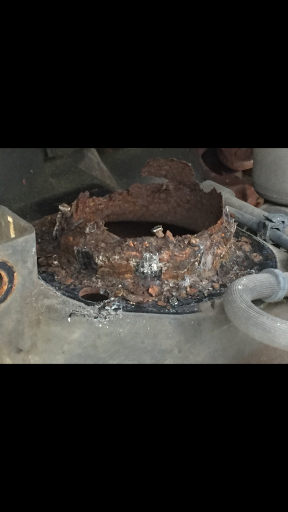
Today I cut the old rotted spring towers and had new ones welded in. This added another 1/4" of lift in the front. Tomorrow I'll measure to get exact numbers. I'm debating on taking the 3/4" spacer out to see if that lessens the vibrations.
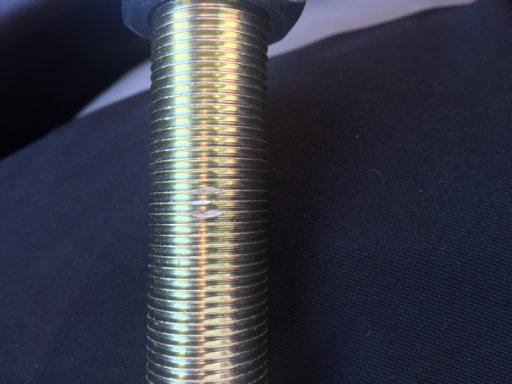 Received the IRO adjustable trackbar today and I have to say this thing is pure beef. However, the male has 3 threads that are messed up on the adjustable end. This pisses me if because I had to wait 2 weeks to get it and it's damaged and I can't use it. I contacted them so hopefully something works out. Im going to the hardware store tomorrow to see if they can run it through a dye to fix the threads.
Fixed the threads using a small file the Lowes let me use. They aren't perfect but the nut can get through it and it is able to screw into the trackbar so it'll work.
Today was fun, received the rest of my parts. Cv axles and the spacers all came in. Spacers were simple to install, I just put them on the tightened them down with my impact. The tires now stick out a little bit and it doesn't look so skinny.
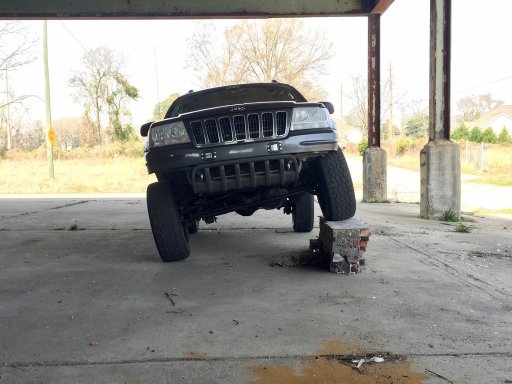
I also trimmed my front bumper. It was hard to find info on this so I'm going to do a quick write up below. I started using the snips as I was advised but really hated this. A utility knife made a much better cut.
Tools needed:
Utility knife
Zip ties
Pliers
Lighter/torch
Some way to make a straight line
Process:
I have an Overland so I have a 2 piece bumper but these direction should be pretty similar for other models. I left the bumper on while I cut.
1. First off, I cut the bottom 3 plastic pins off. Them I cut the bottommost little bolts holding the rubber wheel liner to the bumper.
2. I started on the driver side so I can see where the washer tank is. I didn't want to expose this too much so that was my mark. I cut some of the rubber out so I could estimate where the bottom would be. I then made a mark on the bumper with the knife blade.
3. I used a torch as it applied heat quicker than a lighter. Heat the blade and start cutting. I made a straight line from the top of the fascia all the way to the fender.
4. I then made a cut down the side of the fascia and that whole side fell off.
5. Go to the passenger side and go about the same process. Make a line from the top of the fascia to the fender and cut, then cut along the side of the fascia. That whole side falls off.
6. I had the stock fog lights so I unplugged the first since I'll be reusing the wiring for the led lights going up front.
7. Trim up the rubber so it's flush with where the fender is cut.
That's pretty much all there is to it. You can leave the bottom 3 pins in if you are going to use the center section. Originally, I was going to cut that off too. It's now secured via zip ties. I might cut this in the future but for now it'll stay and I'm going to paint it black.
If you have any questions feel free to ask. Sorry I don't have any pictures but if you need me to show you what I'm talking about take a picture and post it and I'll point it out.
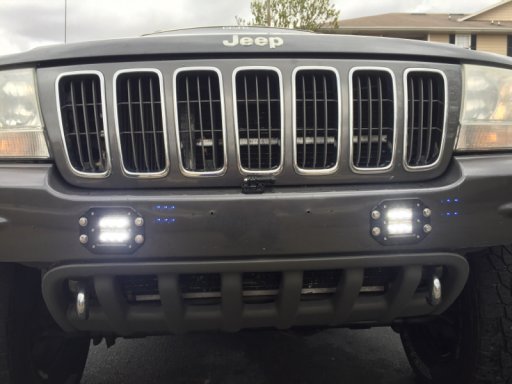
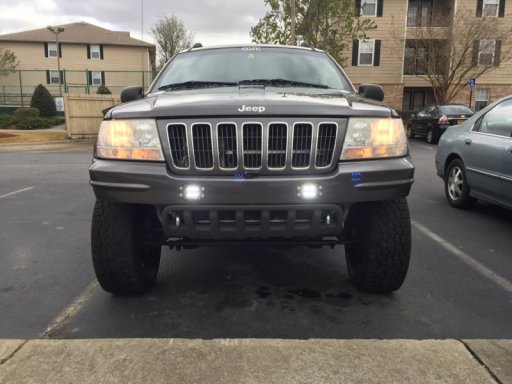
Installed flush leds in the front bumper using the stock fog wiring. Now I need new headlights.
Checked out an abandoned tobacco warehouse downtown today and took some pictures.
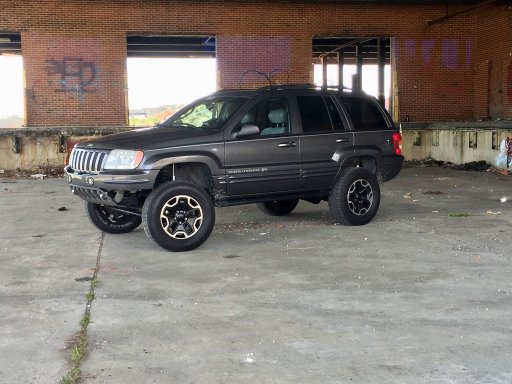

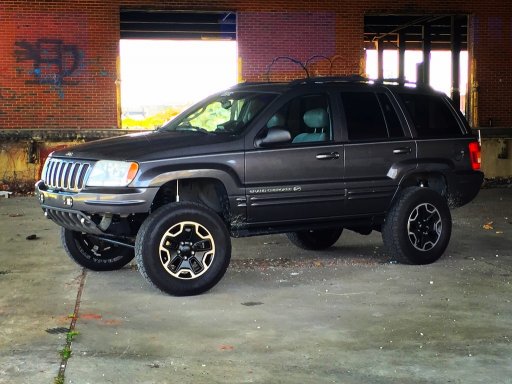
Painted the bottom bumper piece matte black. Looks much better than the gray color it was before. I chose to keep the plastic there just in case I need a little protection. I know it's not much but still better than nothing.
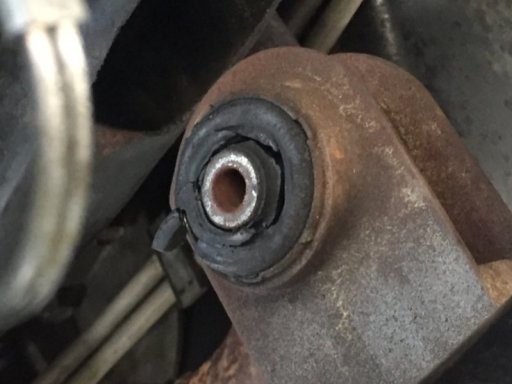
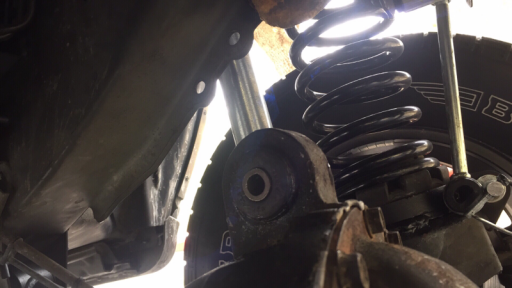
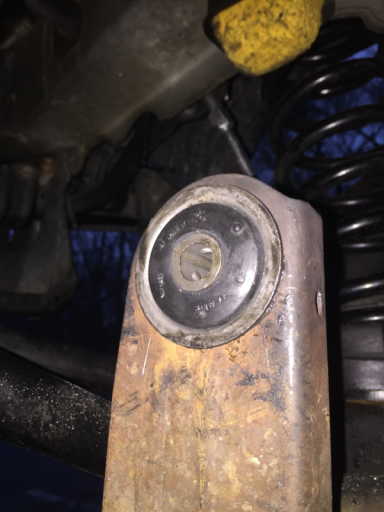
Good news and bad news, bad news first. I've developed death wobble. It happened after hitting an unavoidable pot hole and a bunch of times after that. Scariest thing ever. Anyway after the first time I crawled under, tightened every component I could of the steering including the control arms. I noticed the upper front arms I can rotate with my hand and they both have a spot on them where they appear to have made contact with the frame side bracket. I'm going to do a thorough check of everything tomorrow.
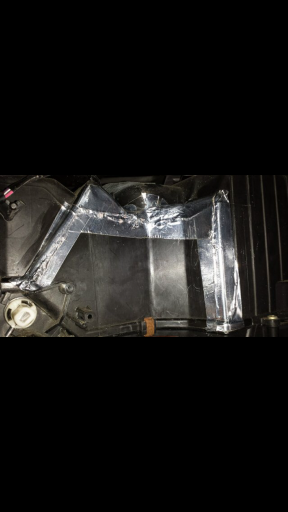
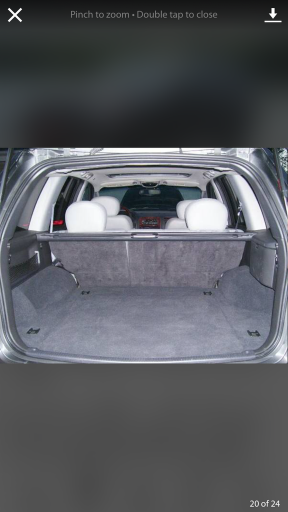
Good news is I built a cargo deck to allow me to keep my spare inside lowering the center of gravity and wear on the tire. Also I can store all my camping gear on top of the deck and put the yeti on the bigger seat when it's folding down.
Good news is I built a cargo deck to allow me to keep my spare inside lowering the center of gravity and wear on the tire. Also I can store all my camping gear on top of the deck and put the yeti on the bigger seat when it's folding down.
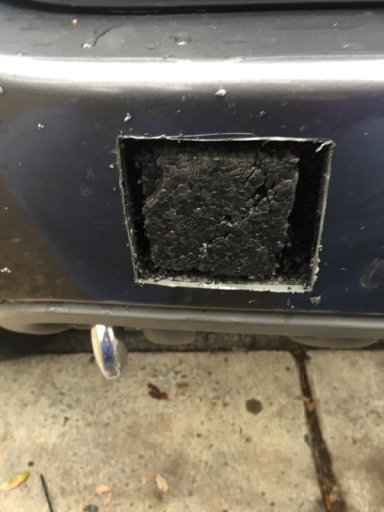
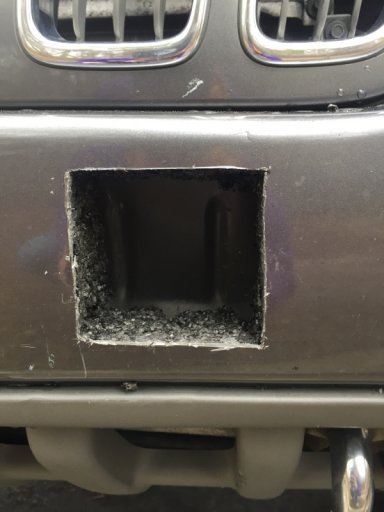
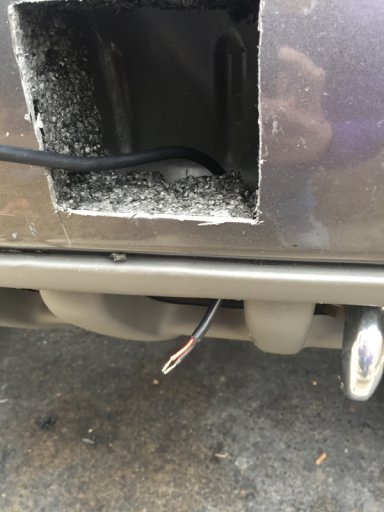
his doesn't look too good lol. I ordered both axle mount front upper control arm bushing and they'll be here Tuesday. Install on Wednesday. Then get back to the bumper to install the lights. My plan for the bumper lights is to make up a template for the lights then make sure the they are both equally distanced apart. Then I'll use the same method I did for the front. 1. Mark the area to cut with the razor knife then take off the template. 2. Use a lighter or torch to heat the blade up and cut the square in the bumper and remove the plastic. 3. I have a long serrated edge knife I used to cut the whole cube of foam out of the bumper and pull it out. 4. You now have a box. In the front there was space behind it but I don't think there is in the rear so I'm going to drill a downward hole in the foam and route the wires through that. 5. I will then run both wires from the lights with more wires added to them for length and splice them together so I just have one positive and negative wire. 6. I mounted a switch on the dash and I will run the wires to that. 7. Not exactly sure how I'll get the wires from outside the jeep to inside yet but I'll figure that out when it comes up. The wires will be run from the rear through the uni body frame if I can get them inside of it.